Coffee Bar Ideas for Every Kitchen Size and Budget
Short answer: You can build a real coffee bar in any kitchen for about $145 total, in one weekend and about 4 hours of hands-on work. It needs only about 24 inches of counter, one shelf above it, and a rail for mugs, and it works in a rental because everything comes off or moves out with you.
| Total cost | About $145 for the whole setup |
| Time | One weekend, about 4 hours hands on |
| Difficulty | Beginner; a drill helps for the shelf and rail only |
| Counter needed | About 24 inches wide, 25 inches deep |
| Renter-friendly | Yes, everything comes off or moves out with you |
My kitchen is small enough that the coffee maker used to live wherever there was a gap, which meant it moved every time I cooked. Some mornings it sat by the stove, some mornings by the sink, and the mugs lived in a cabinet two steps away.
A coffee bar fixes that by giving coffee one home: brewer, mugs, beans, and sugar in one stretch of counter. You stand in one spot, make the coffee, and carry it to the table.
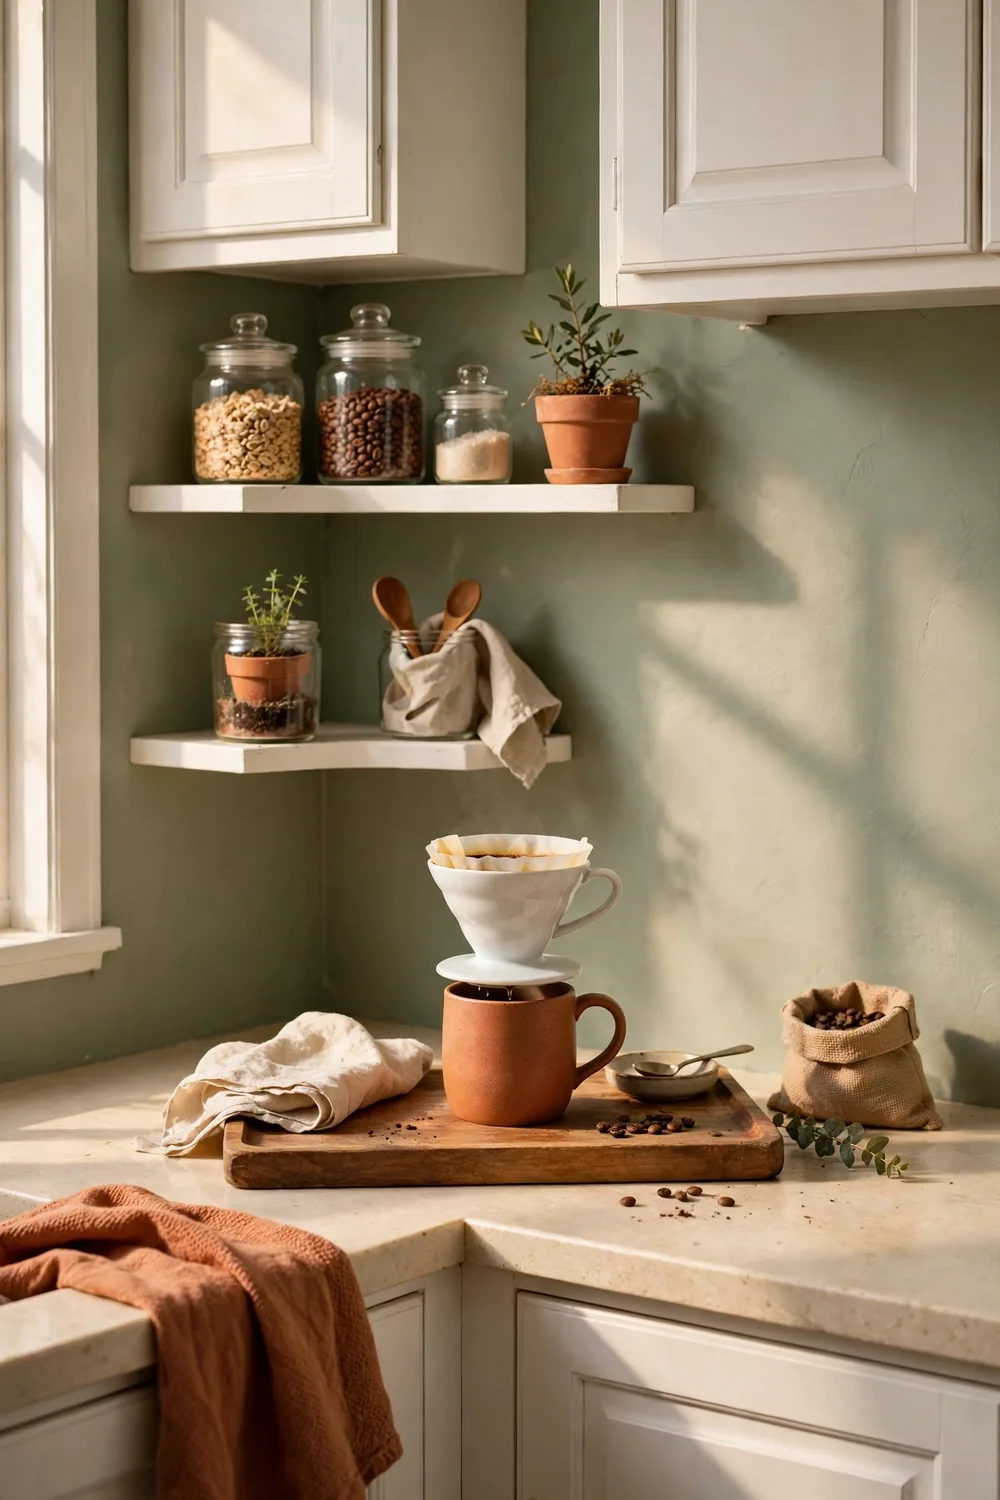
Where should a coffee bar go in a small kitchen?
Pick the stretch of counter you use least for cooking. In most small kitchens that is the end of the run nearest the fridge or the wall beside the sink, not the stretch beside the stove, which needs clear space for hot pans and cutting boards.
Measure the stretch before you buy anything. You need about 24 inches of width and the full 25 inch depth of a standard countertop. A pour-over setup fits in about 12 inches, a drip machine needs about 14 inches, and the rest of the width holds the mugs and the jars. If your only free stretch is 18 inches wide, skip the second shelf and hang the mugs on the rail instead. The shelf above the bar should sit about 18 inches above the counter, so a tall mug clears it and a kettle pours without hitting the shelf. If the kitchen also needs more actual surface for cooking, our small apartment kitchen ideas guide covers rolling carts and fold-down tables that add square feet instead of organizing them.
What are the 7 steps to build it?
Seven steps, in the order I would do them.
1. Claim the corner with a tray, about $17
A tray turns a stretch of counter into a coffee bar. Without it, the brewer slides around and the sugar bowl migrates toward the stove by Wednesday. With it, everything has an edge, and the whole bar lifts off the counter in one move when you need the space for baking.
Look for a wood tray about 16 by 12 inches, big enough for a brewer and two mugs. An acacia wood tray in that size runs about $17 at home goods stores and on Amazon. Set it on the counter with the long edge against the wall, then put the brewer on it. The tray catches drips, so the counter underneath stays clean. If you already own a tray, use it.
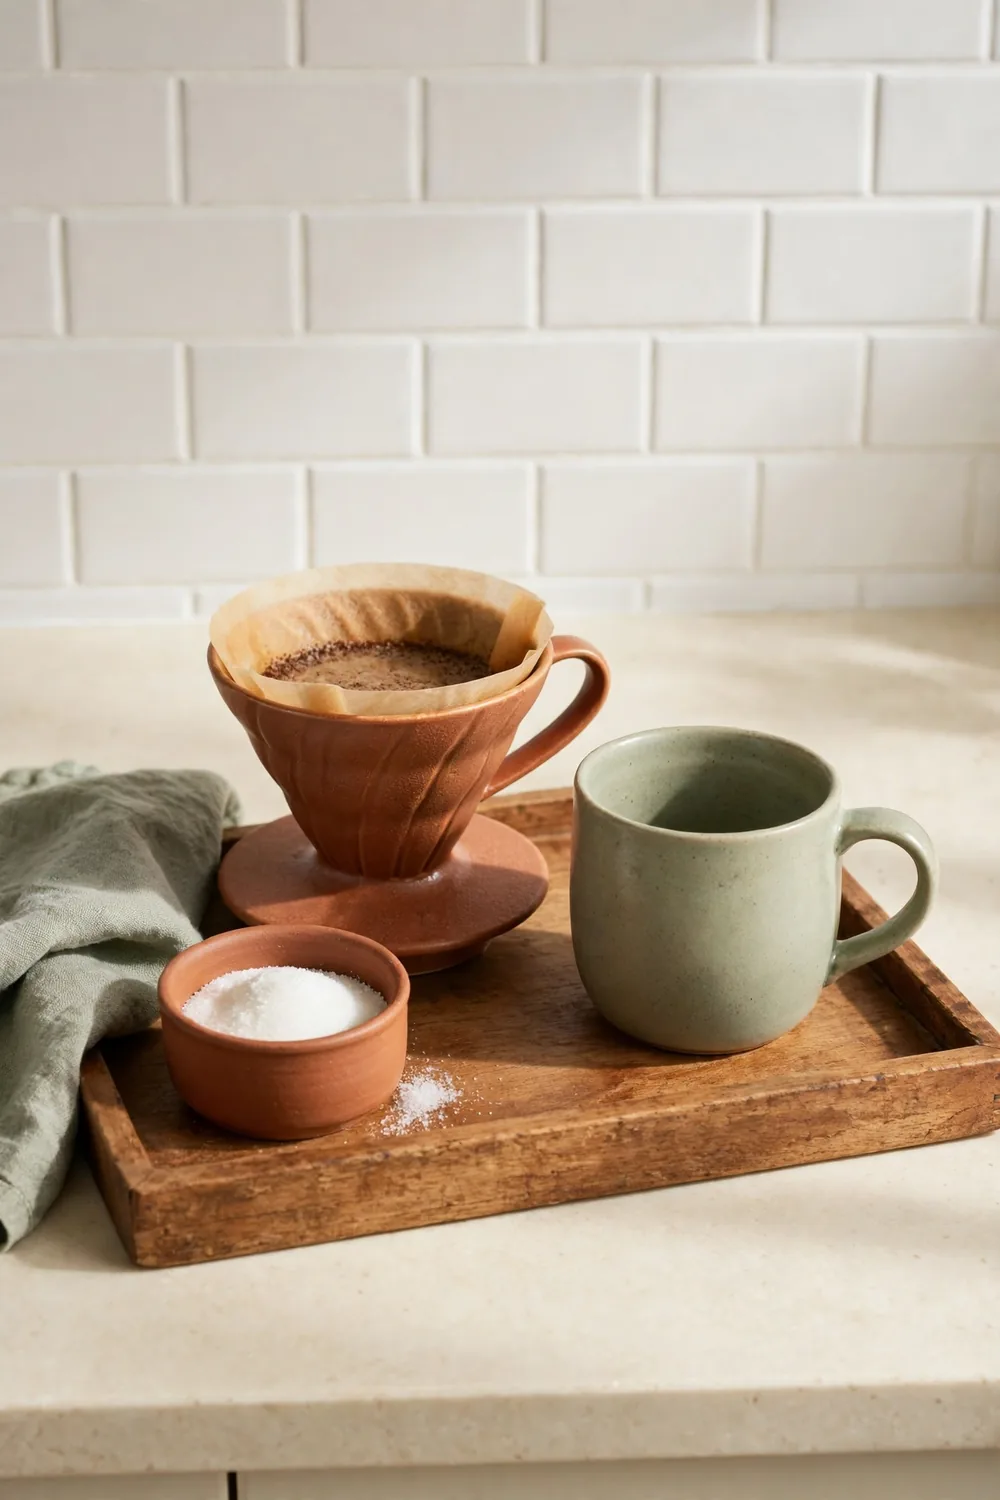
2. Pick one brewer and keep it in place, about $35
One brewer, not three. A coffee bar with a drip machine, a French press, and a pour-over cone is a museum, and it eats the counter you just saved. Pick the one you actually use on a weekday morning and put the rest in a cabinet.
My pick is a pour-over setup because it is small and cheap: a Hario V60-02 plastic dripper runs about $10, and a basic gooseneck kettle runs about $25, so the pair costs about $35. The dripper sits on top of the mug, and the whole setup takes about 12 inches of counter. If you prefer a machine, a basic 5-cup drip coffee maker costs about the same and needs about 14 inches of width. Keep the brewer on the tray from step 1, plugged in and ready.
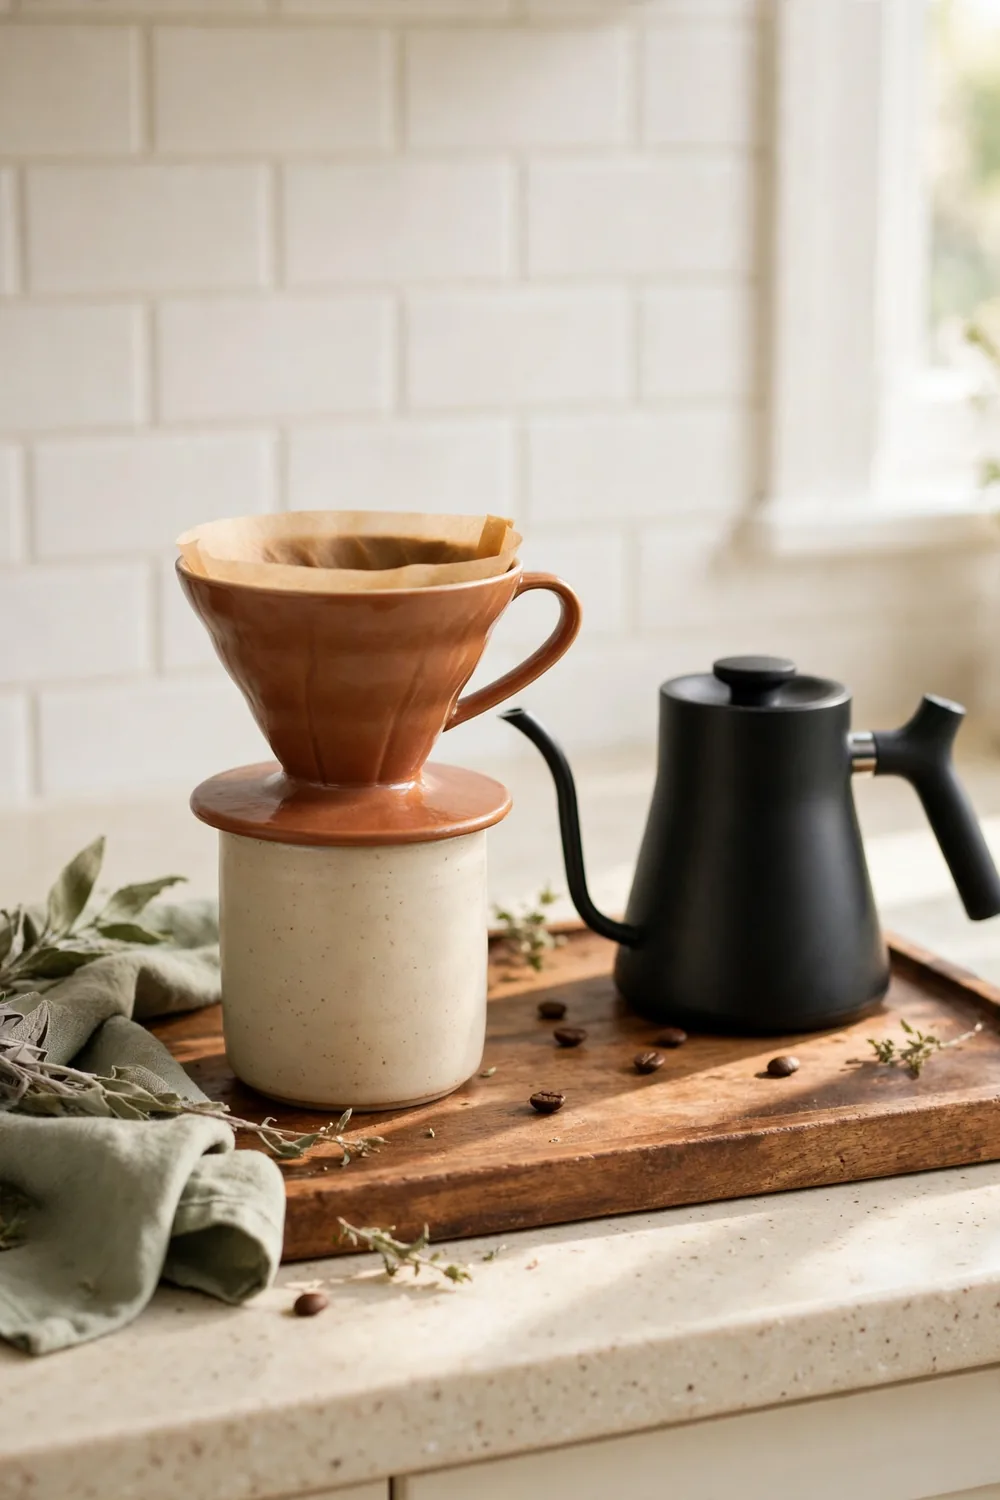
3. Hang a shelf above the counter, about $20
The wall above the bar is the best storage because it costs zero counter space. Two picture ledges hold the beans, the sugar, and a small plant at eye level. The IKEA MOSSLANDA picture ledge in white, 21 5/8 inches long, costs $9.99, so two ledges cost about $20.
Mount the first ledge about 18 inches above the counter and the second about 12 inches above the first, screwed into studs or wall anchors. The lower ledge holds the daily jars, the upper ledge holds the backup beans and the plant. If you rent and cannot drill, use a leaning ladder shelf instead, or skip this step and use the rail in step 4.
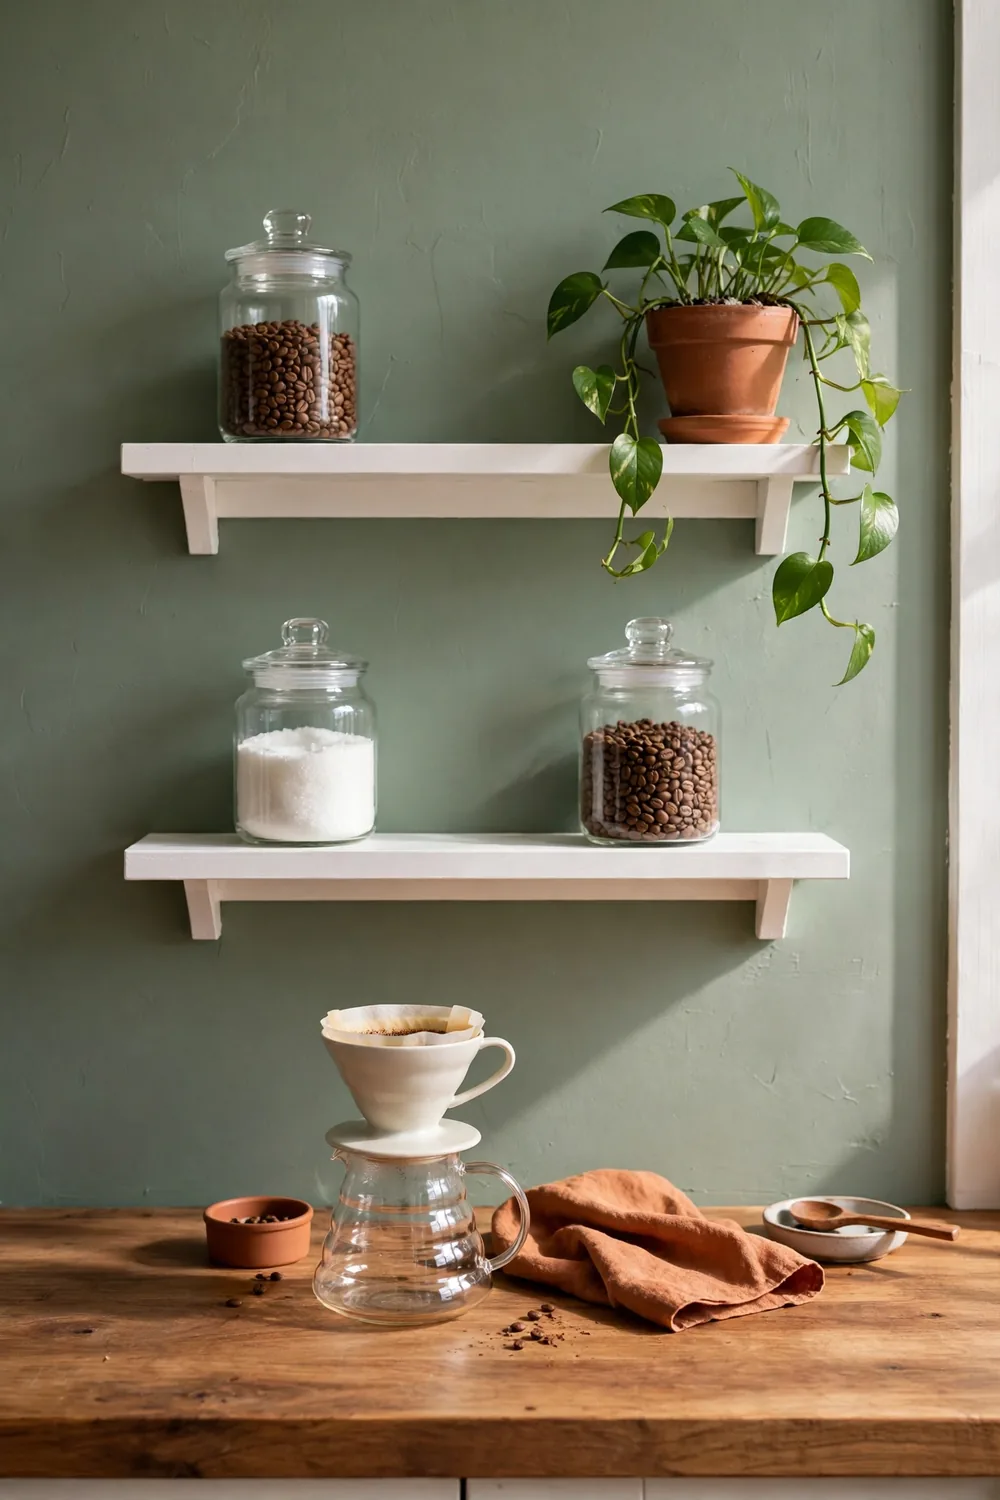
4. Hang a rail for the mugs, $13
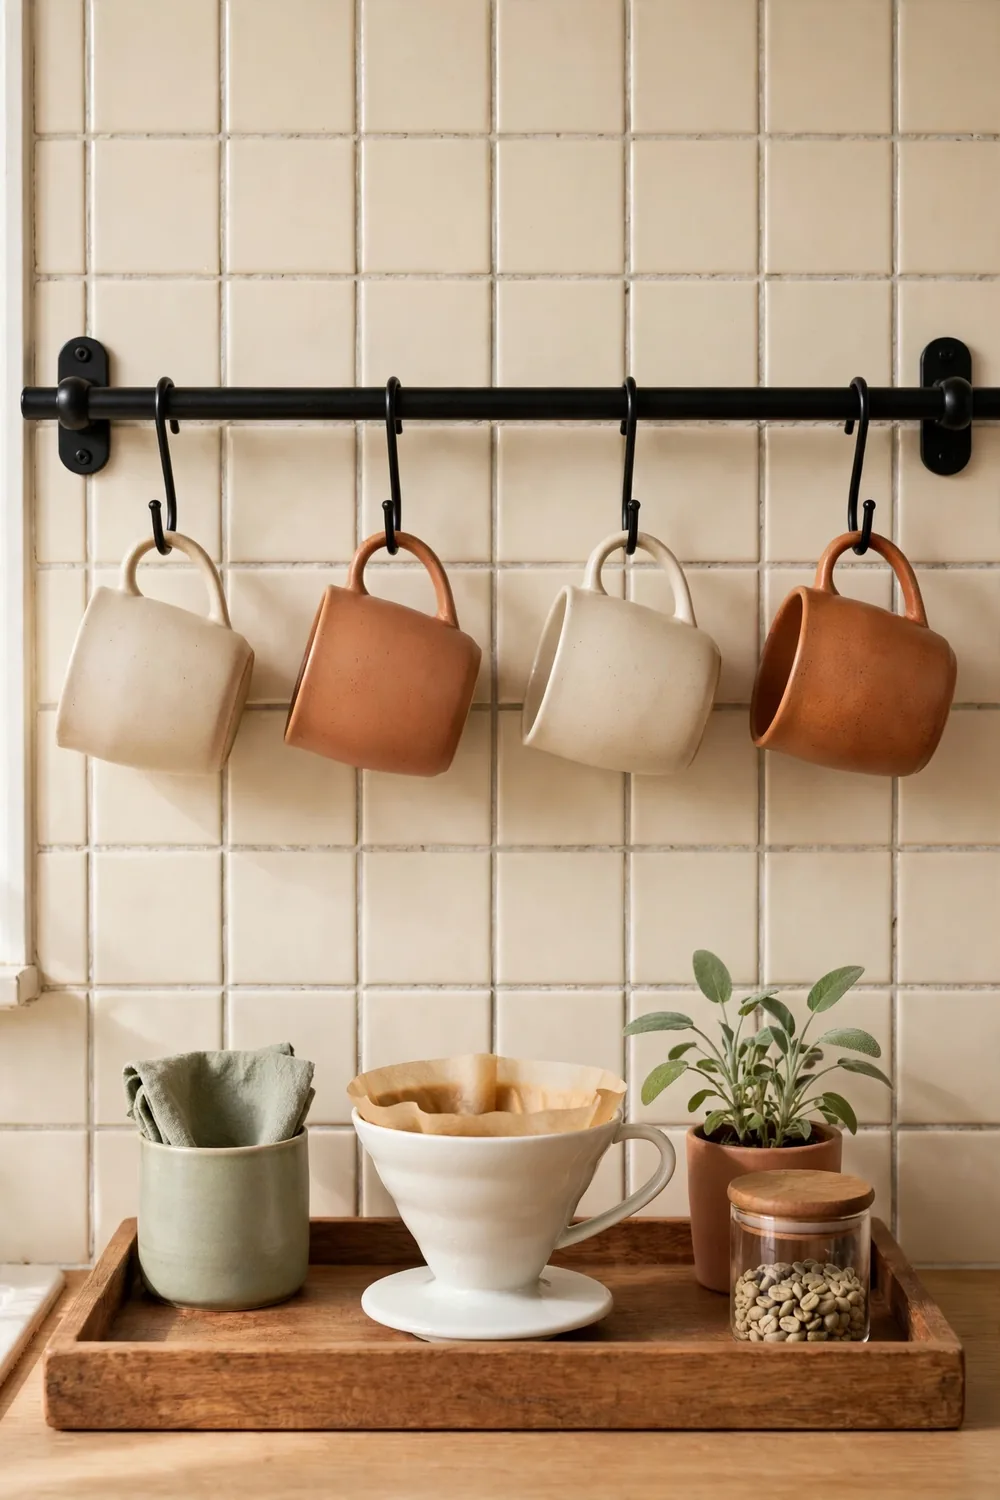
Mugs in a cabinet are mugs you forget, and mugs on the counter are clutter. A rail on the wall puts four mugs at arm’s reach and frees a whole cabinet shelf. The IKEA HULTARP rail in black, 31 1/2 inches long, costs $12.99, and S-hooks hung from it hold mugs by their handles.
Mount the rail about 18 inches above the counter, beside the shelf or under it if the shelf is high enough. Hang the four mugs you actually drink from, not the souvenir collection. A mug hangs by its handle, so it dries fast and never chips against another mug in a crowded shelf. If you cannot drill at all, adhesive hooks on the tile hold two light mugs each.
5. Decant the beans and sugar into matching jars, about $26
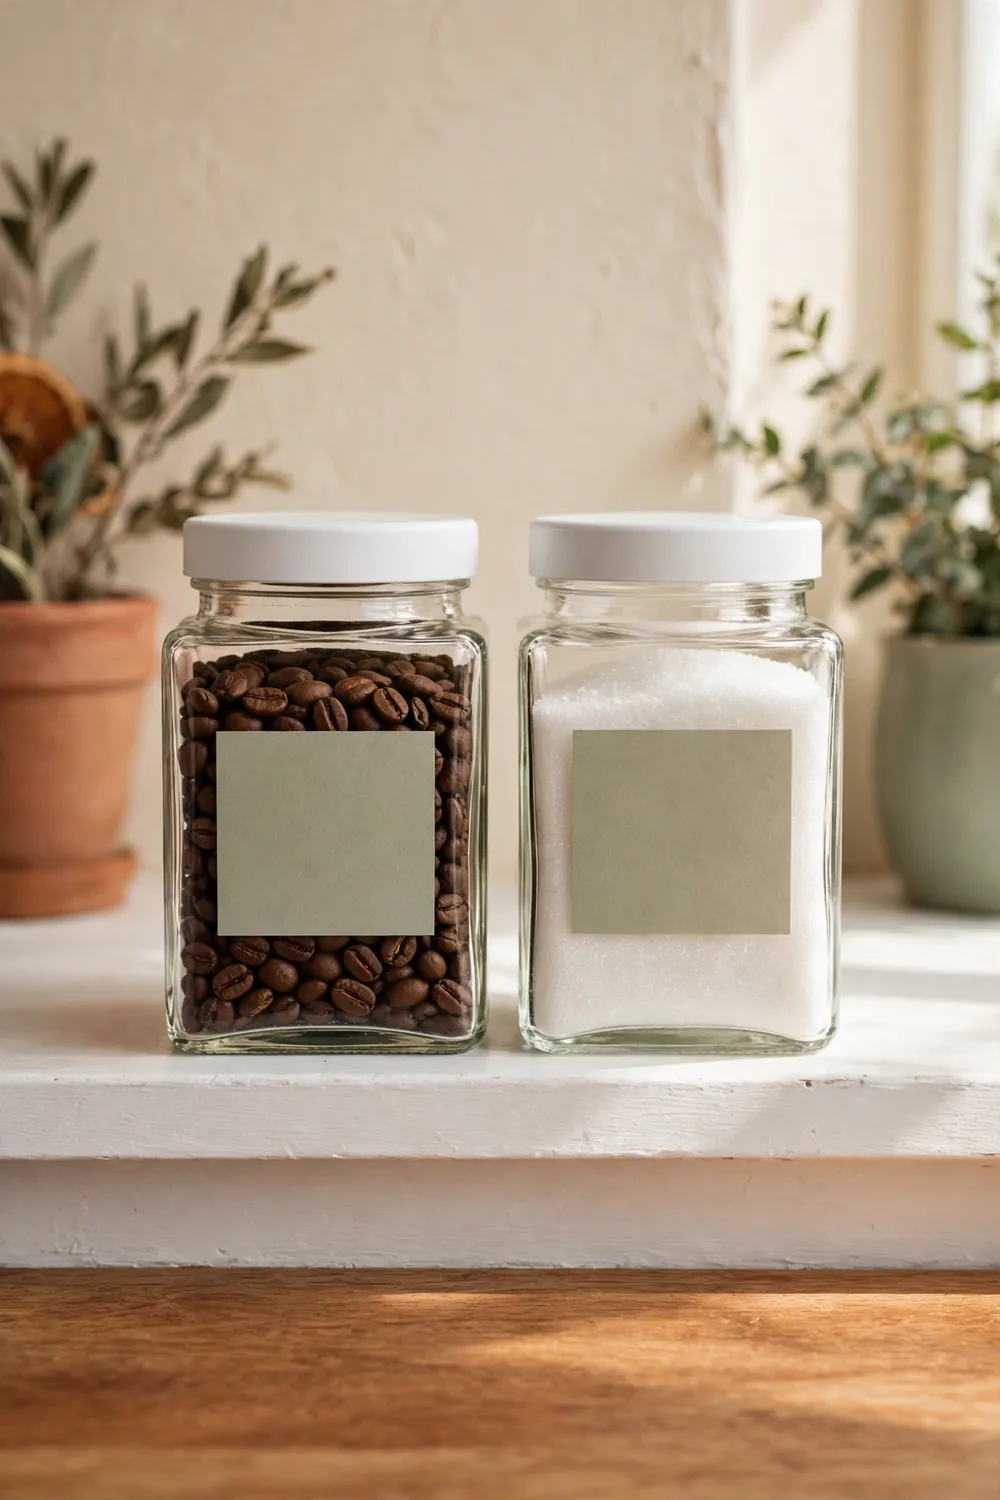
Half-open bags of coffee and a sugar box with a torn corner are the messiest things on a counter, and round jars waste space because they leave gaps. Square jars sit flush, so two of them take the footprint of one round canister and a bag. The OXO Good Grips POP Container in the 1.1 quart square size costs $12.99 each on Amazon, so two cost about $26.
Start with two jars: coffee beans in one, sugar in the other. The airtight lid keeps the beans fresh for about two weeks after opening. Label the lids with masking tape and a marker, because ground coffee and brown sugar look alike at 6 in the morning. Two jars need about 8 inches of shelf in a row, since the 1.1 quart size is about 4 inches square.
6. Add a light over the bar, about $22
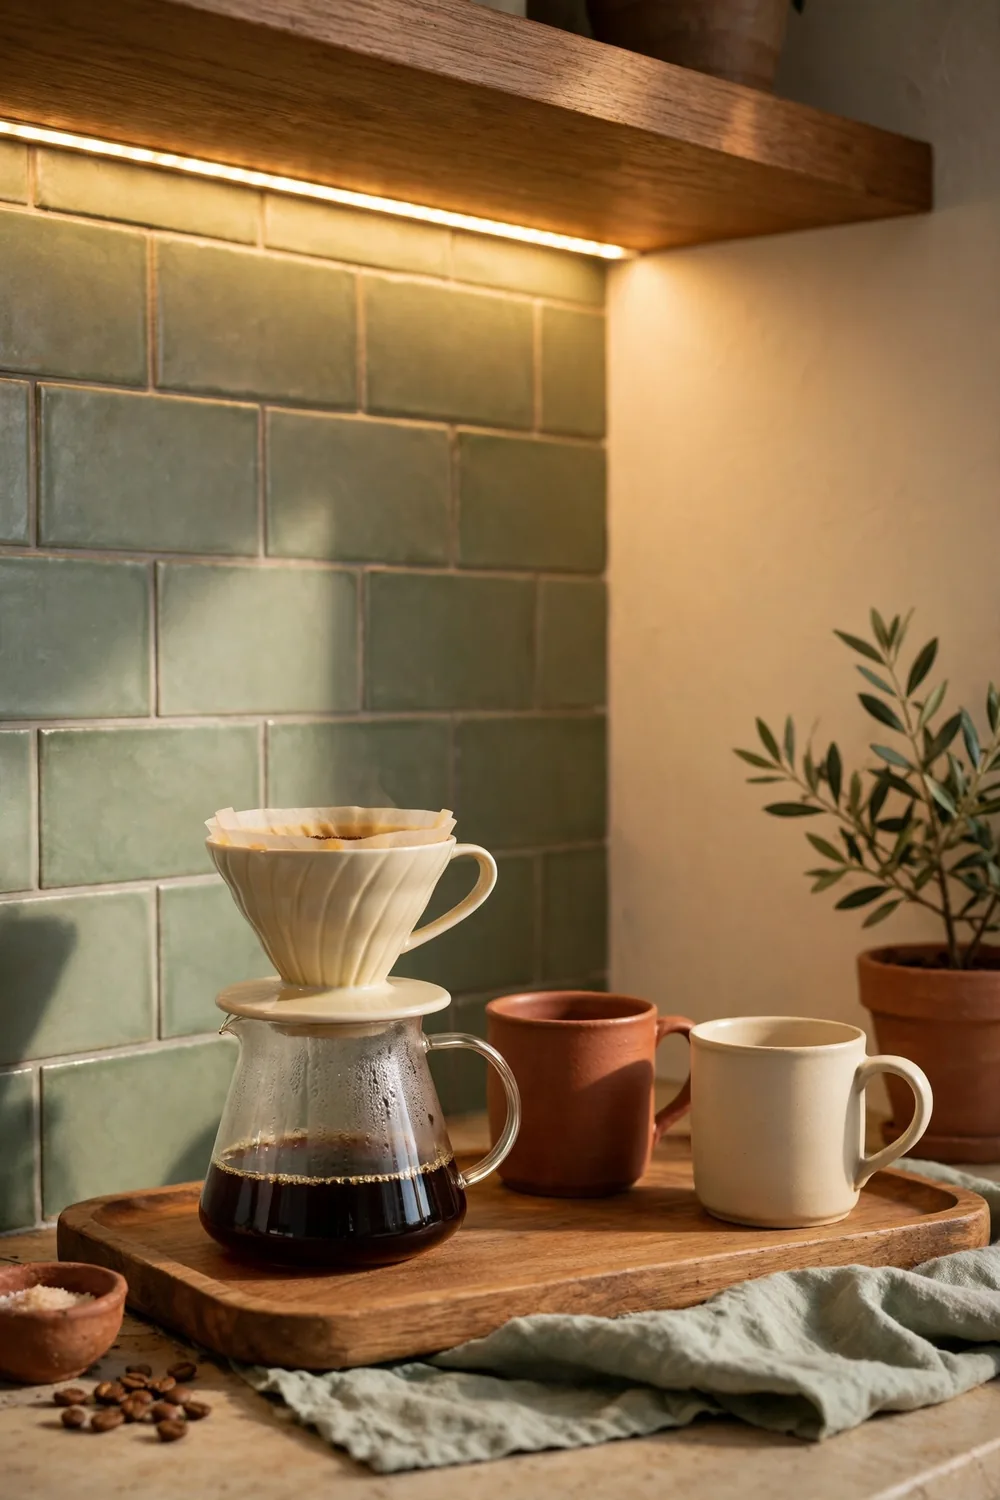
A coffee bar in a dark corner gets ignored, and a dark corner is where most small kitchens put the spare counter. Light fixes it for less than the cost of a bag of good beans. A battery-powered LED strip under the shelf, or three puck lights stuck to the underside of the upper cabinet, costs about $22 and takes ten minutes to install.
Stick the strip under the shelf from step 3, or under the upper cabinet if you skipped the shelf. Warm white light, about 2700K, flatters wood and cream tile. Cool white light makes the same corner look like an office, so check the box before you buy. Battery lights mean no electrician and no holes, which matters in a rental.
7. Style it for the morning, about $12
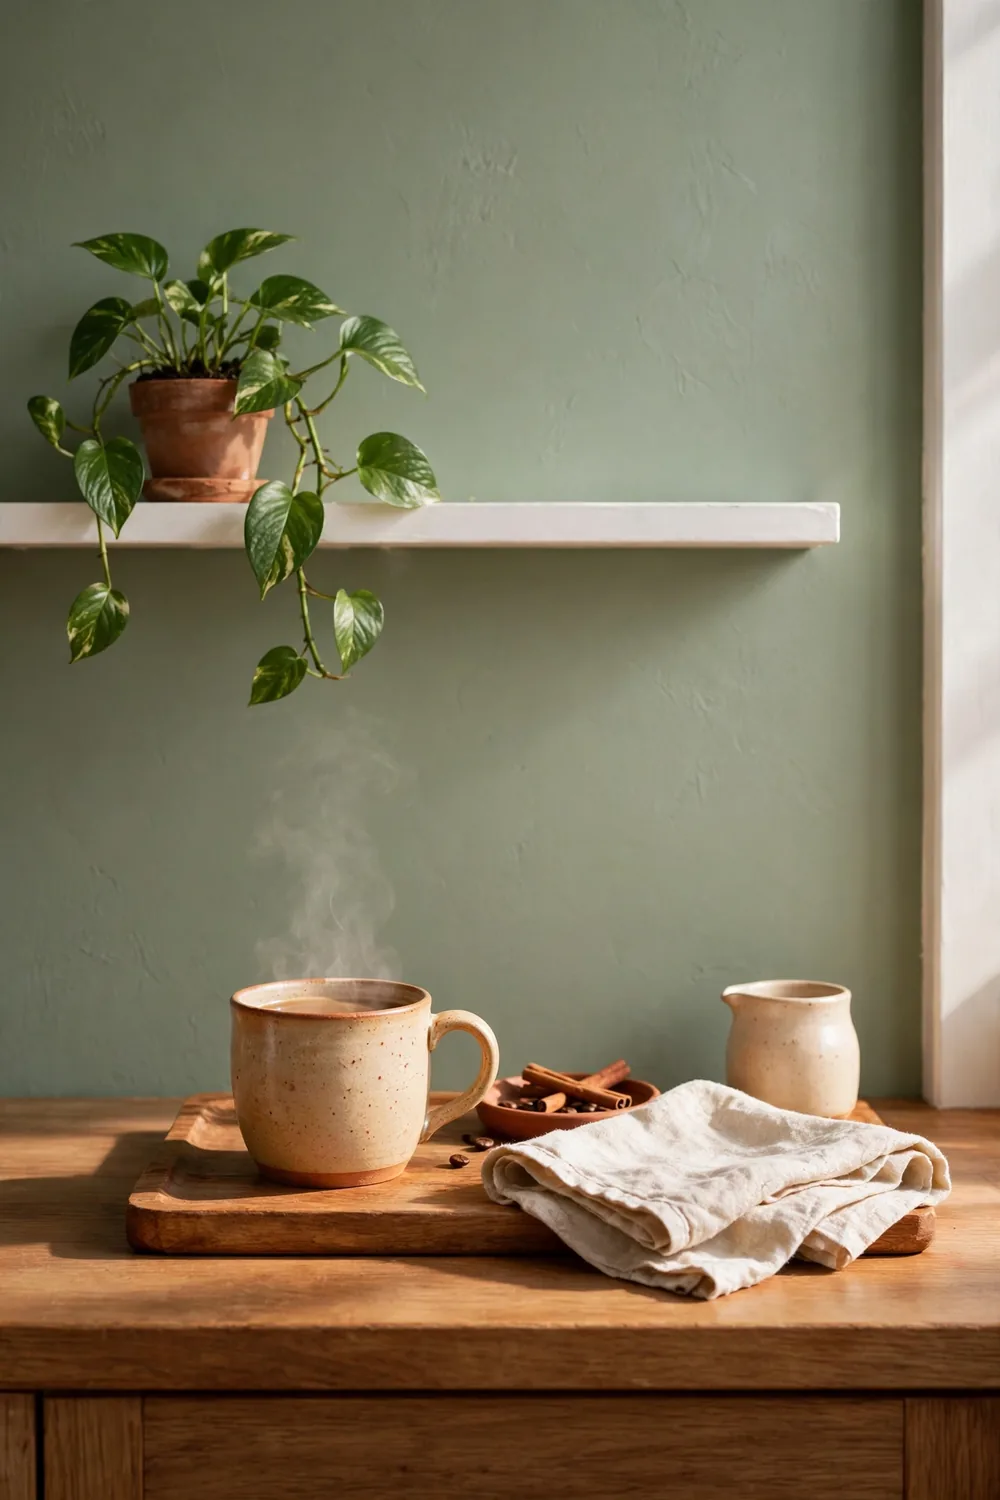
The last step is the one that makes the bar feel finished instead of assembled. A small plant, a folded linen tea towel, and one spoon rest turn a row of equipment into a corner you want to stand in. A small potted pothos costs about $7 at a grocery store, and a linen tea towel costs about $5, so the pair runs about $12.
Put the plant on the upper shelf where it gets light and stays out of the splash zone. Fold the towel over the edge of the tray and set the spoon rest on it. That is all the styling the bar needs. Live with the bar for a week before adding anything else: the things you reach for every morning earn a spot, and the things you do not reach for go back in the cabinet.
What does the whole coffee bar cost?
All seven steps together cost about $145. Any two cost under $60.
| Step | Cost |
|---|---|
| Tray to claim the corner | About $17 |
| Pour-over brewer and kettle | About $35 |
| Two picture ledges above the counter | About $20 |
| Mug rail with hooks | $13 |
| Two matching square jars | About $26 |
| Light over the bar | About $22 |
| Plant and linen towel | About $12 |
| Total, all 7 steps | About $145 |
Prices here are estimates based on IKEA and Amazon listings, and prices move, so check before you order. Start with the tray, the brewer, and the rail, and add the shelf and the light when the habit sticks. If the rest of the kitchen also needs order before the bar feels right, our small kitchen organization guide shows 7 ideas that free up real counter space for about $170 total.
The one mistake that wastes the money
Buy the brewer before measuring the counter, and it will not fit the spot you picked. I know because I did it with a drip machine that was 2 inches too wide for the corner beside the fridge. It sat on the stove side for a month, in the way of every pan, until I admitted the mistake and swapped it for the pour-over setup.
Measure three things before you order anything in this list: the width of the free counter, the clearance above it to the shelf or cabinet, and the depth of the tray you plan to use. Five minutes with a tape measure saves a weekend of returns.
The honest version is that a coffee bar will not fix a kitchen that has no free counter at all. If every inch is already full, clear one stretch first, even if it means moving the toaster into a cabinet. A bar built on top of clutter is just clutter with a tray under it.
A coffee bar is not furniture. It is one corner, one brewer, and everything you need for the first cup within arm’s reach.
FAQ
How much counter space does a coffee bar need? About 24 inches wide and the full 25 inch depth of a standard countertop. A pour-over setup fits in about 12 inches, a drip machine needs about 14 inches, and the rest holds the mugs and jars.
Will a coffee bar work in a rental kitchen? Yes. Everything here comes off or moves out with you, except the screw holes from the shelf and the rail. If you cannot drill at all, use adhesive hooks and a leaning shelf instead.
What is the cheapest way to start a coffee bar? A tray, one brewer, and a mug rail cost about $65 together. Start there, live with the bar for a week, and add the rest only if the habit sticks.
Do I need a special coffee maker for a coffee bar? No. Use the brewer you already own and drink from every morning. The bar is about giving coffee one home, not about buying new equipment.
How do I keep the coffee bar from turning into clutter? Give every new thing a home the day it arrives, and keep a one in, one out rule for mugs and jars.
What if my kitchen has no free counter at all? Clear one stretch first, even if it means moving the toaster into a cabinet. A bar built on top of clutter is just clutter with a tray under it.