Renter-Friendly Wall Decor That Leaves No Holes
A blank rental wall can stay blank for a lease, not because renters lack ideas but because every idea seems to end with a hole in the wall. The seven methods hang art, add pattern, and build texture with no nails at all, and a 10 foot wall goes from bare to finished in 3 hours. On moving day, each piece comes down clean and the deposit stays safe.
Why do so many rental walls stay blank?
Blank walls are rarely a style problem. They are a risk problem. A lease usually forbids nails, a landlord can charge for patching, and nobody wants to spend a weekend fixing holes the night before moving out.
Three worries cause most blank walls: fear of losing the deposit, doubt that anything removable will hold, and not knowing what the wall is made of. Plaster, textured, and smooth painted walls all behave differently, and one method does not fit all three.
The fix is the same for all three worries: choose a method rated for the weight, test it on a hidden patch first, and keep the removal plan in mind from the start. Every method below comes down clean when it is installed the right way, and each one says exactly how. The same no-hole thinking shapes other rental-friendly upgrades around the home, from kitchen walls to entryways.
What are the 7 no-hole wall decor methods?
Seven methods, from the lightest touch to the boldest wall.
1. Hang frames with adhesive strips
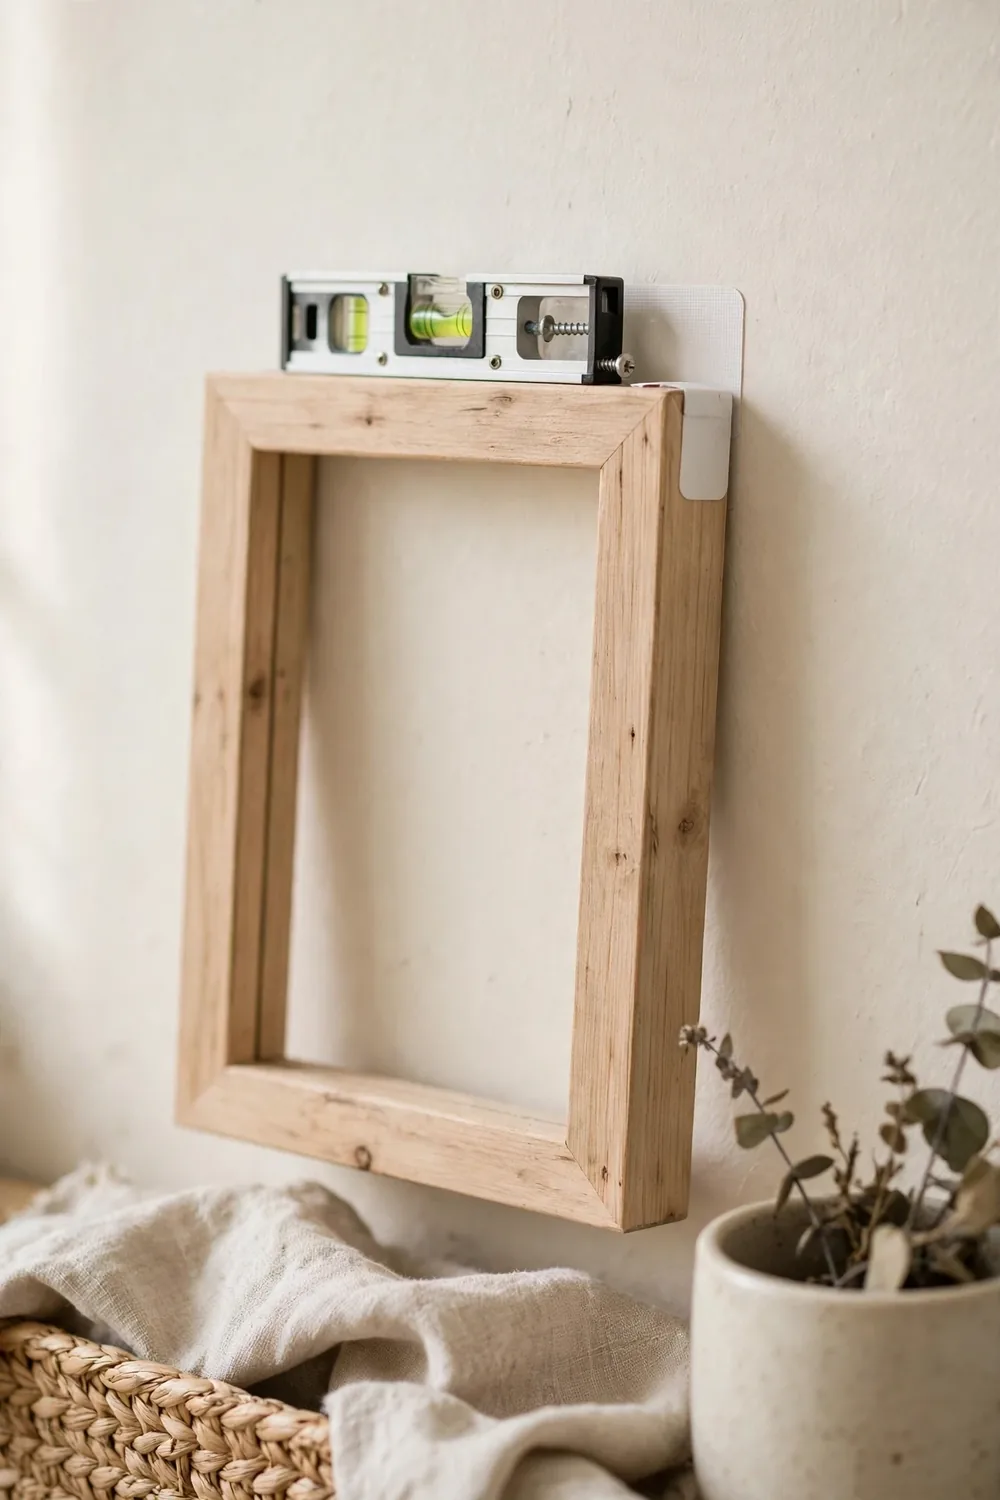
Adhesive strips are the fastest way to hang a framed print with no tools at all. Clean the wall first with a damp cloth, let it dry completely, then press the strip onto the frame, hold it against the wall for 30 seconds, and wait an hour before hanging the frame. That hour matters: the bond keeps strengthening after you press it on.
Check the weight rating on the pack before you buy. A small frame needs one pair of strips, a medium frame needs two pairs, and anything heavier than the rating belongs on a ledge or leaning against the wall instead. Strips hold best on smooth painted walls and struggle on textured plaster, brick, or wallpaper, so test one strip on a hidden spot first.
Time note: about 15 minutes per frame, plus an hour of waiting before you hang it.
2. Lean frames on picture ledges
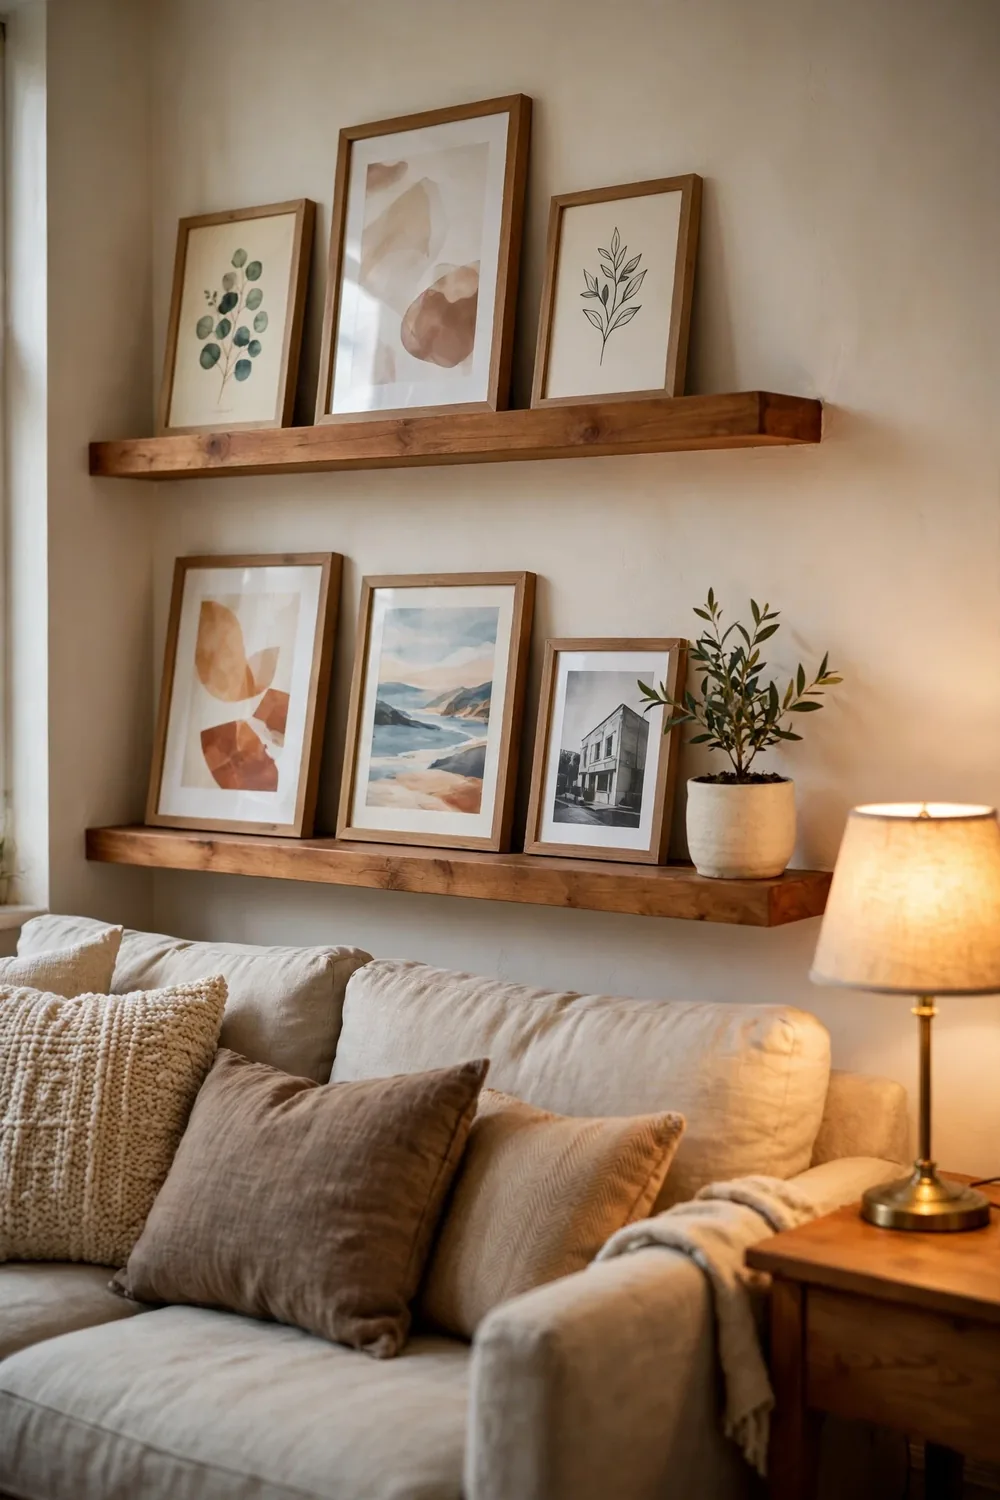
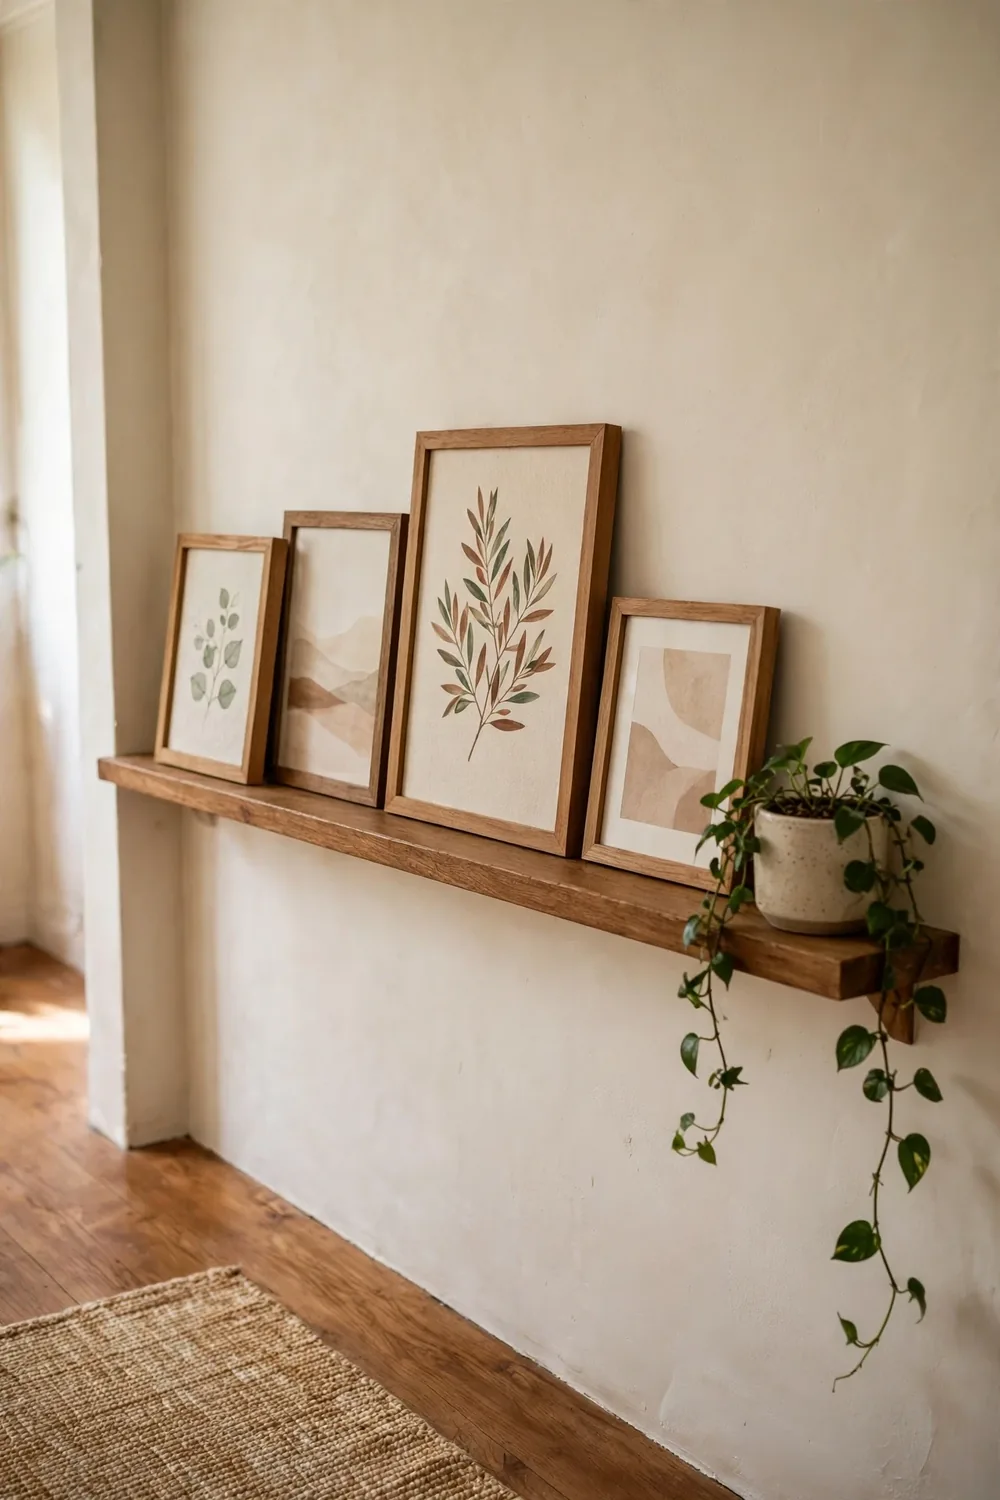
Picture ledges are the gallery wall for people who change their minds. Two narrow shelves hold the frames upright, leaning against the wall, so you can swap a print or restyle the whole wall in minutes without touching a nail. This is the layout to choose if you rent or if the idea of drilling holes makes you hesitate.
A ledge needs only two small screws, and most landlords accept them because the holes are tiny and easy to fill. If even that feels risky, a tension rod shelf or a leaning ladder shelf gives you the same display with no wall fixings at all.
Hang the lowest ledge at about eye level, then space the next ledge 12 to 18 inches above it. Overlap the frames slightly, taller pieces at the back, and leave breathing room at the ends. A ledge packed edge to edge reads as storage, while a ledge with gaps reads as a display.
Time note: about 30 minutes to hang one ledge, then seconds to restyle it.
3. Try peel-and-stick wallpaper on one wall
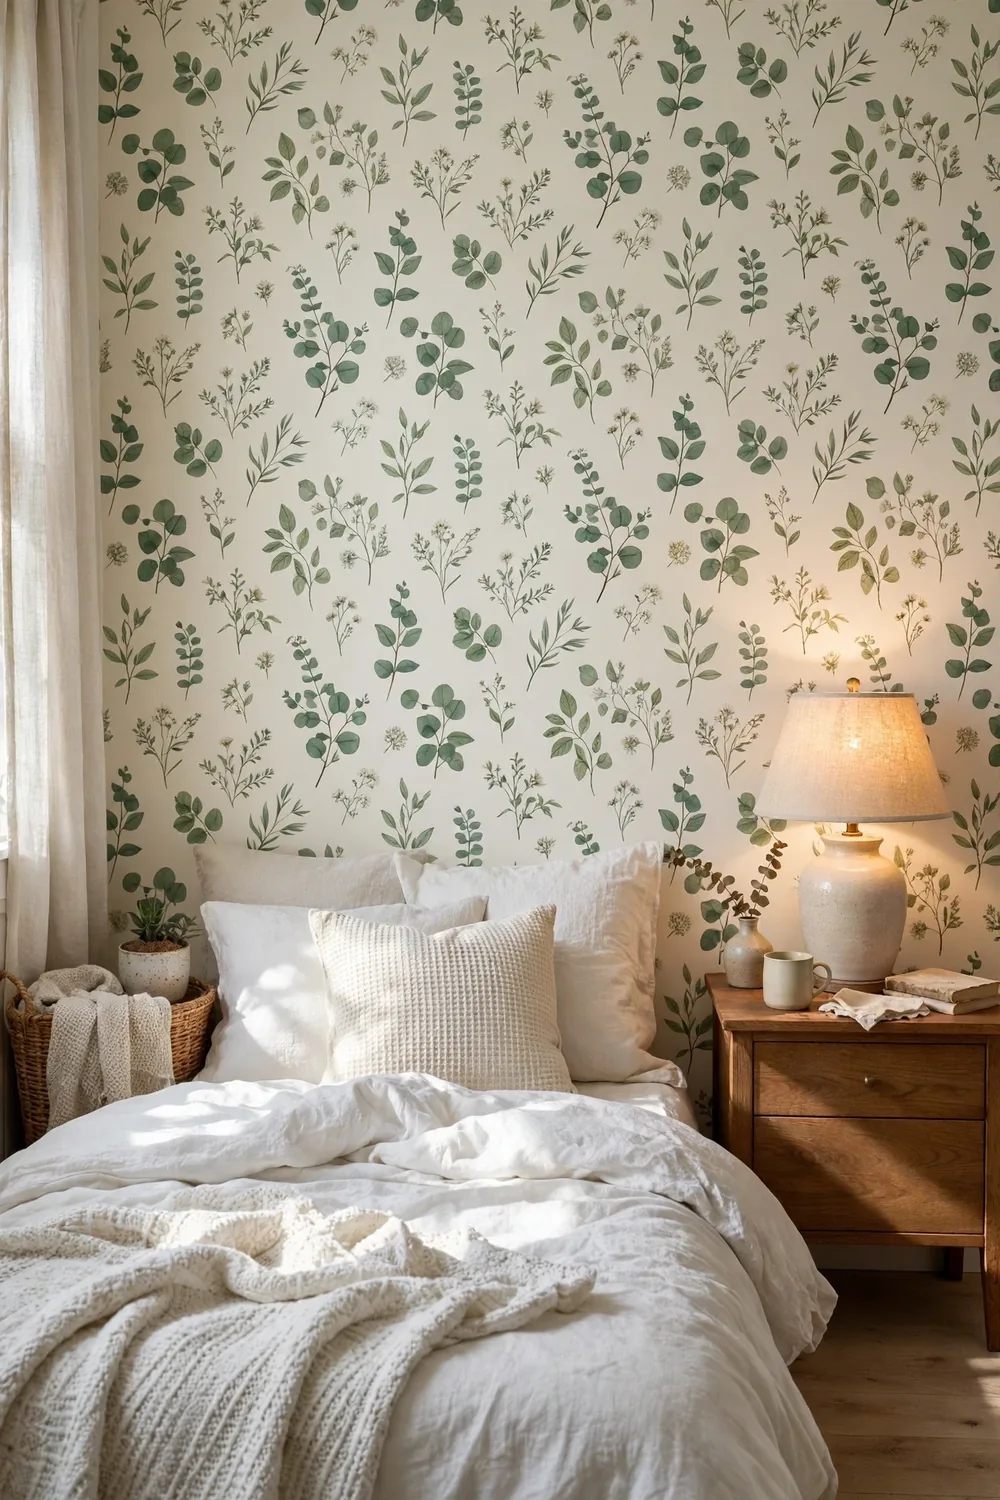
Peel-and-stick wallpaper turns one flat wall into the feature of the room, and it peels off when the lease ends. Start with a single accent wall, ideally the wall behind the bed or the sofa, and keep the other walls plain so the pattern has room to breathe.
Measure the wall first and order one extra roll for pattern matching, because a pattern that runs out mid-wall is the most common regret. Line up the first strip with a level, smooth it down from the center outward, and trim the edges with a sharp blade. Small bubbles can be smoothed out with a dry cloth while the paper is still fresh.
Peel-and-stick paper works best on smooth, clean walls. On textured walls it may lift at the edges, so press the seams firmly and check them again the next day. The same approach behind peel-and-stick kitchen upgrades works here too: one wall, one pattern, and a careful first strip. Removal is slow and gentle: warm the edge, peel it back at a low angle, and go strip by strip.
Time note: about 2 hours for one accent wall, including measuring.
4. Build a temporary slat wall
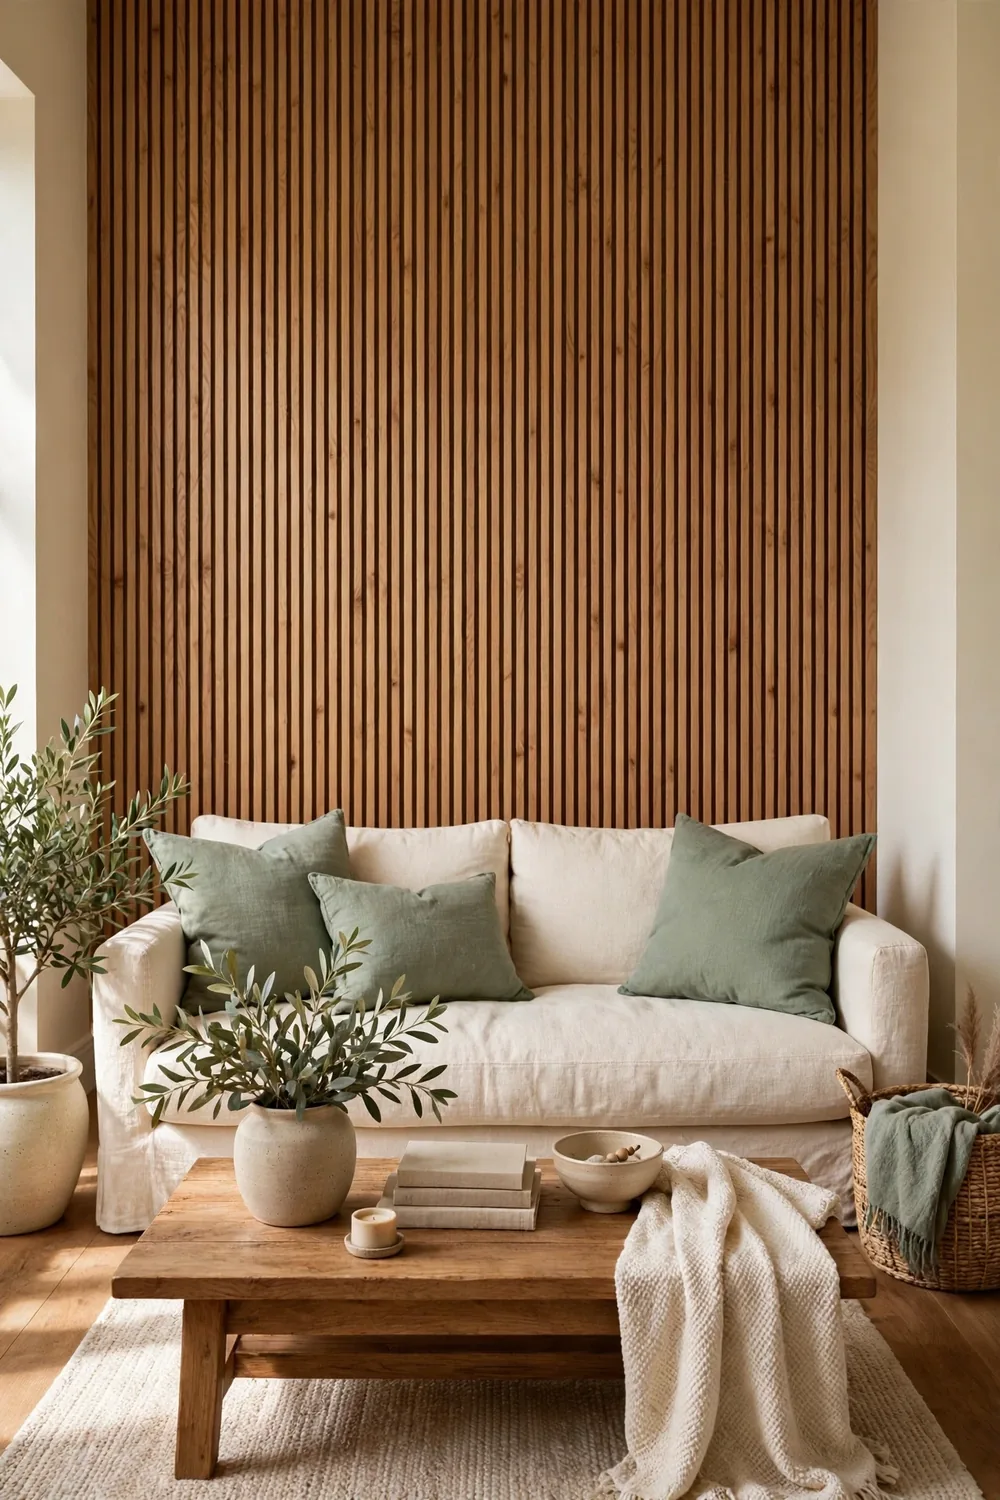
A slat wall is the single most repeated renter-friendly wall treatment in home decor right now, and the reason is simple: it looks built in, and it comes down in pieces. Thin wood slats mounted on a backing board or a simple frame lean against the wall or hang from a couple of removable hooks, so the wall behind stays untouched.
Keep the slats vertical and evenly spaced, about half an inch apart, and let the wall run floor to ceiling behind the sofa or the bed. Warm natural wood against a white wall is the combination that reads best in photos and in person, and a slat wall needs no other decoration to carry the room.
A floor-standing slat panel is the safest version, since the floor carries the weight and the wall only keeps it upright.
Time note: about 3 hours to assemble and place one wall, faster with a second pair of hands.
5. Lean a large mirror and layer around it
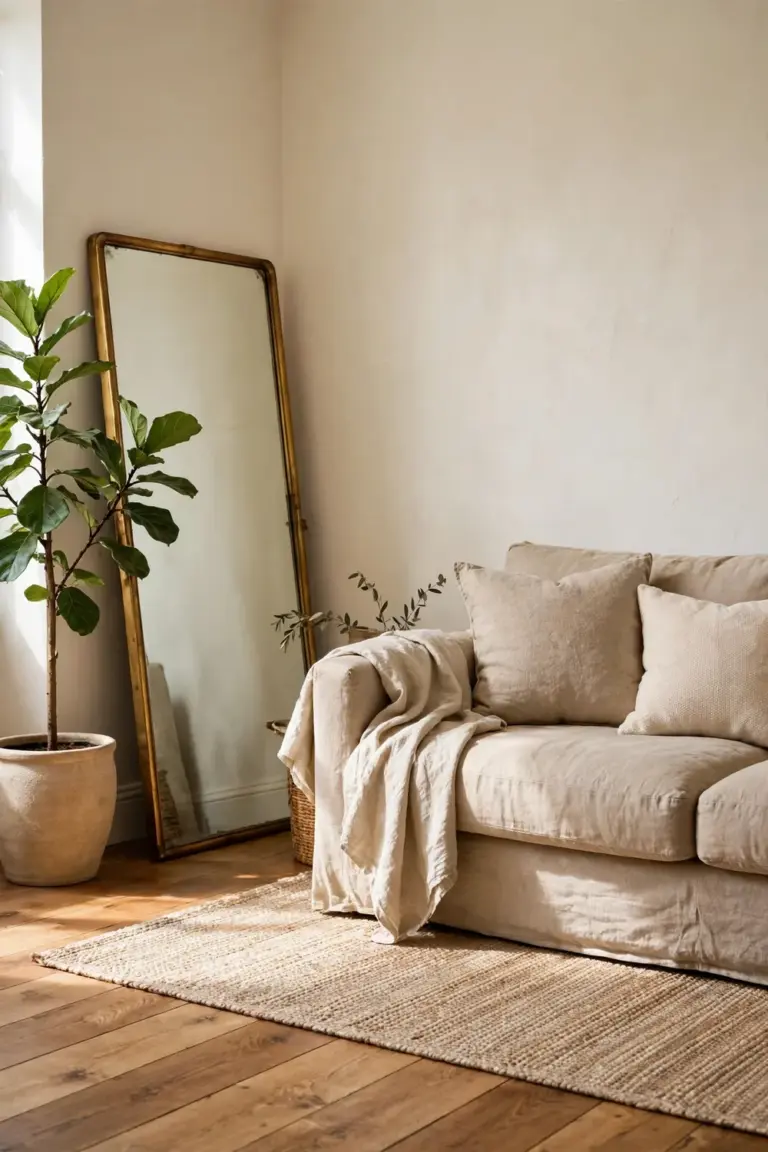
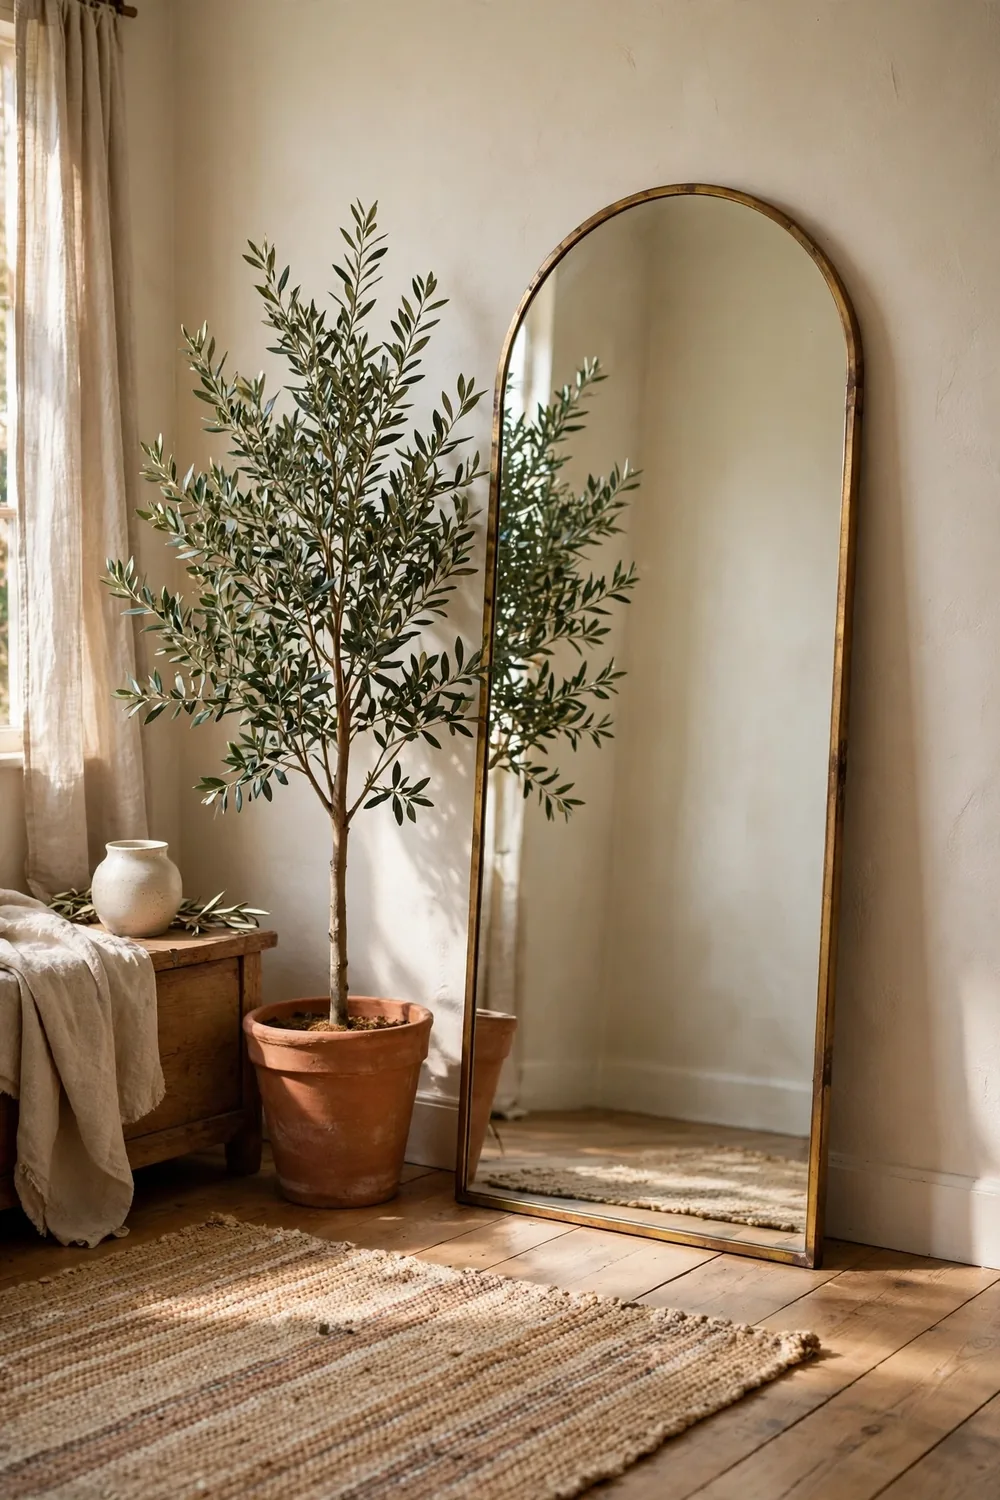
A large floor mirror is the renter’s best friend. It leans against the wall at a slight angle, needs no fixing at all, and makes a small room feel twice as big by bouncing light across it. Place it where it reflects a window or a lamp, never where it reflects clutter.
The formula is three objects, not one: mirror plus a tall plant plus a rug. The plant softens the hard edge of the glass, the rug anchors the corner, and the mirror does the work of opening up the room. A brass frame warms up a white wall, while a thin black frame suits a room with darker furniture.
Keep the base about 4 inches from the wall and the top leaning gently against it, with a small non-slip pad under each foot on a slippery floor.
Time note: about 20 minutes to place and style, including moving the plant into place.
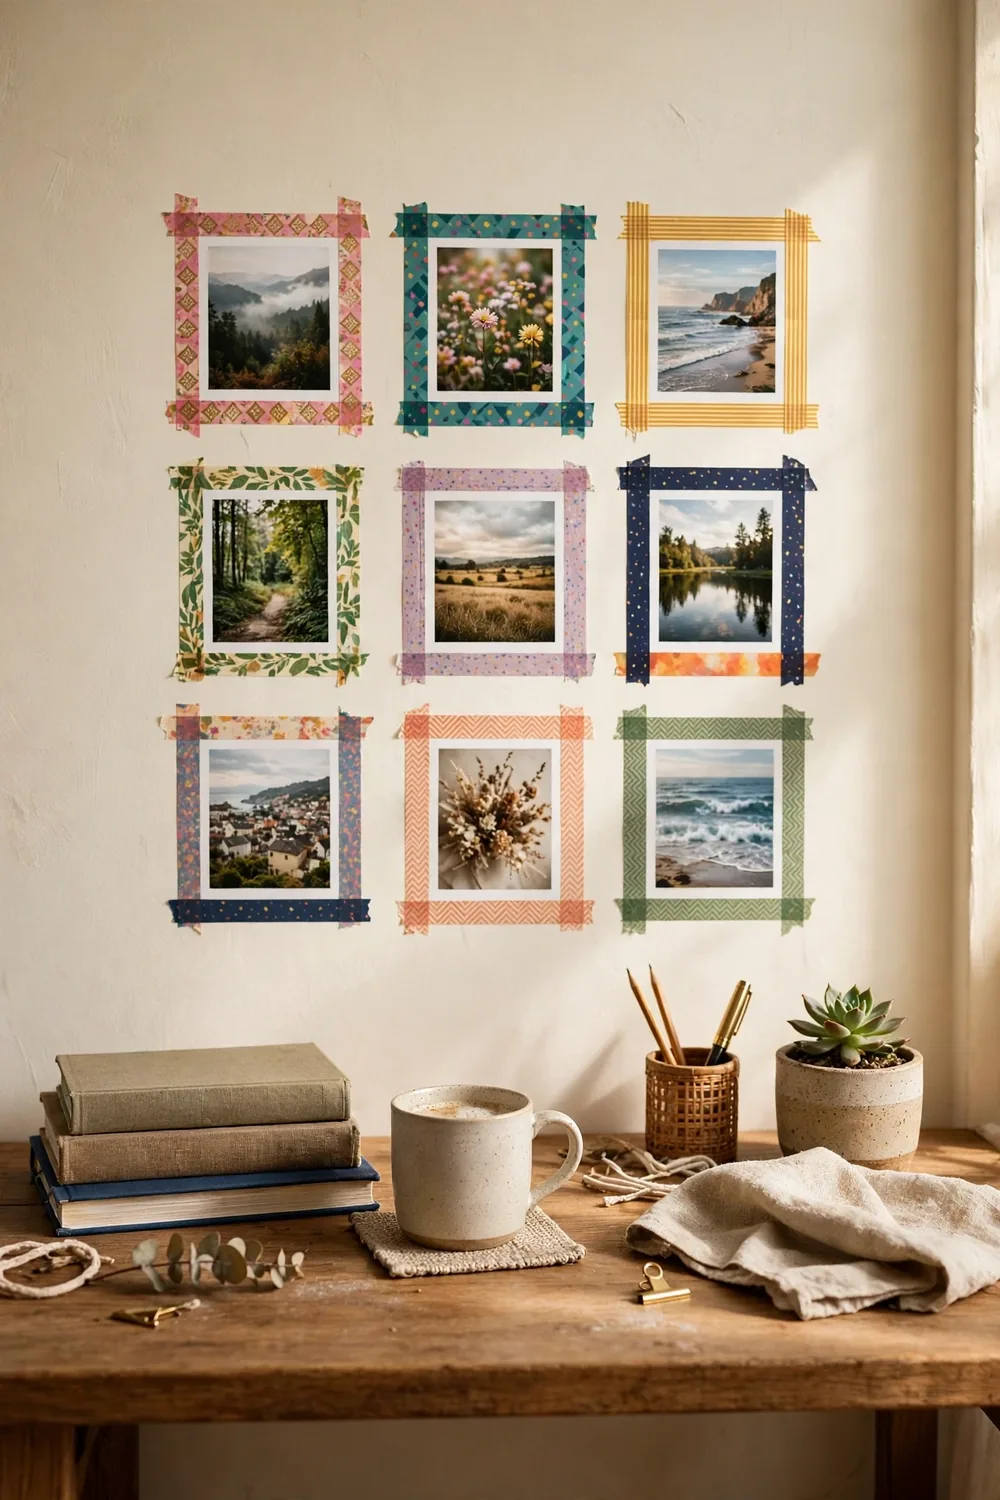
6. Tape a gallery with washi tape frames
Washi tape is the lightest method here and the most forgiving. It sticks to the wall, peels off without a mark, and comes in enough colors to frame a photo, draw a grid, or outline a shape directly on the wall. A row of small prints, each one bordered with a tape frame, reads as a deliberate gallery from across the room.
Lay the grid out on the floor first. Space the prints evenly, about 2 inches apart, and use a level to keep the rows straight, because tape makes crooked lines obvious. Press each tape edge down firmly and smooth out any air bubbles with a fingertip.
Washi tape suits lightweight prints best. Anything heavier belongs on a strip or a ledge, and you can swap the prints inside the same tape frames with the seasons.
Time note: about 45 minutes for a grid of nine prints.
7. Do the removal check before moving out
The last step is the one that protects the deposit: a removal check, done a week before moving day, not the night before. Walk the wall with a list of everything you put up and take each piece down the way its maker recommends, not the fastest way.
Pull adhesive strips straight down, slowly, along the wall, never outward toward you. Warm peel-and-stick paper with a hair dryer on low before peeling it back at a low angle. Wipe the wall with a damp cloth afterward and look at it in daylight, because marks that are invisible at night show up clearly in the morning.
If a strip leaves a mark, clean it gently before trying anything stronger. Most marks are dust or adhesive residue, not damage, and a damp cloth takes care of them. Photograph the wall after everything is down, so you have a record of the condition you left it in.
Time note: about 30 minutes for a whole wall, done a week early.
Common mistakes
Three patterns show up in almost every disappointing renter wall, and each one has a simple fix.
The first is ignoring the weight rating. A strip rated for a small frame gets asked to hold a large one, and the frame comes down overnight. The fix is to check the rating on the pack and use two pairs of strips for anything near the limit, or move heavy pieces to a ledge.
The second is sticking strips to a dusty or damp wall. Adhesive bonds to the dust instead of the paint, and the bond fails within days. The fix is to wipe the spot with a damp cloth, let it dry completely, and only then press the strip on.
The third is yanking strips off at moving time. Pulling outward tears paint and leaves a patch that costs more to fix than the strip ever saved. The fix is to pull slowly, straight down along the wall, and to warm stubborn paper before peeling it.
Editor’s pick
For a first rental wall, we would choose picture ledges plus adhesive strips. The ledges carry the heavier frames and let you restyle in seconds, the strips handle the light pieces with no tools, and together they fill a wall in an afternoon with nothing to patch later. If you only try one idea from this guide, make it the ledges: they are the closest thing to a gallery wall that a renter can undo in a day.
A rental wall is finished when every piece could come down in five minutes and leave nothing behind. The clean removal is the whole point.
FAQ
Do adhesive strips really hold framed art? Yes, within their weight rating. Clean the wall, let it dry, press the strip on for 30 seconds, and wait an hour before hanging. Use two pairs of strips for medium frames and keep heavy pieces on a ledge instead.
Will peel-and-stick wallpaper damage the paint? Not when it is removed the right way. Warm the edge, peel it back slowly at a low angle, and go strip by strip. Test a small hidden patch first if the paint is old or the wall was painted recently.
How do you hang something heavy without nails? You do not hang it, you lean it or set it on a ledge. A large mirror leans against the wall, a heavy frame sits on a picture ledge, and a slat panel stands on the floor.
Can you use adhesive strips on textured walls? They hold poorly on textured plaster, brick, or wallpaper, because the strip only touches the high points. Use ledges, leaning pieces, or tension rods on those walls, and save the strips for smooth painted surfaces.
What should you remove first before moving out? Start a week early with a list of everything you put up. Take down the lightest pieces first, then the wallpaper, then the ledges, photographing the wall after each stage. The removal check in step 7 walks through the whole order.
Related guides
For the room around the wall, the gallery wall ideas guide shows how even spacing and paper templates turn a blank wall into a finished one, and the small living room ideas guide uses the same edit-first logic at room scale.