Beginner DIY Wall Paneling and Trim Projects
A flat wall can look built in after one weekend, with trim boards, a level, and paint in a single color. The seven projects below start with a hallway board and batten and end with a picture frame molding wall, each one sized for a first timer and finished in about 6 hours or less. Every cut can be made with a hand saw or a rented miter saw.
Most plain walls are not boring because of the paint. They are boring because nothing breaks up the flat surface. A strip of trim adds a shadow line, a rhythm, and a sense of architecture, and the eye reads the room as designed rather than merely painted. The beginner versions are mostly measuring, cutting straight lines, and painting carefully.
Why does trim make a plain wall look finished?
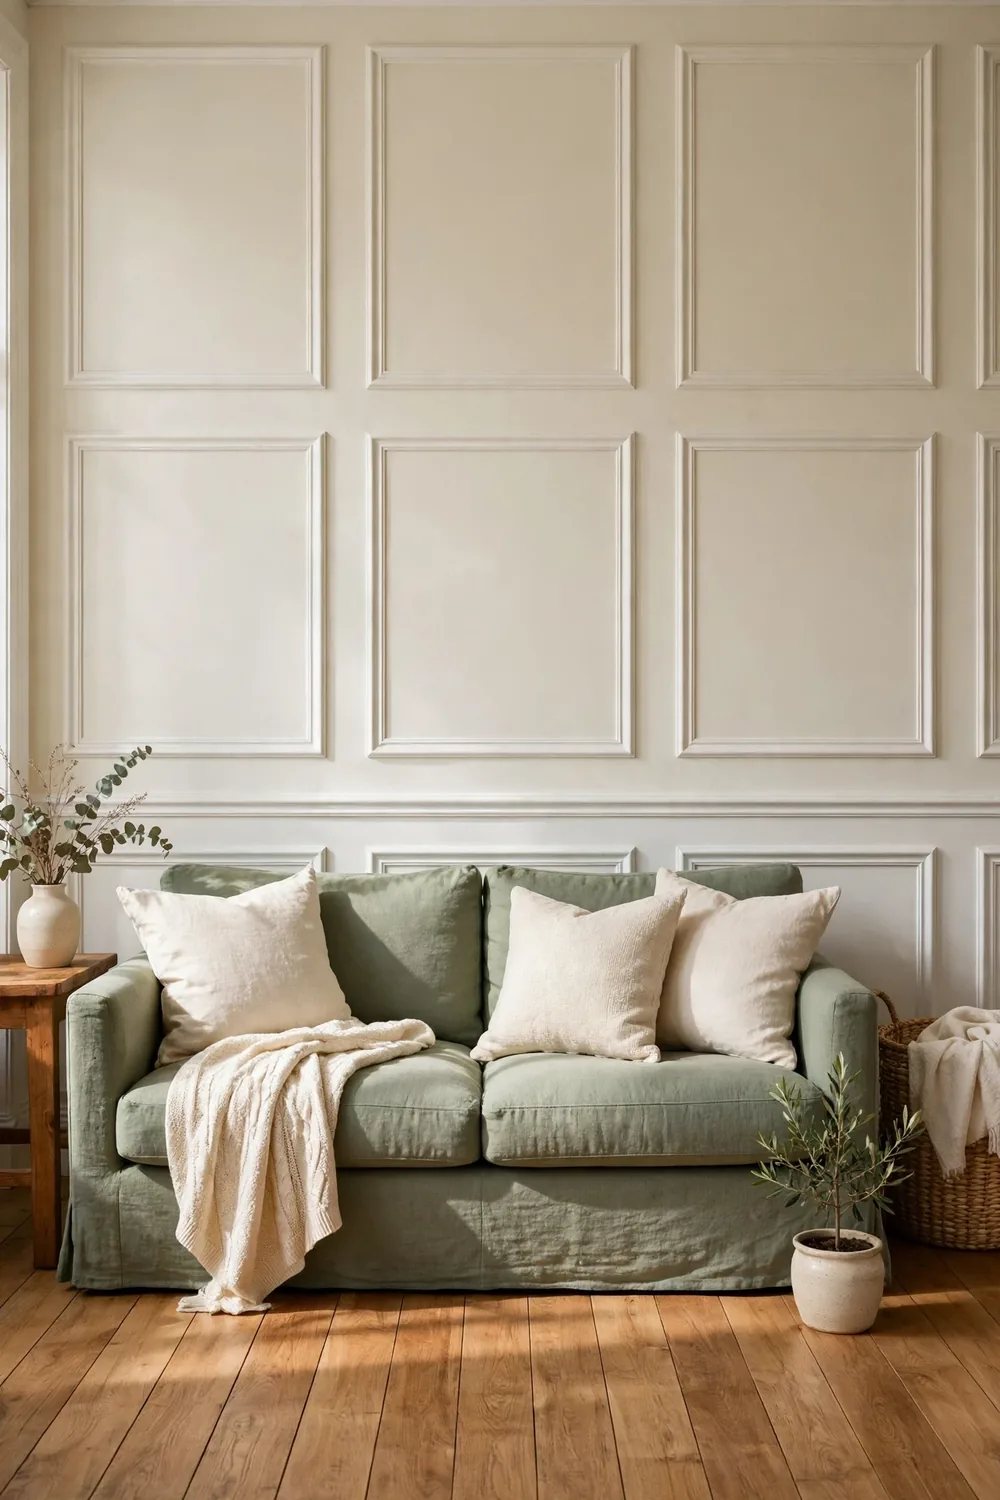
Trim works because it gives the eye something to follow. A horizontal rail at chair height, a row of square panels, or a set of vertical slats breaks a large flat wall into proportions, and proportions are what make a room feel considered.
Three details do most of the work: straight lines, even spacing, and one paint color across wall and trim. Straight lines signal care, even spacing signals a plan, and a single color hides small gaps. Get those three right and the wall reads as finished before the furniture goes back.
The beginner mistake is starting with the hardest wall in the house. Start with a hallway or a small bedroom wall instead: narrow, low stakes, and a good teacher for the measuring and cutting that every later project needs.
What are the 7 beginner paneling and trim projects?
Seven projects and skills, from the first board to the finished styling.
1. Board and batten in the hallway
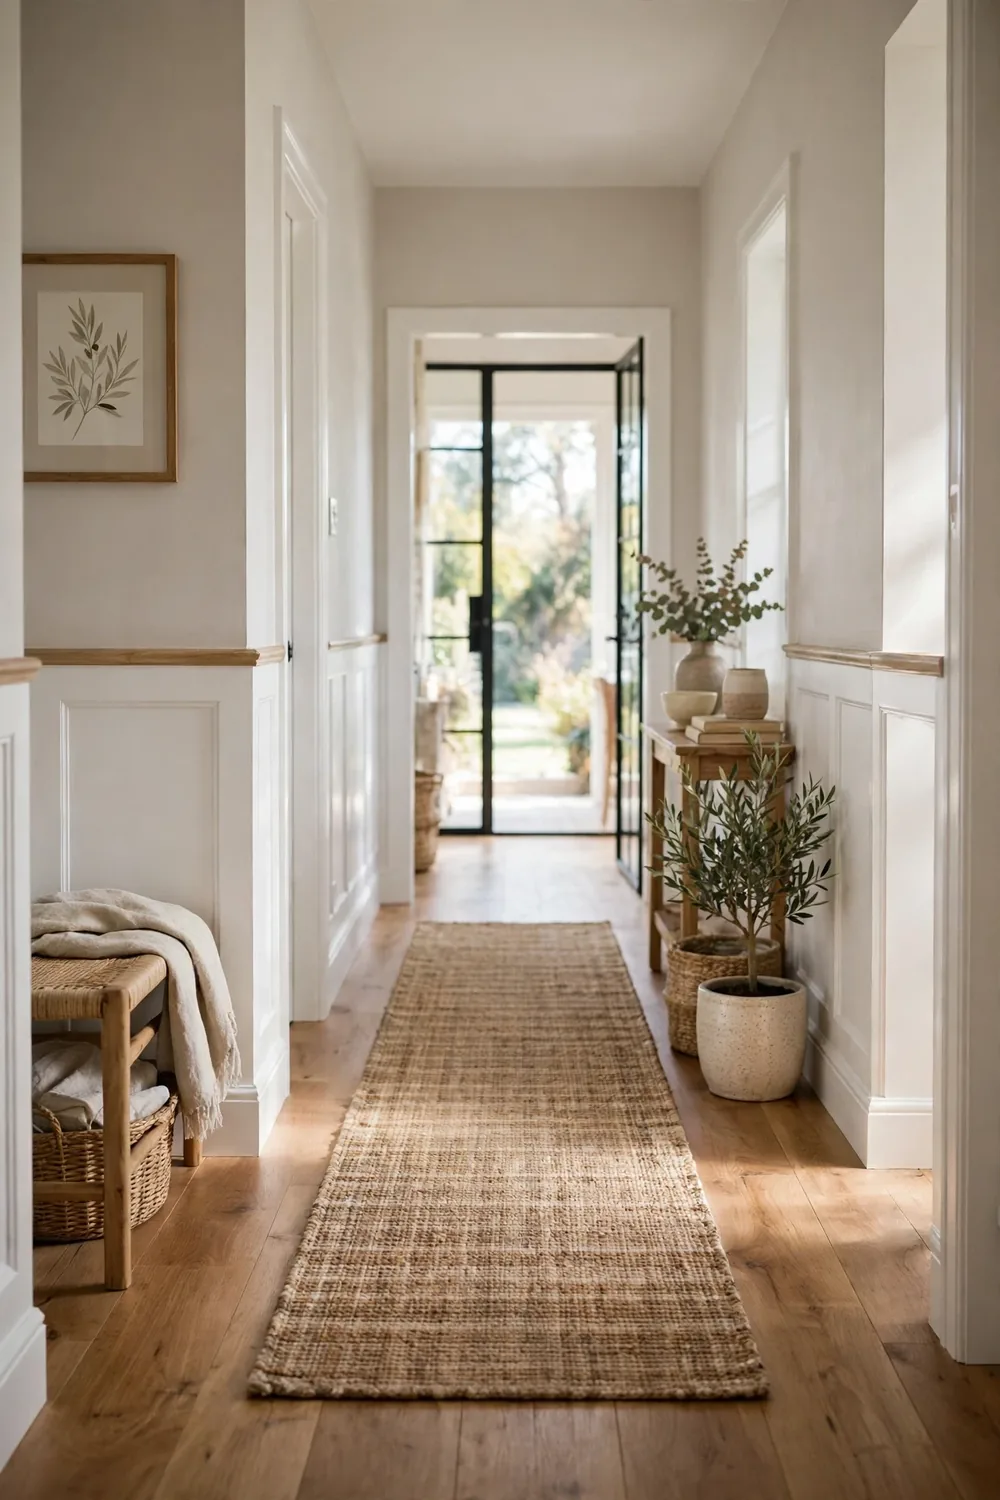
Board and batten is the best first paneling project because it is the most forgiving. Vertical boards run from the floor to a horizontal rail, usually about 3 feet up the wall, and the rail hides any unevenness at the top of the boards. A hallway is the ideal room: it is narrow, it is seen in passing, and one wall transforms the whole space.
Space the vertical boards about 16 to 24 inches apart and keep the spacing even, because the eye notices a gap that drifts. Cut each board to fit its own spot, since floors and ceilings are rarely level. Paint the wall and the trim the same color so the whole lower wall reads as one built-in piece.
Time note: about 4 hours for one hallway wall, including painting.
2. Picture frame molding on one wall
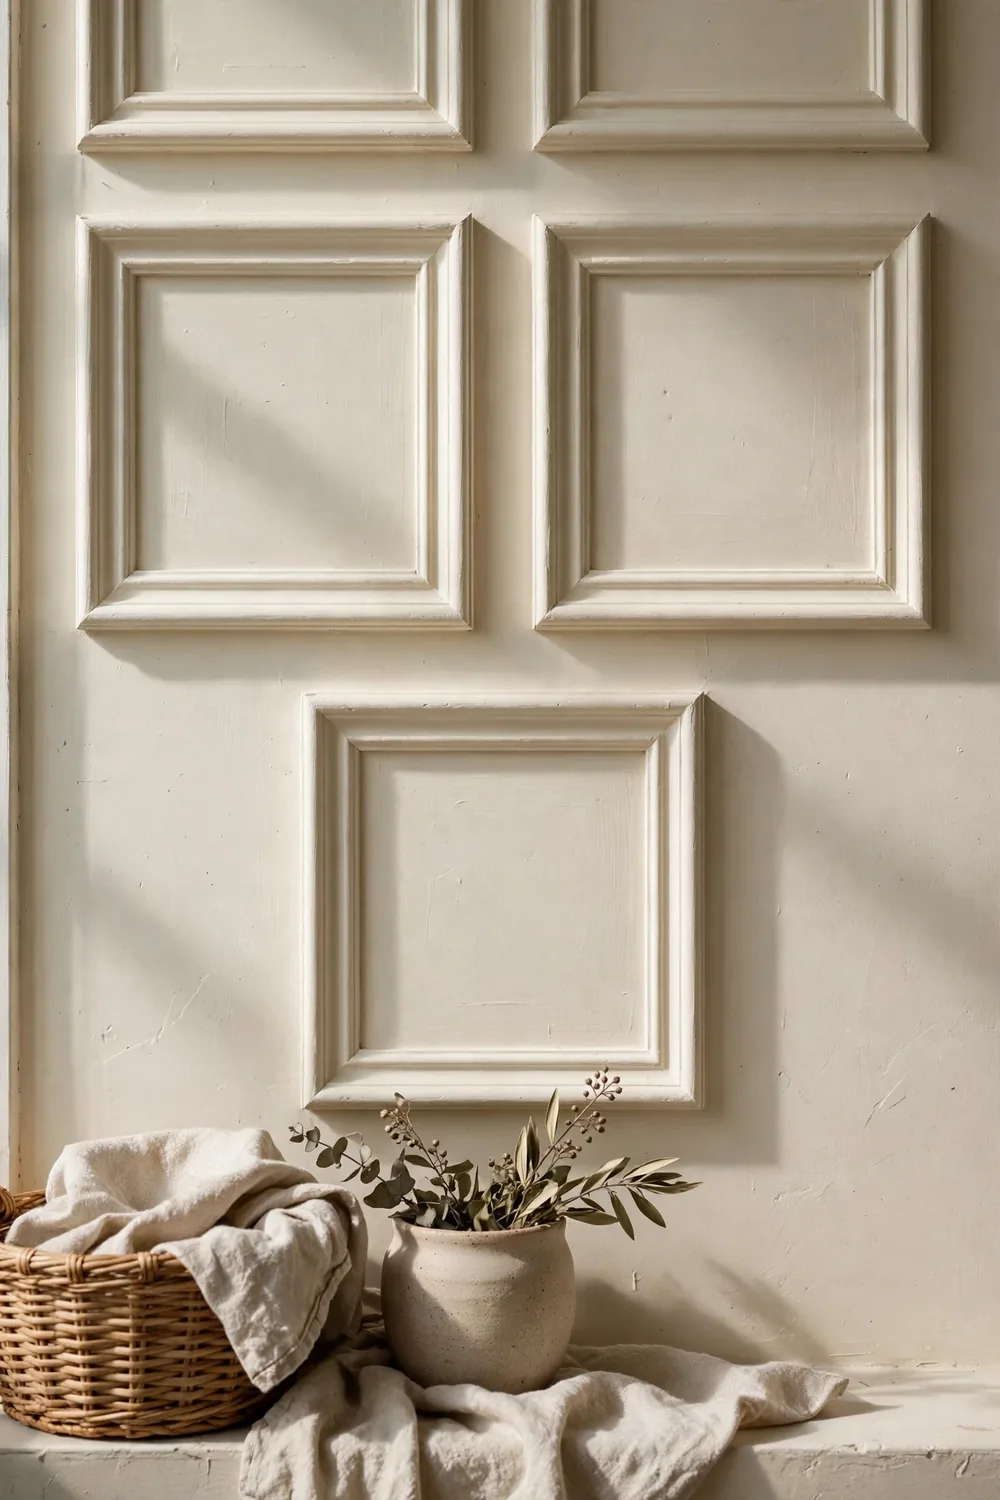
Picture frame molding is the most photogenic beginner trim: square or rectangular boxes of thin molding applied to a flat wall, painted the same color as the wall. The geometry is the decoration, and the effect is a wall that looks like it came with the house.
Pick one wall, ideally the wall behind the sofa or the bed, and draw the layout on paper first. Keep the boxes the same size across the wall, leave about 4 inches between each box and the edges, and use a level for every piece. A box that tilts even slightly is the first thing the eye catches, so check each one before the adhesive sets.
Thin molding, about 1 to 2 inches wide, suits most rooms, while wider molding suits taller walls. Start with the largest box, work outward, and stand back after every two boxes to check the whole wall.
Time note: about 5 hours for one wall, including painting.
3. A vertical slat accent wall
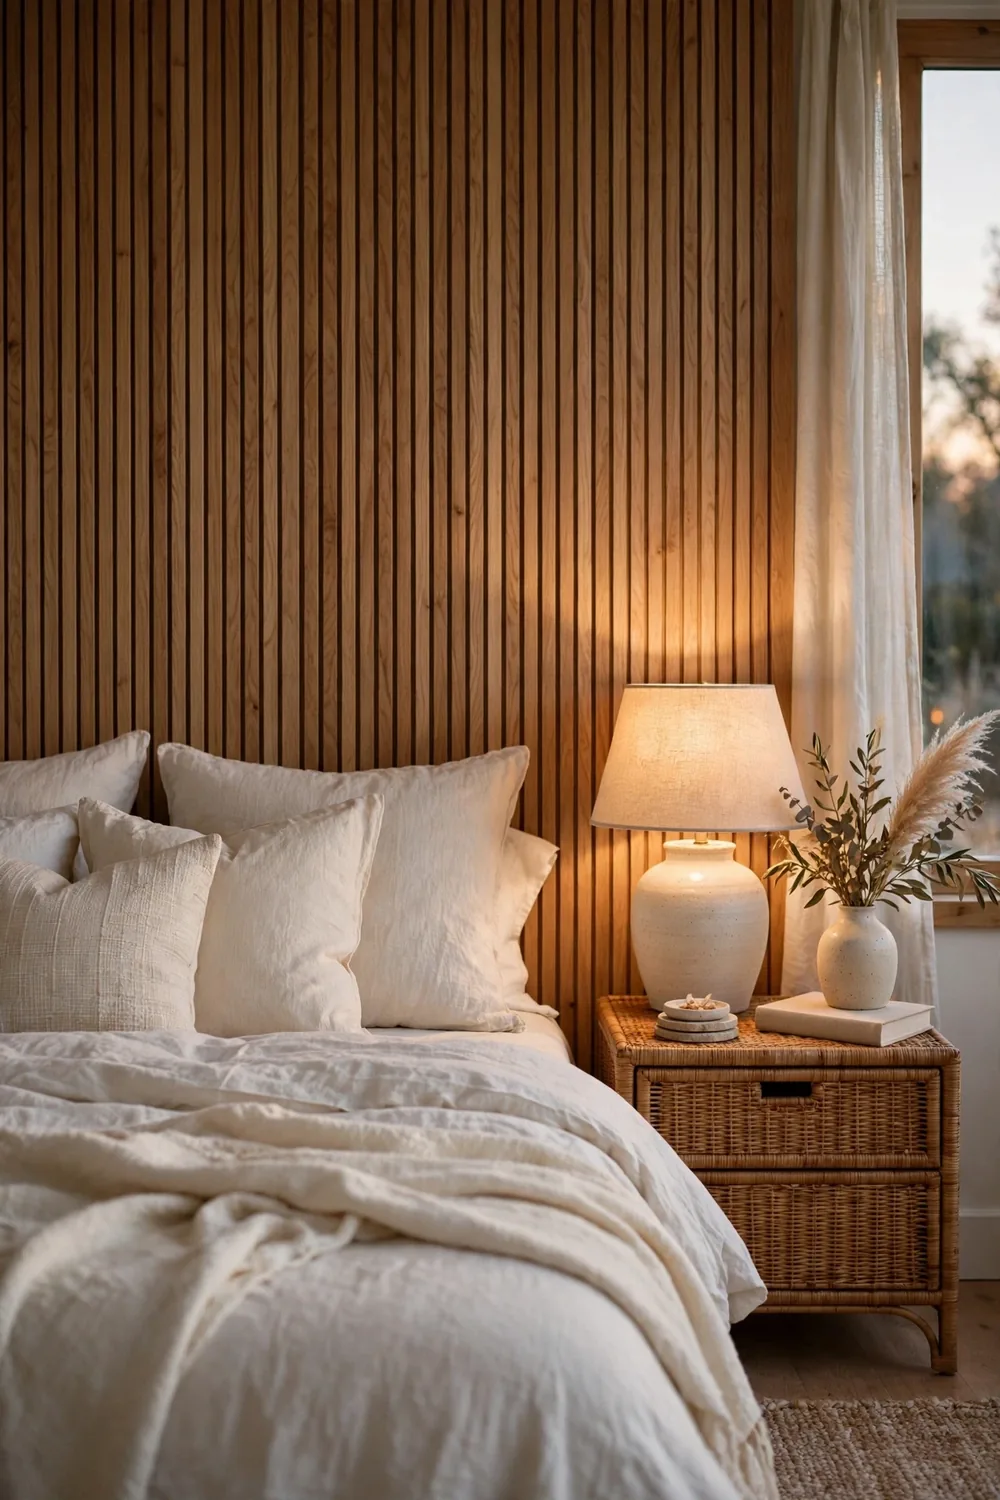
A slat accent wall is the fastest way to add warmth to a plain room. Thin vertical wood slats run floor to ceiling, spaced about half an inch apart, and the warm wood against a white wall carries the whole room with no other decoration needed.
The beginner version uses pre-cut slats fixed to a backing strip, so there is no complex joinery. Mark the spacing with a pencil and a level, then fix the slats one at a time, checking each gap with a small spacer block.
Slats suit the wall behind a bed or a sofa best, where the furniture hides the bottom edge and the eye reads the full height. Keep the rest of the room calm: one bold wall, plain walls elsewhere, and the slats do the talking.
Time note: about 6 hours for one wall, or about 3 hours with a second pair of hands.
4. Measure and mark the layout first
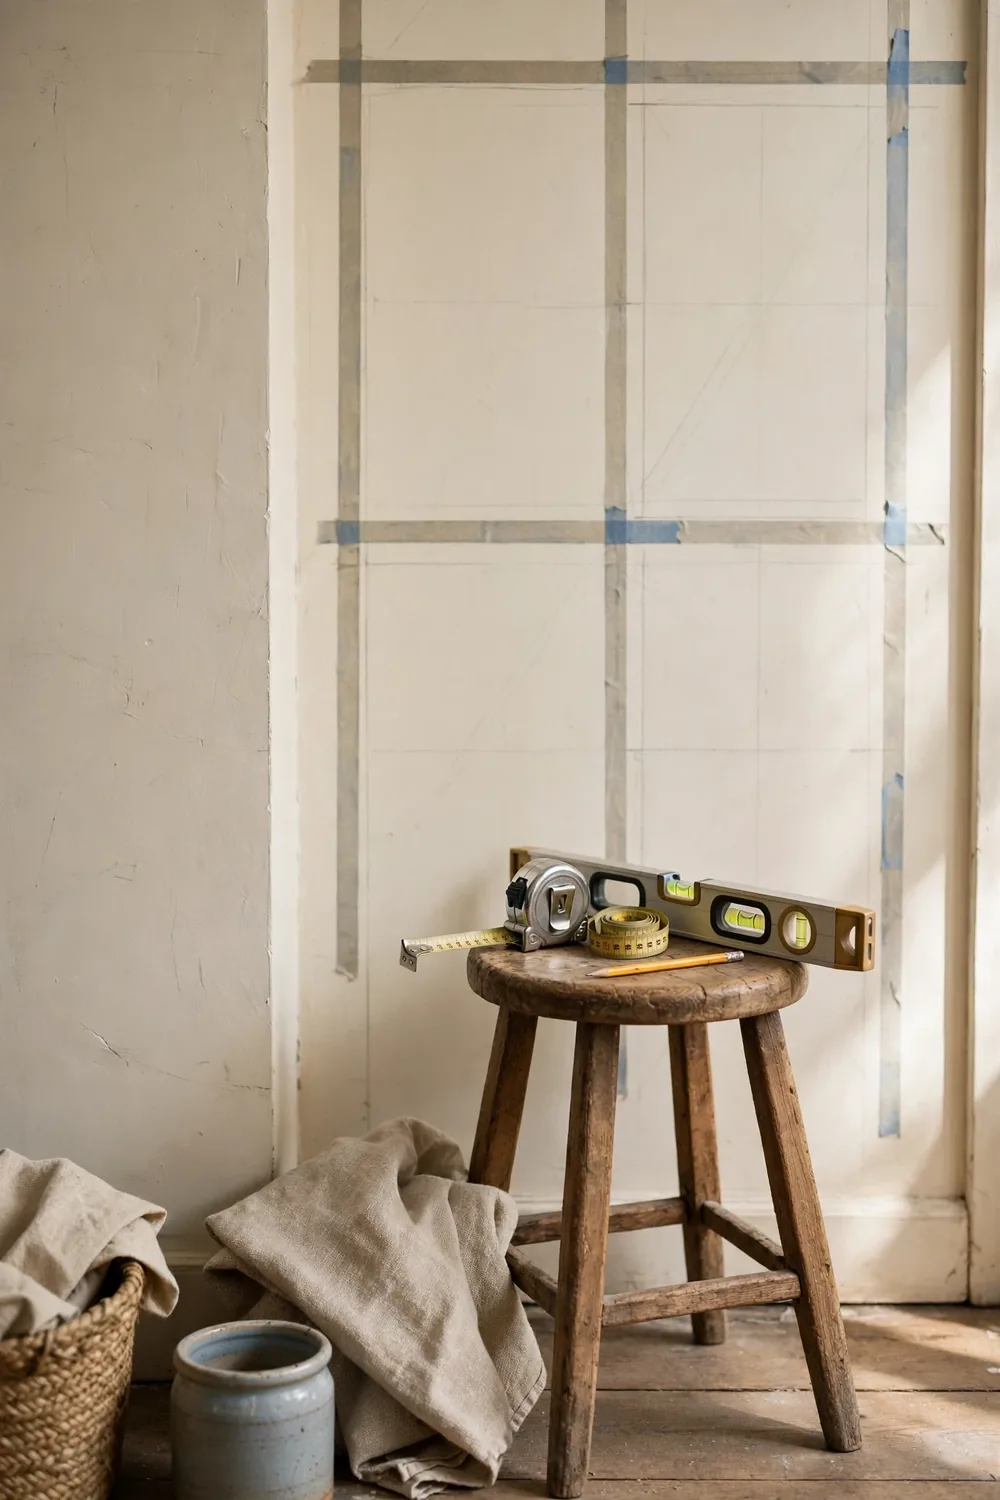
This is the step that makes every other project work. Measure the wall twice, draw the layout on paper, then transfer the marks to the wall with a pencil and painter’s tape. Live with the taped layout for an evening and notice whether the proportions feel right from the places you actually use the room.
A level is the single most important tool here, more important than any saw. Mark a level horizontal line for the rail first, then mark the vertical positions from that line, not from the floor, because floors slope and a rail that follows the floor looks crooked.
Tape the layout to the wall before cutting anything. It catches the mistakes that are expensive to fix after cutting: a panel too wide for the wall, boxes that crowd a door frame, or spacing that looked even on paper and looks wrong on the wall.
Time note: about 30 minutes of measuring saves hours of fixing later.
5. Cut and fit the trim pieces
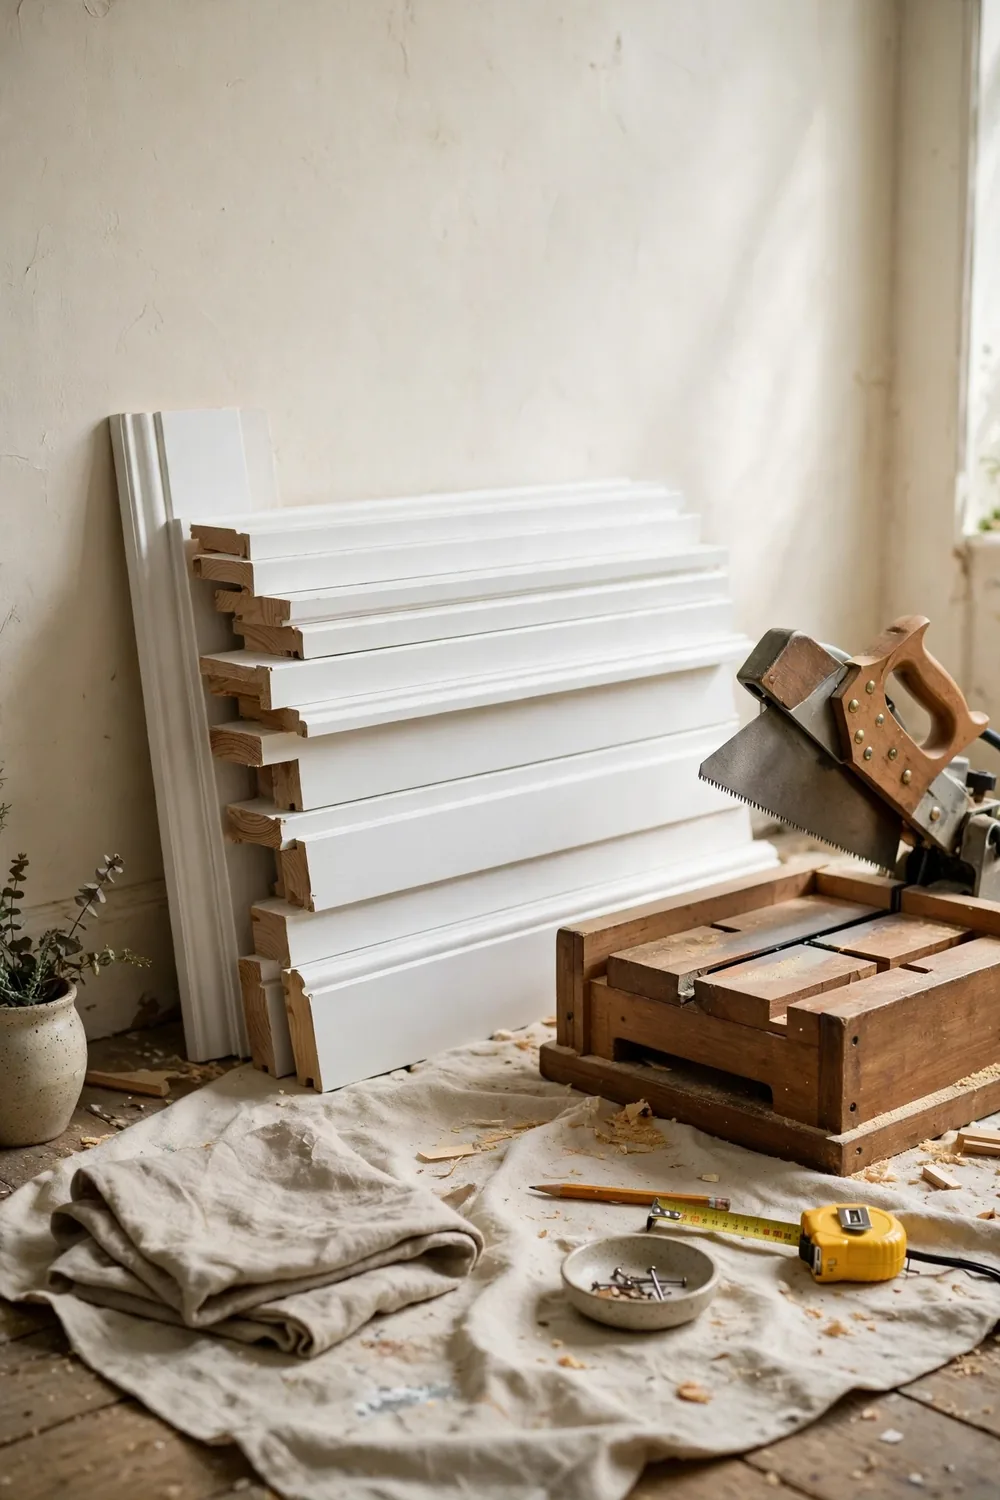
Cutting trim is mostly patience. Measure each piece where it will go, mark the cut with a pencil, and cut slowly with a hand saw and a miter box, or a rented miter saw if the project is large. A miter box guides the saw at 45 degrees for the corners, and it costs far less than a power saw for a first project.
Cut one piece at a time and test-fit it before cutting the next, since walls are rarely square. Label each piece on the back as you go, so they do not get mixed up.
For corners, cut two pieces at 45 degrees and join them so the seam runs diagonally. The joint reads as a clean corner when the angles match, and a small gap can be filled later. If a cut goes wrong, trim a fresh piece rather than forcing a short one into place.
Time note: about 1 hour of cutting for one wall, slower on the first project.
6. Caulk, fill, and paint for a built-in look
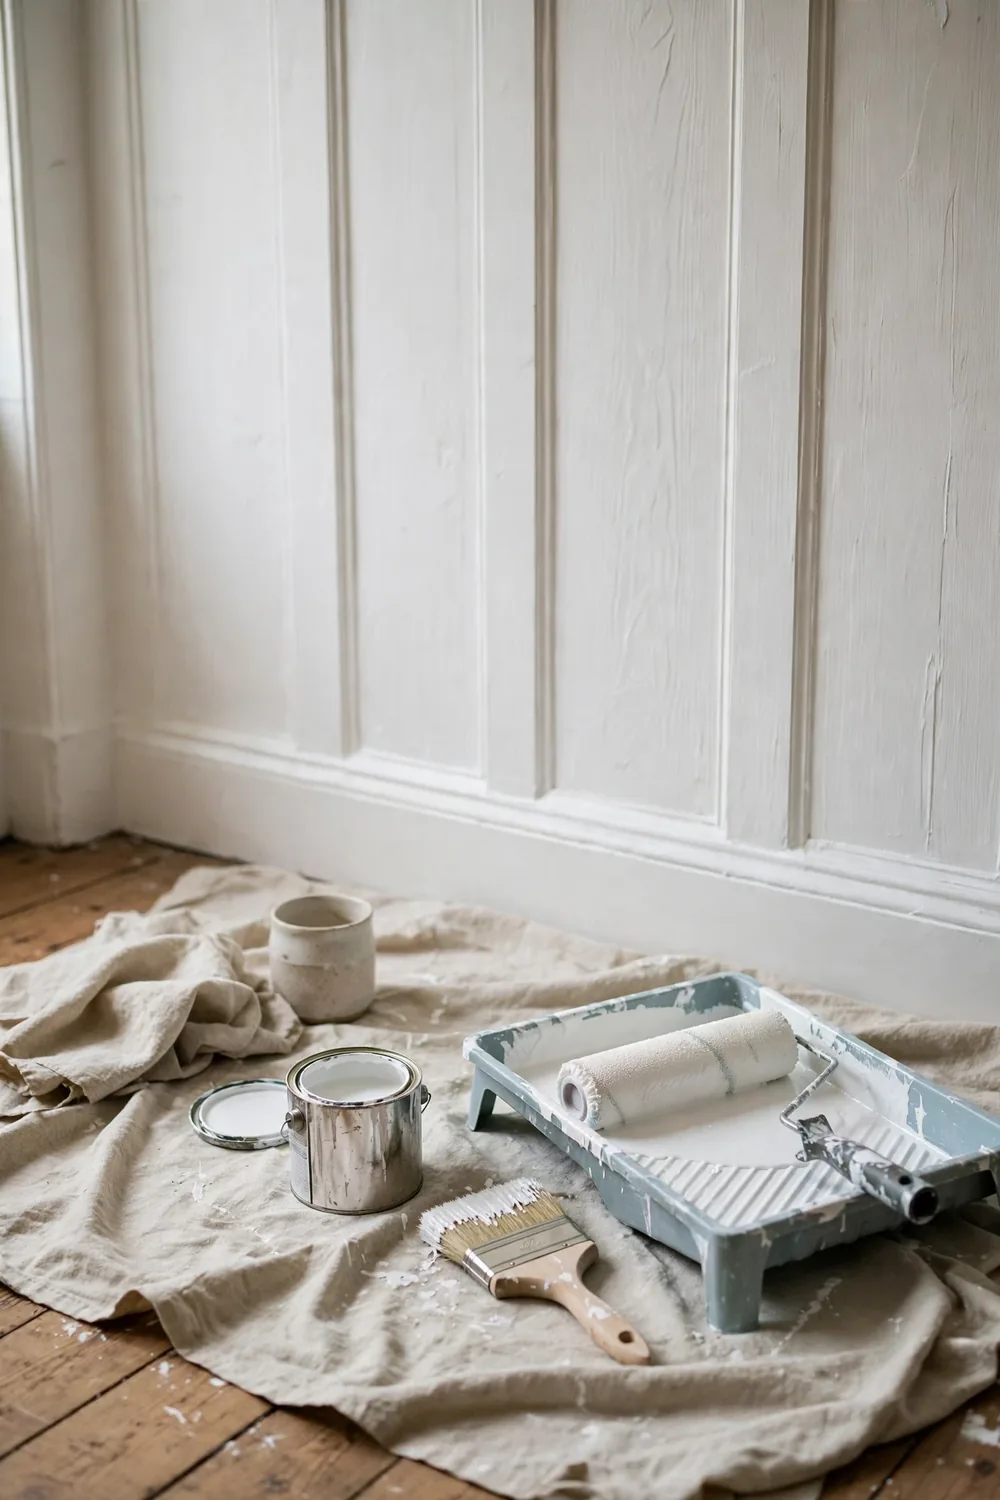
Caulk and filler are what separate a beginner wall from a professional one. Run a thin bead of paintable caulk along every seam where trim meets the wall, smooth it with a damp finger, and let it dry before painting. Fill nail holes and small gaps with wood filler, sand them smooth when dry, and wipe away the dust.
Paint wall and trim the same color and finish, and the whole wall reads as one built-in piece. Two thin coats beat one thick coat: they dry evenly, hide brush marks, and keep the shadow lines crisp. Let the first coat dry fully before the second.
The most common regret is painting before the caulk dries. Wet caulk under paint cracks and peels, and the fix is sanding it out and starting that section again. Give the caulk the drying time on the tube, not the time you hope it needs.
Time note: about 2 hours for caulking, filling, and two coats on one wall.
7. Style the finished wall so the trim leads
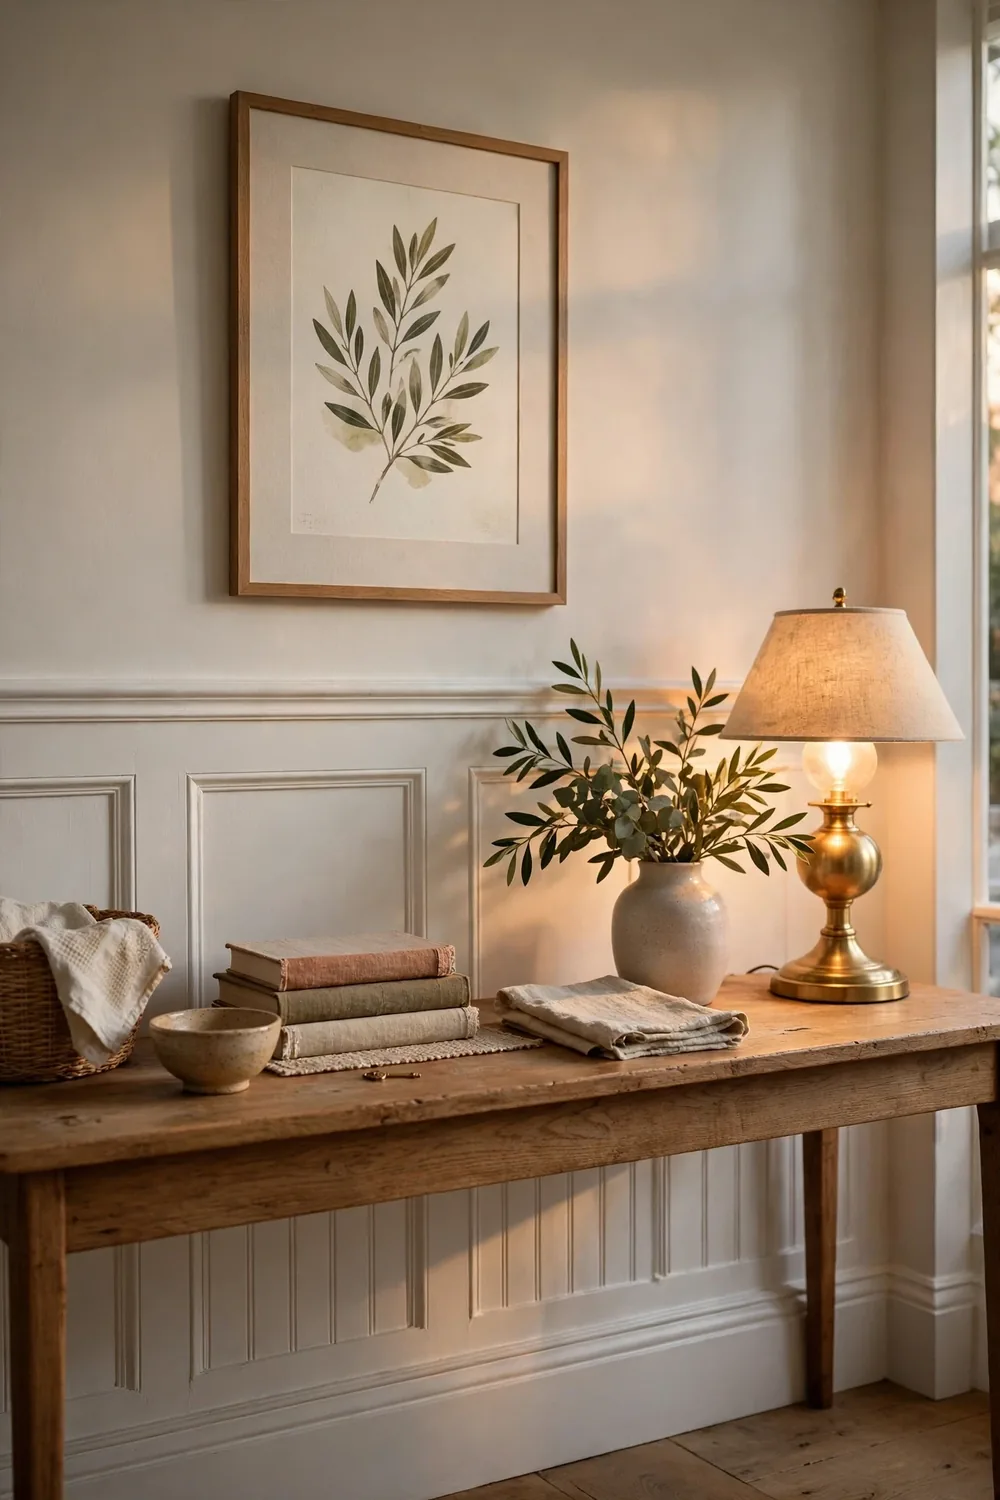
A finished panel wall needs less styling than a plain wall, not more. The trim is already the decoration, so keep the furniture and art quiet and let the geometry lead. One piece of art inside a molding box, or one low console against a slat wall, is enough.
Hang art inside the panels rather than across them, so the frame sits within the geometry instead of fighting it. The gallery wall guide follows the same even spacing logic, and it applies here too: a frame centered inside a molding box looks deliberate, while a frame that crosses a trim line looks like a mistake. The same eye for proportion behind the curtain length rules applies to the whole wall: measure from a level line, not from the floor, and the result reads as intentional.
Step back and look at the wall from the doorway, where visitors see it first. If one panel draws the eye, check it for a tilted line or an uneven gap.
Time note: about 30 minutes to style, after the paint dries fully.
Common mistakes
Three patterns show up in almost every disappointing paneling project, and each one has a simple fix.
The first is measuring once and cutting everything at once. Floors slope and walls lean, so a board cut to the plan may not fit its actual spot. The fix is to measure each piece where it will go and cut one piece at a time.
The second is skipping the caulk and filler. Unfilled seams and nail holes show clearly once the paint dries, and the wall reads as stuck-on trim. The fix is a thin bead of caulk on every seam, filler in every hole, and a light sanding before painting.
The third is painting trim a different color before checking the gaps. A contrasting color makes every small gap and crooked line visible, which is the opposite of what a first project needs. The fix is to paint wall and trim one color for the first project, and save the two-tone look for the second wall.
Editor’s pick
For a first paneling project, we would choose the hallway board and batten in a single color. The hallway is narrow, the rail hides uneven tops, one paint color hides small gaps, and the whole project finishes in an afternoon. It teaches measuring, cutting, and caulking on a wall where the stakes are low, and the result is a hallway that looks like it was always meant to be there.
Trim looks expensive when the lines are straight and the paint is one color. The cuts can be imperfect; the lines cannot.
FAQ
What is the easiest wall paneling for a beginner? Board and batten in a hallway. The vertical boards are simple cuts, the horizontal rail hides uneven tops, and the narrow wall keeps the project small. Most first timers finish one hallway wall in about 4 hours.
Do you need a miter saw for wall trim? No. A hand saw with a miter box cuts 45 degree corners cleanly and suits a first project. Rent a miter saw only if the project covers several walls.
How do you keep paneling straight on an uneven wall? Work from a level line, not from the floor. Mark the rail height with a level, then measure every vertical piece from that line. Small gaps where the trim meets a wavy wall disappear under a thin bead of caulk.
Should trim and wall be the same color? For a first project, yes. One color hides small gaps and crooked cuts, and the trim geometry becomes the decoration. A contrasting color shows every flaw, so save it for a second project.
Can renters do wall paneling? Most paneling needs screws or adhesive that a lease will not allow, so renters are better served by removable methods. The renter-friendly wall decor guide covers ledges, leaning pieces, and temporary slat panels that give a similar look with no holes at all.
Related guides
For the wall next to the paneling, the gallery wall ideas guide shows how even spacing turns framed art into a finished wall, and the curtain length and placement guide fixes the other most common wall mistake, curtains hung too short.