Peel-and-Stick Upgrades That Transform a Rental Kitchen
Short answer: A rental kitchen changes completely with peel-and-stick: backsplash tiles, marble contact paper on the counters, contact paper on the cabinets, and new brass pulls. The whole project costs about $150 to $175, takes one weekend of hands-on work, and comes off clean when you move out. No paint, no drilling, no landlord fight.
| Total cost | About $150 to $175 |
| Hands-on time | One weekend, about 8 to 10 hours |
| Test patch | 24 hours, before you buy the rest |
| Difficulty | Easy to medium, no power tools |
| Reversible | Yes, everything peels off |
I cook in my rental kitchen every night, so I look at its backsplash more than any other wall in the house. Mine was beige tile from the last century, cabinets the colour of weak tea, and a countertop with a burn mark. The landlord said no to paint, so this whole makeover is built from things that peel off.
What changes first in a rental kitchen?
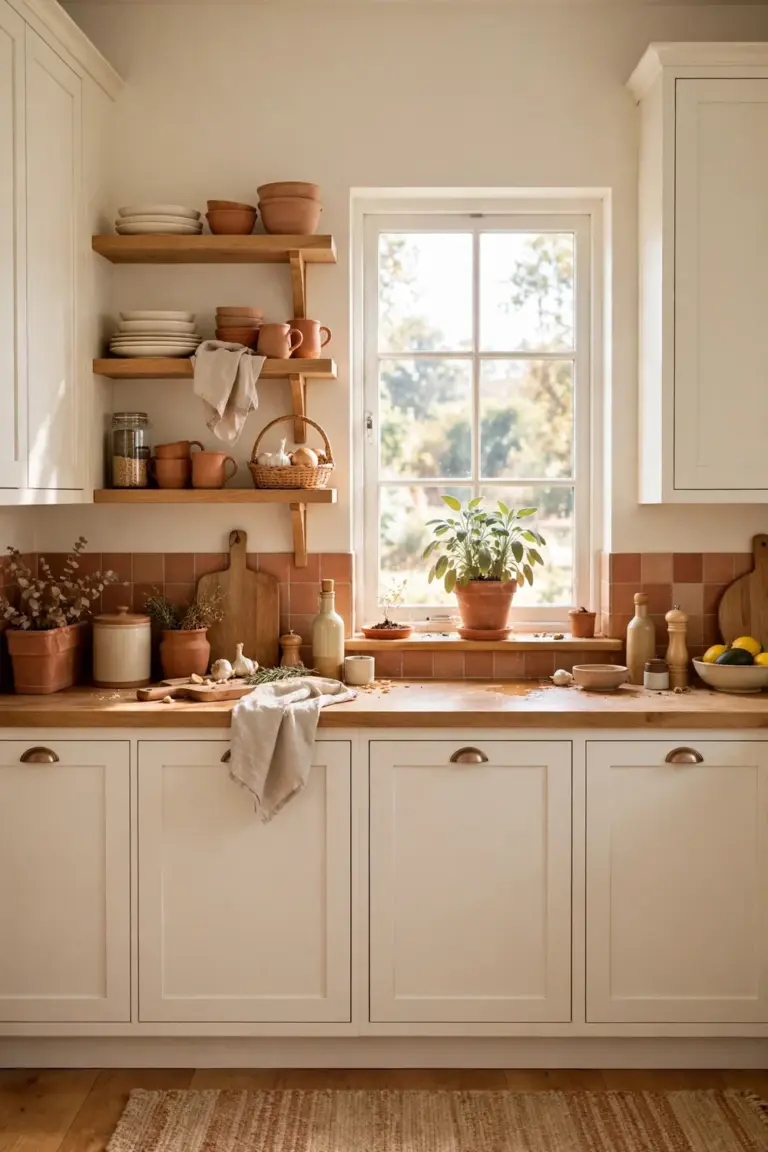
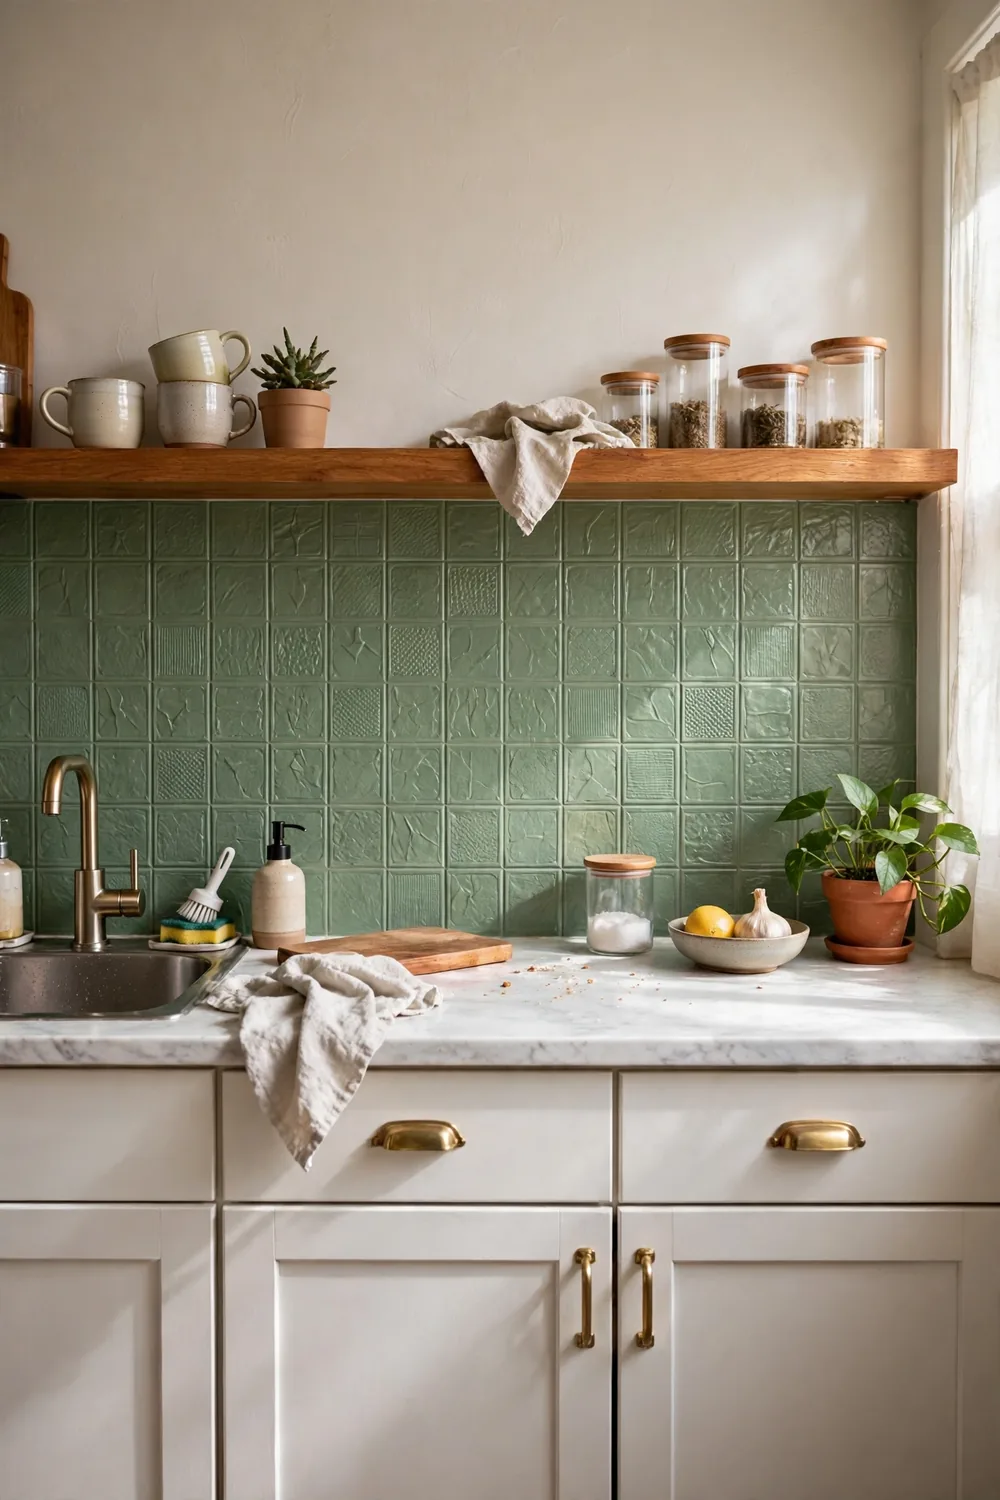
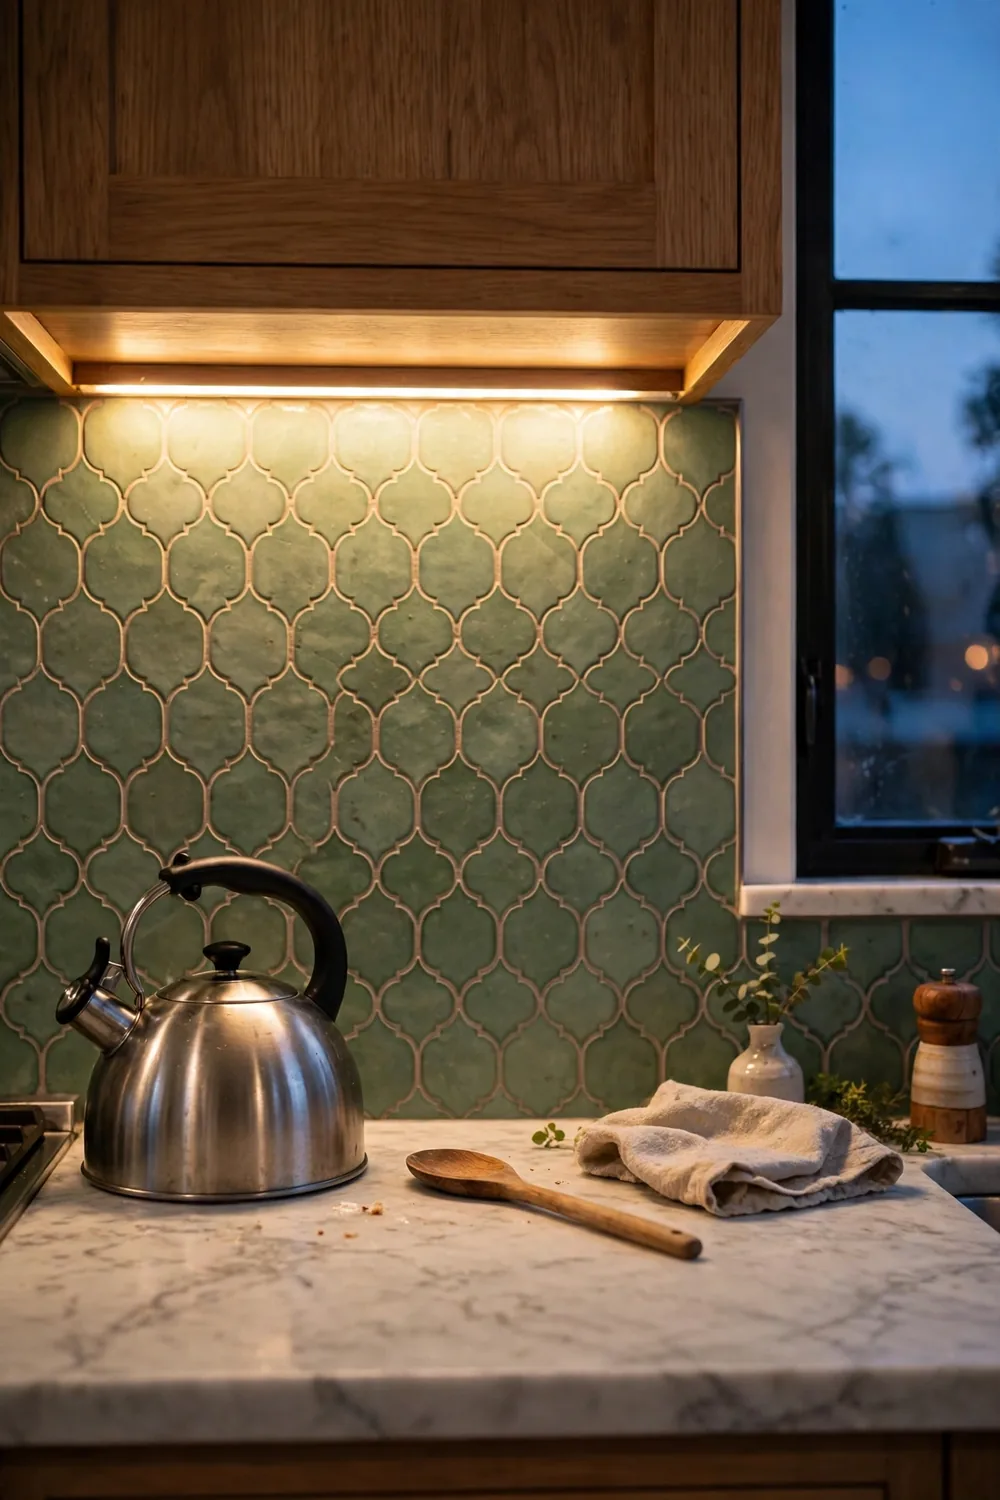
The backsplash. It is a small area, about 12 square feet in a typical rental kitchen, and it carries the whole colour story. One row of green textured peel-and-stick tiles above a white marble-look counter reads as a designed kitchen, even with the original cabinets. That exact pairing is the look of the most-saved rental kitchen pins in our research.
Searches for “renter friendly kitchen” recur at the top of Pinterest search, and “secondhand kitchens” searches are up 1,012 percent. Millions of renters cook in kitchens they cannot renovate, and peel-and-stick is the answer that fits a lease. Order: backsplash first, counters second, cabinets third, hardware and light last. Start with the strip behind the stove and the sink.
The shopping list
Buy the backsplash first and test one tile. Stick it where the grease and steam are worst, usually right behind the stove, and leave it for a full day. If it is still flat the next evening, the adhesive likes your wall. If a corner lifts, your wall is textured or greasy, and you need the plexiglass method below.
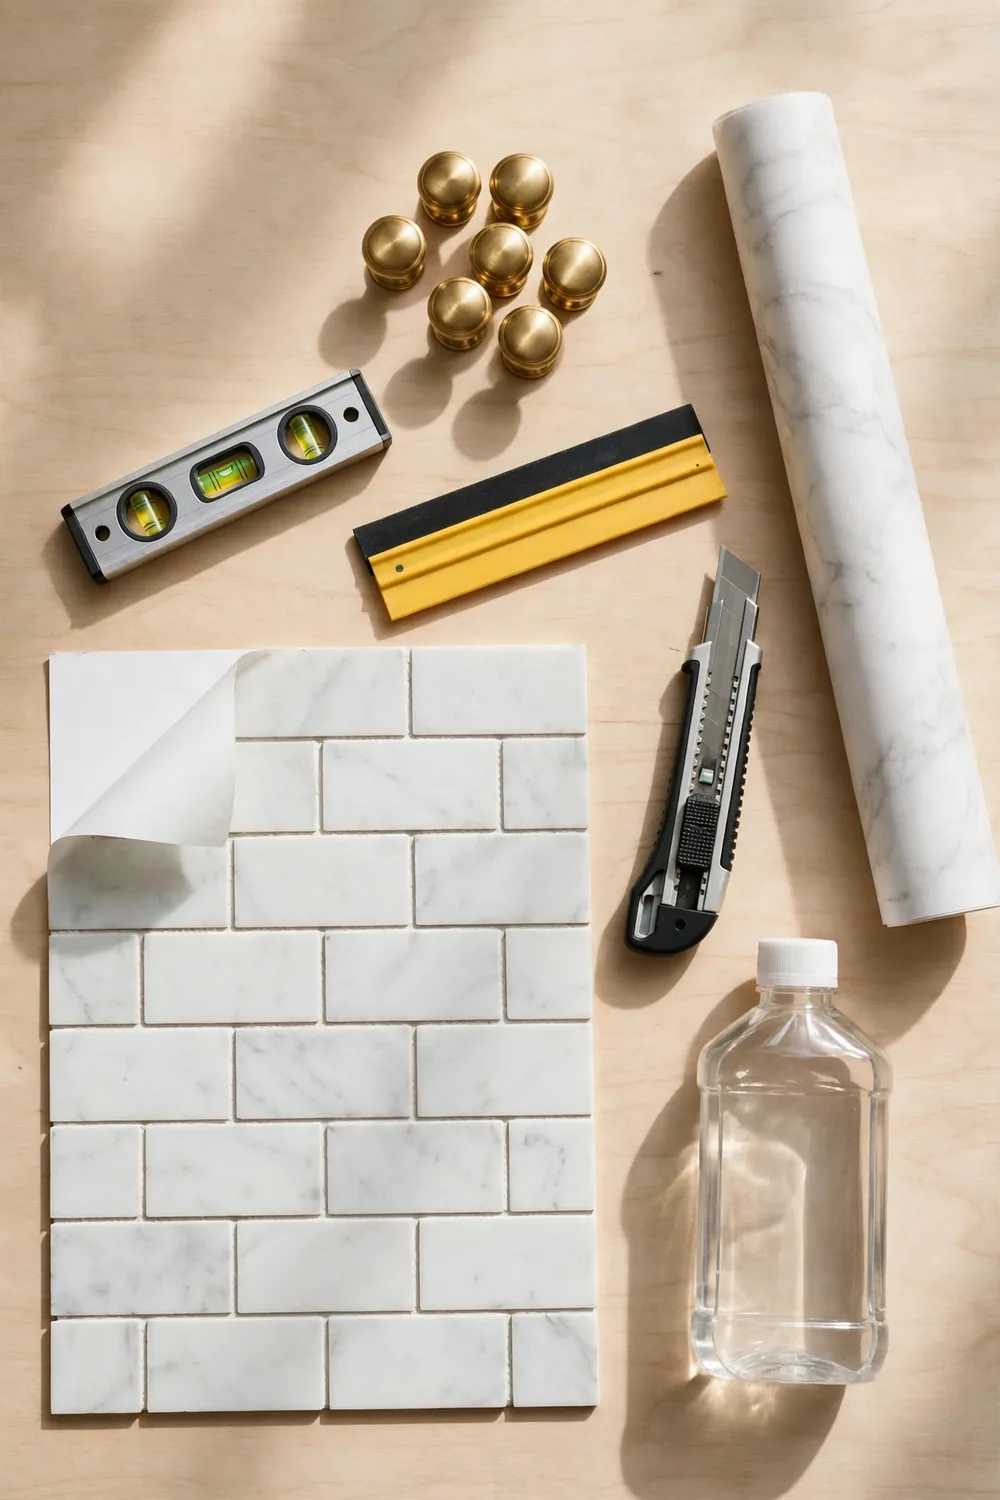
Here is the list, with the prices I actually pay. Smart Tiles backsplash sheets, 6 sheets at $8 to $15 each, about $60. Smart Tiles need no grout, are waterproof, and come off without damage. Marble contact paper, 2 rolls, about $24. Contact paper for the cabinets, 1 roll, about $15. Six brass pulls, about $18. One LED strip for under the cabinets, about $16. Tools if you own none of them, a sharp utility knife, a plastic squeegee, a small level, rubbing alcohol, and painter’s tape, about $15. This list lands just under the under-$150 tile wall makeover in the most-shared cabinet makeover pin in our research.
One more thing: a labelled zip bag for every original pull, screw, and switch plate, kept in a drawer until move-out day.
How do I put up a peel-and-stick backsplash?
Clean the wall twice. Grease is invisible and the number one reason peel-and-stick fails. Wipe the strip with rubbing alcohol, let it dry, then wipe it again. The tile sticks to the wall, not to the grease on the wall.
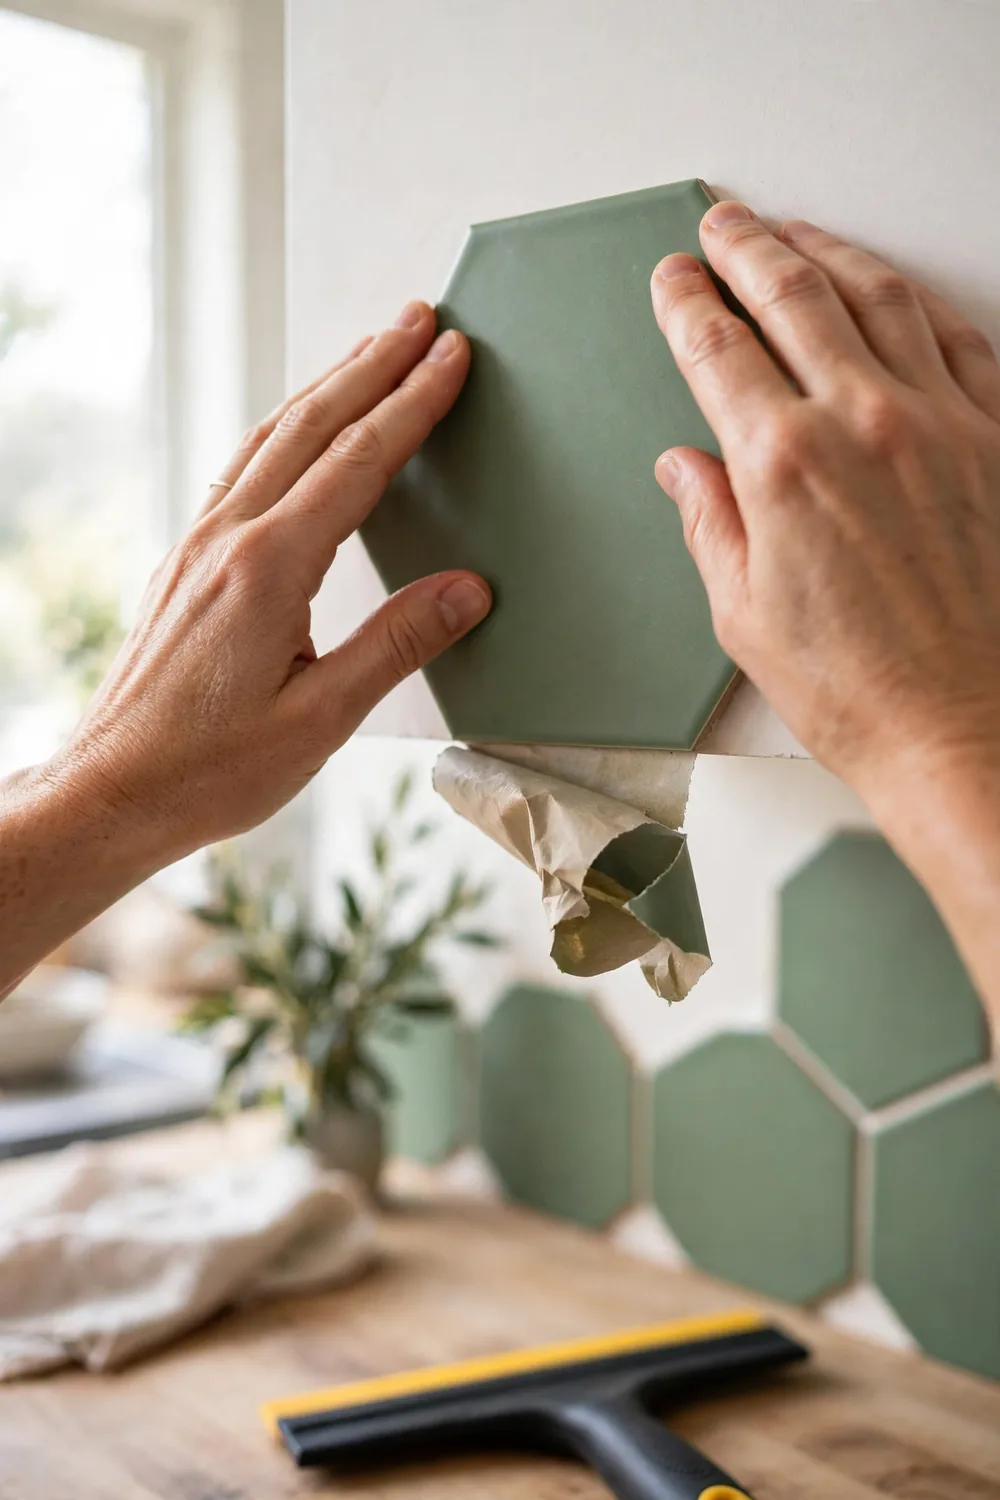
Start in the middle, not at the edge. Lay the first tile level at the centre of the stove wall, then work outward in both directions. A centred layout hides the cut tiles at the edges. Press each tile from the centre outward with the squeegee, slow and firm, so no air stays trapped behind it. A bubble is not a disaster: prick it with a pin and press it flat.
Cut tiles with a sharp utility knife and a metal ruler, on a cutting board. A dull blade tears the edge, and a torn edge is the one thing that makes peel-and-stick look cheap. Change the blade after every few cuts.
If the test patch failed, use the plexiglass method: stick the tiles to a thin plexiglass sheet on the table, then hang the panel with Command strips. The wall is never touched, and it looks identical from the front.
How do I wrap the counters in marble contact paper?
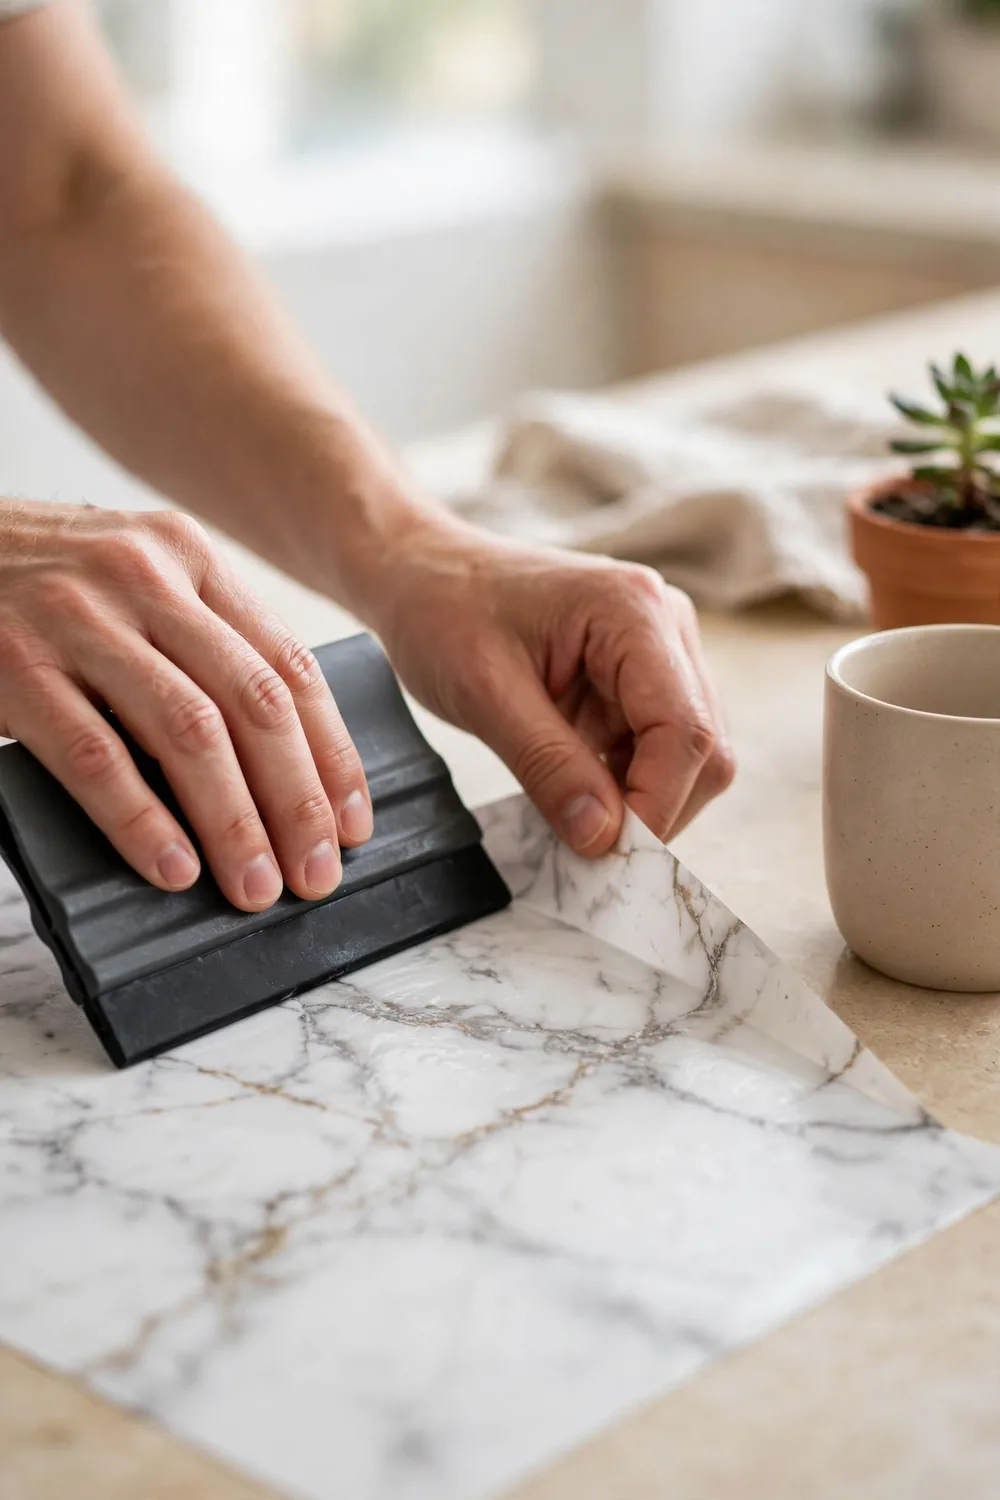
Measure the counter, then add two inches on every side. The extra is what wraps underneath the edge, and the wrapped edge is what makes contact paper read as stone instead of a sticker. Cut the paper on the table, not on the counter, and roll it loosely so it does not crease.
Peel back only two inches of backing to start. Line up the edge, press it down, then pull the backing away slowly while the squeegee follows six inches behind. Work from the centre outward, never side to side, or you will trap a long air bubble down the whole counter. Small bubbles press out. Big ones need a pin prick, same as the tiles.
Wrap the front edge first, then the sides, then the back. A hair dryer on low for ten seconds softens the paper enough to fold around a rounded edge without wrinkling. Cut around the sink with a fresh blade, leaving a quarter inch tucked under the rim.
Marble contact paper is not stone, and I say that plainly because the honest limit matters. It lasts one to two years with care. Do not cut on it, do not set a hot pan straight down on it, and wipe spills quickly.
How do I cover the cabinets without paint?
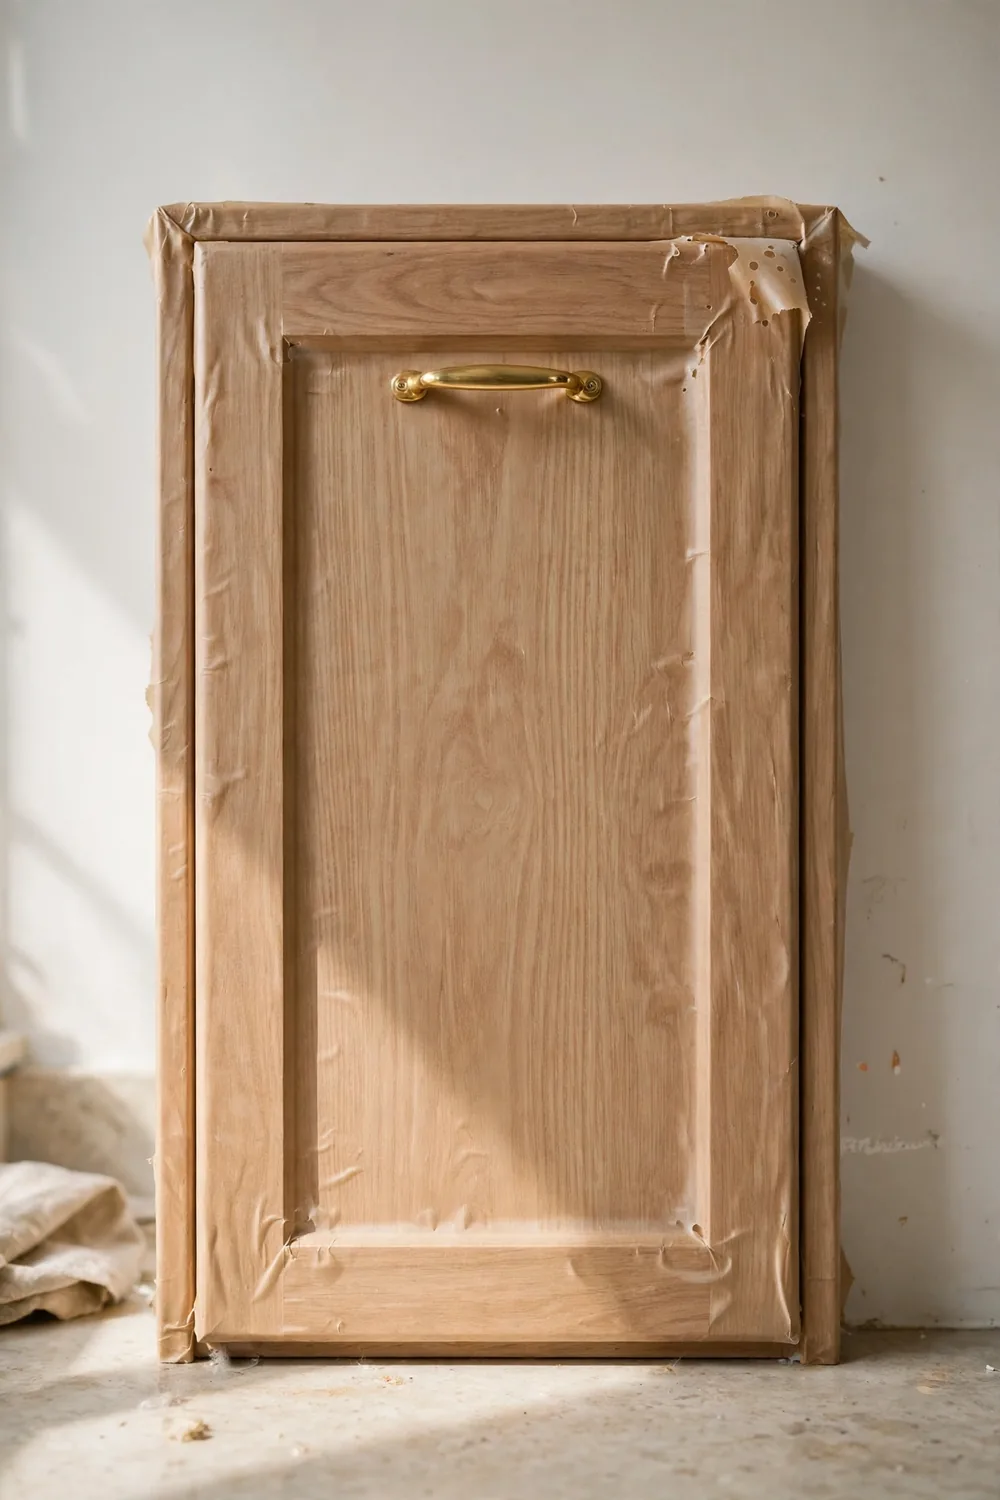
Contact paper on flat cabinet doors is the cheapest cabinet change in this whole project. A DIY rental kitchen makeover under $30 using contact paper is one of the top-placement titles in our research, and it works because flat doors are easy and the paper is cheap. One roll covers two or three doors, which is usually the whole run a rental kitchen has.
Leave the doors on and take off only the pulls. Clean each door with rubbing alcohol, let it dry, then lay the paper from the top down, squeegeeing as you go, and wrap the edges to the back. Skip the paper on raised-panel doors: it bubbles at the corners, so spend the money on new pulls instead.
Paint is the other cabinet option, and I leave it out on purpose. Heirloom Traditions ALL-IN-ONE Paint needs no sanding and no sealing, and its cabinet video passed 19,600 saves. But paint is not reversible like peel-and-stick and needs written permission from the landlord. With permission, paint. Without it, contact paper is the move.
What about the hardware and the light?
New pulls are the smallest spend with the biggest visual return. Six brass pulls cost about $18 and change every cabinet at once. Brass is the luxe cue that repeats across nearly every top pin in this cluster. Measure the hole spacing before you order: most rental cabinets use 3 inch or 3 and three quarter inch spacing, and the wrong spacing means new holes in a door you do not own.
Light comes second, and it is a strip, not a fixture. A warm LED strip under the upper cabinets, 2700K warm white, costs about $16 and turns the backsplash into the feature of the room at night. Warm light is a prop in the highest-saving pins in our research, not an afterthought. Plug it in, hide the cord behind a jar, and do not wire anything.
What goes wrong, and how do I fix it?
First, the tile that peels on a textured wall. Peel-and-stick needs a smooth surface. On orange-peel texture, rough plaster, or brick, it will not hold and will peel within weeks. Use the plexiglass method, or skip the backsplash and spend the money on the counters and the hardware.
Second, heat and steam. Keep the tiles a few inches above the cooktop, never behind an open flame, and wipe the backsplash dry after heavy cooking. Smart Tiles are heat resistant, not fireproof.
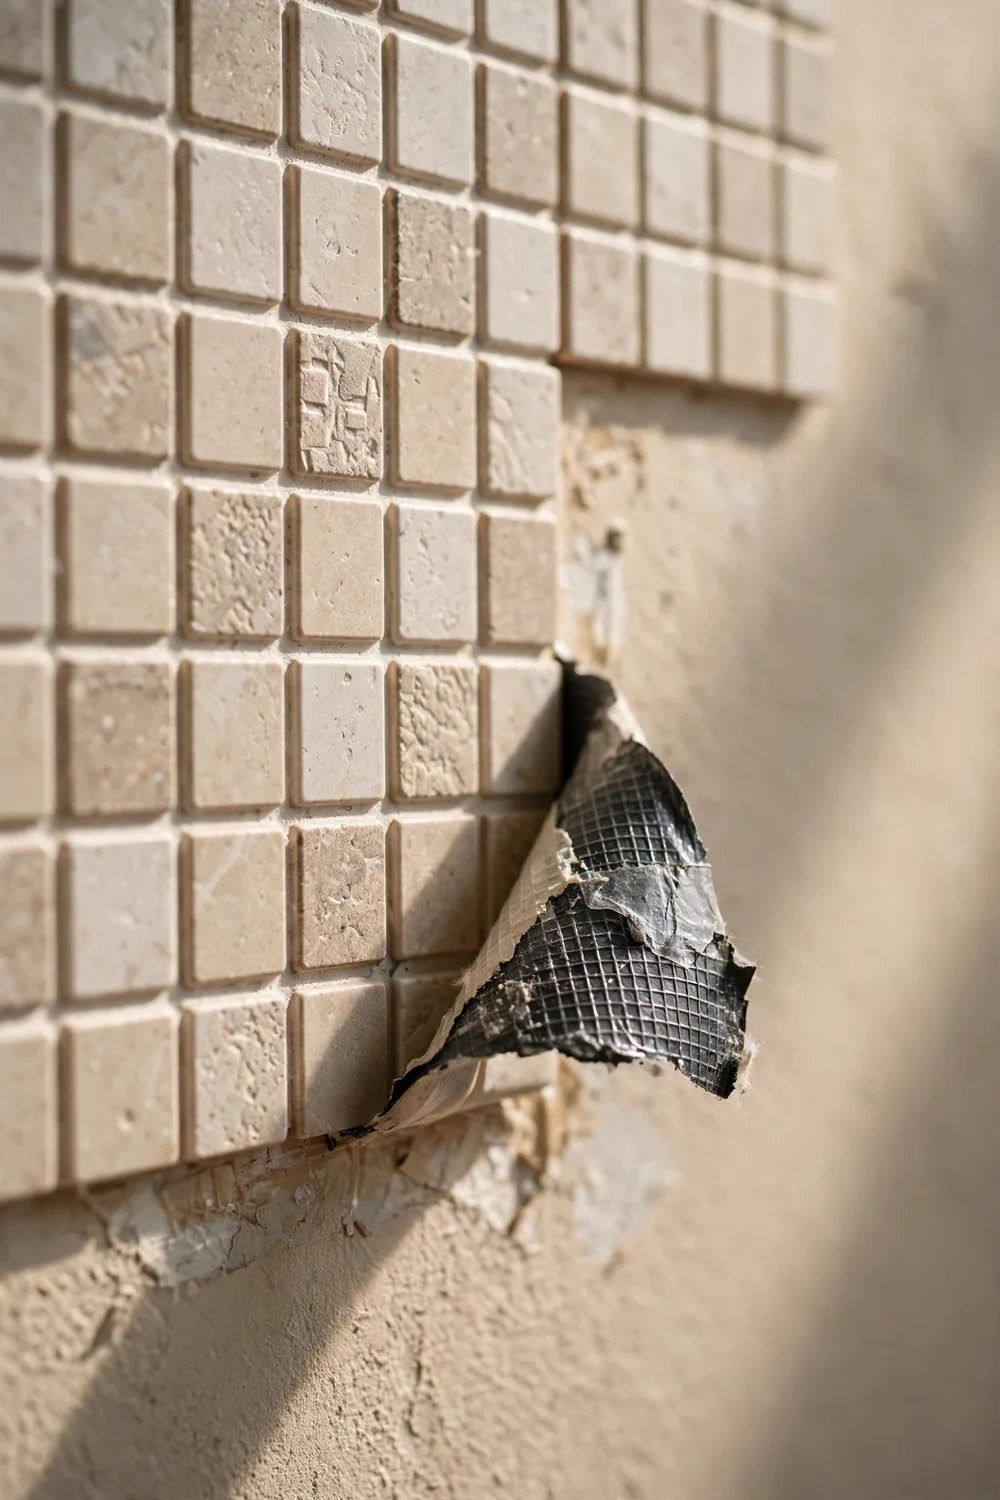
Third, the residue at move-out. Peel slowly, pull the tile back flat against the wall, warm stubborn spots with a hair dryer, and wipe leftover adhesive with rubbing alcohol. The wall looks the same as move-in day, as long as the test patch passed.
The whole kitchen changed for about $150, and every bit of it comes off in one afternoon when I move out. That is the deal a rental kitchen offers, and it is a good one.
Would I do it again?
Yes, in the same order, with two changes. I would buy one extra roll of marble contact paper, because the first counter wrap always wastes one cut while you learn the rhythm. And I would do the test patch the day I move in, not the day I start, because a failed test patch changes the whole plan.
Here is the final basket. Backsplash, 6 Smart Tiles sheets, about $60. Counters, 2 rolls marble contact paper, about $24. Cabinets, 1 roll contact paper, about $15. Hardware, 6 brass pulls, about $18. Light, 1 LED strip, about $16. Tools, about $15. Total: about $148, or about $150 to $175 by store. Time: one weekend, about 8 to 10 hours, plus the test patch. Compare that with the $600 rental kitchen refresh that keeps its 1960s cabinets: the same idea at a quarter of the price, nothing permanent on the walls.
The kitchen still belongs to the landlord. It just looks like mine while I live here, and it goes back to beige the afternoon I leave.
FAQ
Will peel-and-stick tiles damage the wall when I remove them? Usually no, on smooth painted drywall, if you peel slowly and warm stubborn spots with a hair dryer. On textured walls the tiles often will not stick at all.
How long does marble contact paper last on a counter? One to two years with care. Do not cut on it, do not set a hot pan straight down, and wipe spills quickly. When one section wears out, peel that section and replace it in twenty minutes.
Do I need my landlord’s permission for peel-and-stick? Usually not, because it is reversible and leaves no damage on a smooth wall. Read the lease first: some leases ban adhesives. Paint, drilling, and wiring always need written permission.
What if my walls are textured? Do not stick tiles straight onto a textured wall, they will peel within weeks. Use the plexiglass method, or skip the backsplash.
Can I really do this in one weekend? Yes. Test patch Friday evening, backsplash Saturday morning, counters Saturday afternoon, cabinets and hardware Sunday. About 8 to 10 hours in total, and the kitchen is usable between steps.