Pantry Organization on a Budget: Labels Bins and Zones
Short answer: This 7 step pantry plan costs about $127 all together, takes one Saturday afternoon of about 4 hours, and works in any pantry from a reach in closet to a walk in. You empty every shelf, sort by zone, add matching bins and labels, and finish with a door rack and a turntable for small things. No remodel, no built ins, nothing a renter cannot undo.
| Total cost | About $127 for all 7 steps |
| Time | One afternoon, about 4 hours hands on |
| Difficulty | Beginner, no tools at all |
| Best pantry | Reach in or walk in, about 24 to 36 inches wide |
| Renter-friendly | Yes, everything lifts out or hangs without screws |
Open the pantry door and look at what is actually in there. Mine had three half used bags of rice, two open boxes of the same pasta, a jar of sauce I bought twice because I could not see the first one, and a bag of flour with a tear in the corner spilling onto the shelf below.
That is the problem this plan solves. A messy pantry is not a storage problem. It is a visibility problem. When you cannot see what you own, you buy it again, you let food expire in the back, and every meal starts with a hunt. The fix is zones you can read at a glance, bins that hold one category each, and labels that tell the truth about what is inside.
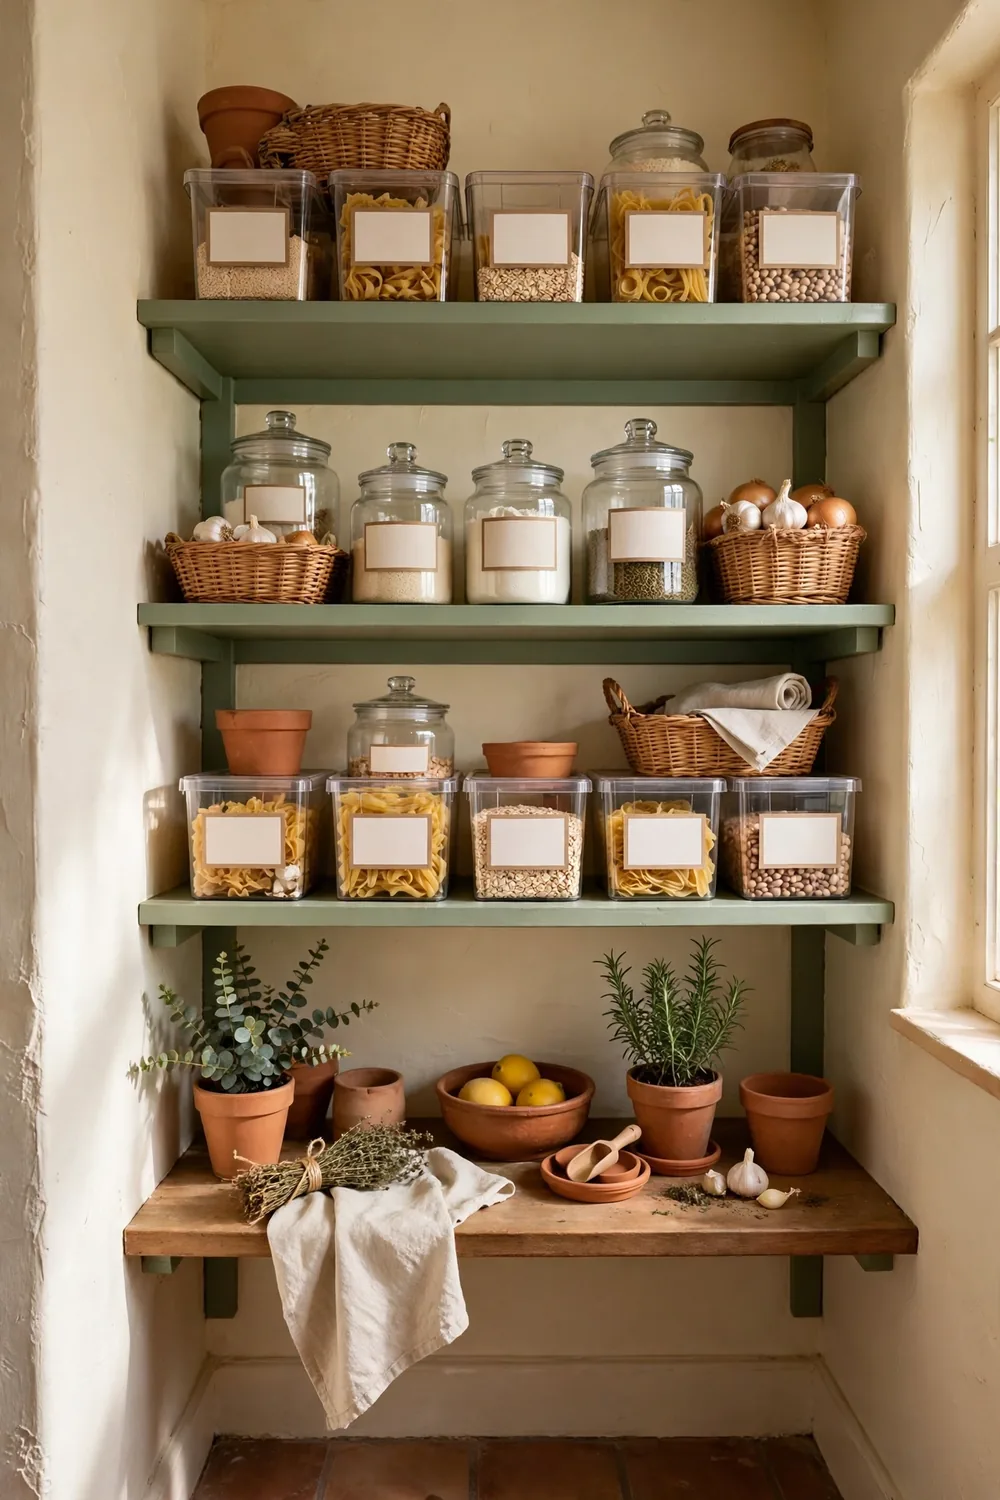
Why does a pantry get messy again so fast?
A pantry gets messy because it has no rules, only shelves. Everything goes wherever there is an empty spot, so breakfast food ends up next to cleaning spray and the baking supplies end up behind the canned soup. After a few grocery trips, the shelves hold a layer of things nobody remembers buying.
The second reason is packaging: bags flop over, boxes crush, and half empty containers take the space of full ones. The third reason is the back of the shelf: anything deeper than about 14 inches hides food behind food, so the jar at the back becomes invisible, you buy another one, and the old one sits there until it expires.
Before you buy a single bin, empty the pantry completely.
What do you need before you start?
You need less than you think. A roll of trash bags, a damp cloth, a tape measure, masking tape and a marker for temporary labels, and a notepad for the shopping list you will build as you sort. That is the whole kit for steps one and two.
The things you buy come later, after you measure: six matching bins, a pack of labels, one over the door rack, one turntable, three clear canisters, and one shelf riser. If your pantry is tiny, start with the bins and the labels only, about $50 together, and add the rest later.
Which 7 steps organize a pantry on a budget?
Seven steps, in order. Do not skip ahead to the bins. The sorting and the zones decide what bins you need, not the other way around.
1. Empty every shelf and sort it all, $0
Take everything out, down to the last packet of taco seasoning. Put it all on the kitchen table or the counter in groups: breakfast, pasta and grains, canned goods, baking, snacks, sauces and oils, and drinks. Wipe each shelf while it is empty.
Now check dates. Anything expired or stale goes in the trash bag. In our pantry, this step alone freed a full shelf. Write down anything you threw away that you actually use, because that is your real shopping list. Then count what is left: seven cans of beans means you do not need beans this week.
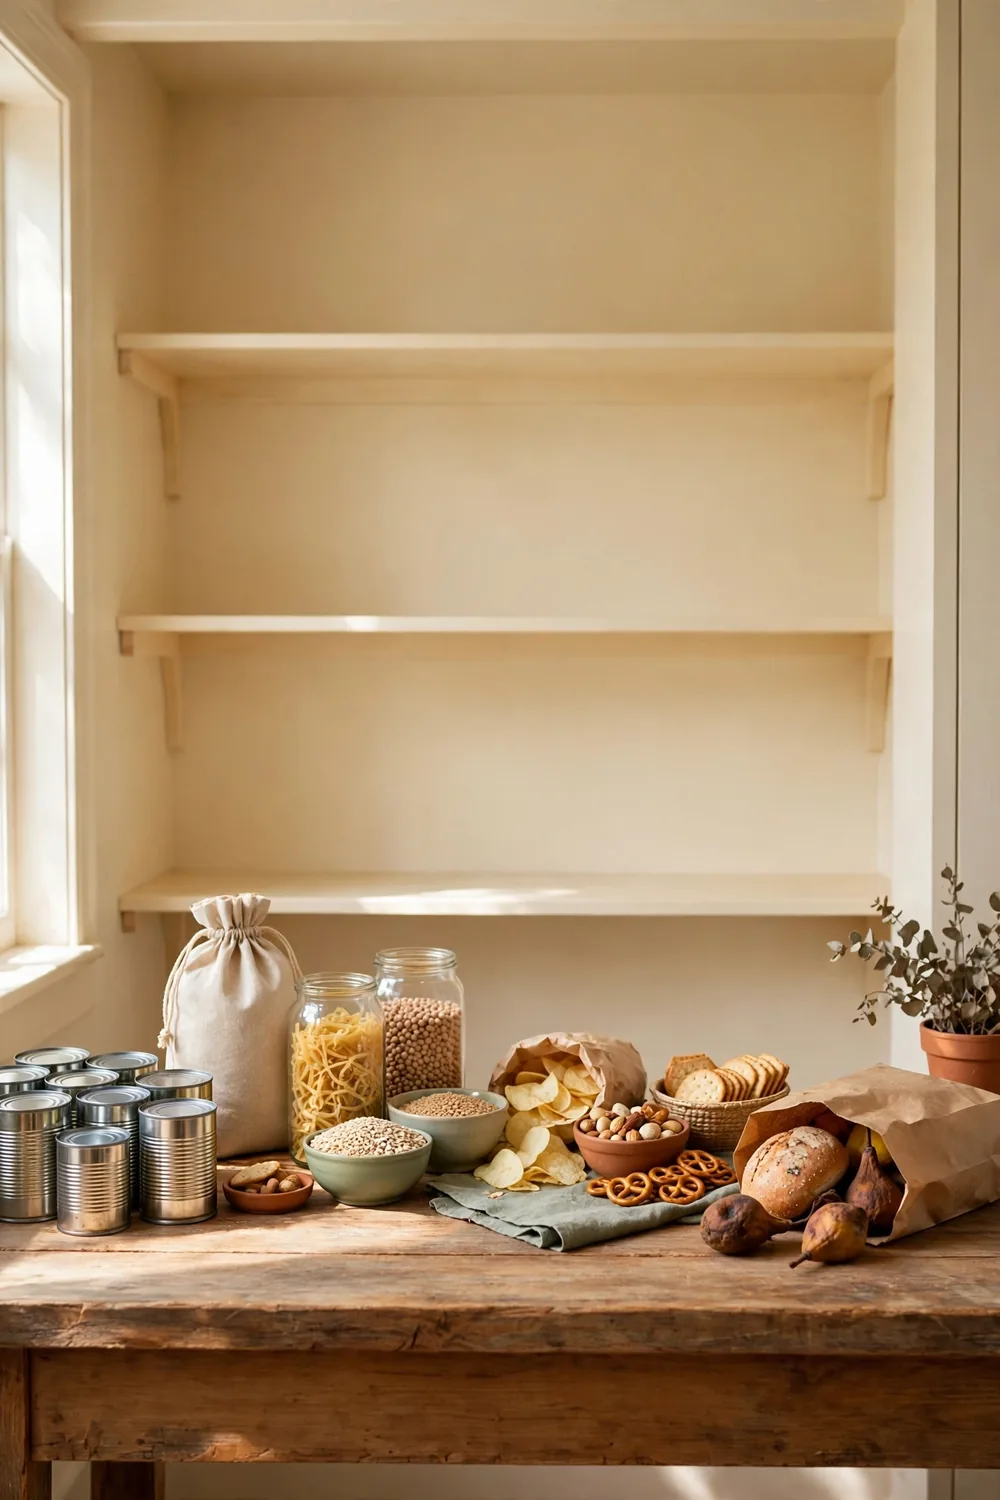
2. Map three zones before anything goes back, $0
A pantry works when every category has a zone at the height that matches how often you use it. Eye level, roughly 48 to 60 inches off the floor, is the everyday zone: breakfast, coffee, snacks, the pasta you cook twice a week. Waist level, about 30 to 48 inches, is the cooking zone: oils, sauces, canned goods. The top shelf, above 60 inches, holds rarely used things like baking supplies. The bottom shelf holds the heaviest things: bulk rice, big bottles, the case of water.
Mark the zones with masking tape. Then measure each shelf: width, depth, and the clearance between shelves. Our shelves are 24 inches wide and 14 inches deep with 12 inches of clearance, and those three numbers decided every bin we bought. Measure first, buy second.
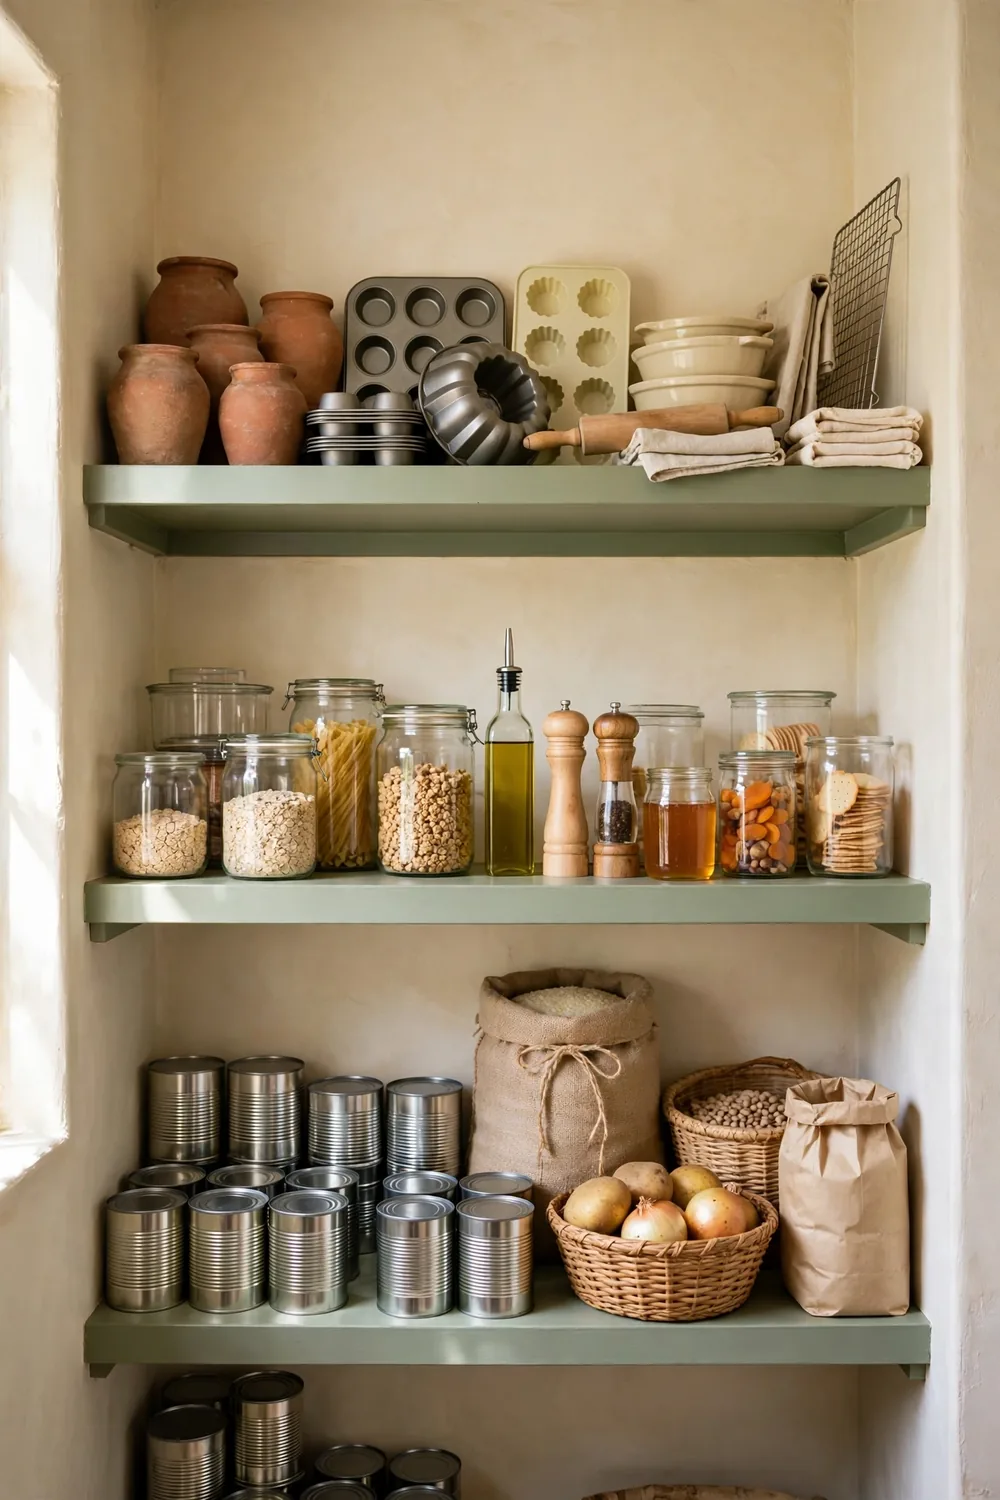
3. Put each category in matching bins, $42
Matching bins are the single biggest visual change in a pantry. A bin holds one category, so the pasta bin holds pasta and nothing else, and you can pull the whole bin out like a drawer instead of reaching past five bags to find one box. Six clear bins at about $7 each cost $42, and six cover most pantries: pasta and grains, snacks, baking, canned goods, breakfast, and sauces.
Buy clear bins with handles, about 10 inches wide and 14 inches deep, so they fit a standard 24 inch shelf two across. Clear matters because you can see when a bin is running low without pulling it out. Put the tallest items at the back of each bin and the shortest at the front. Leave one bin empty if you can: an empty bin is where the next grocery trip goes.
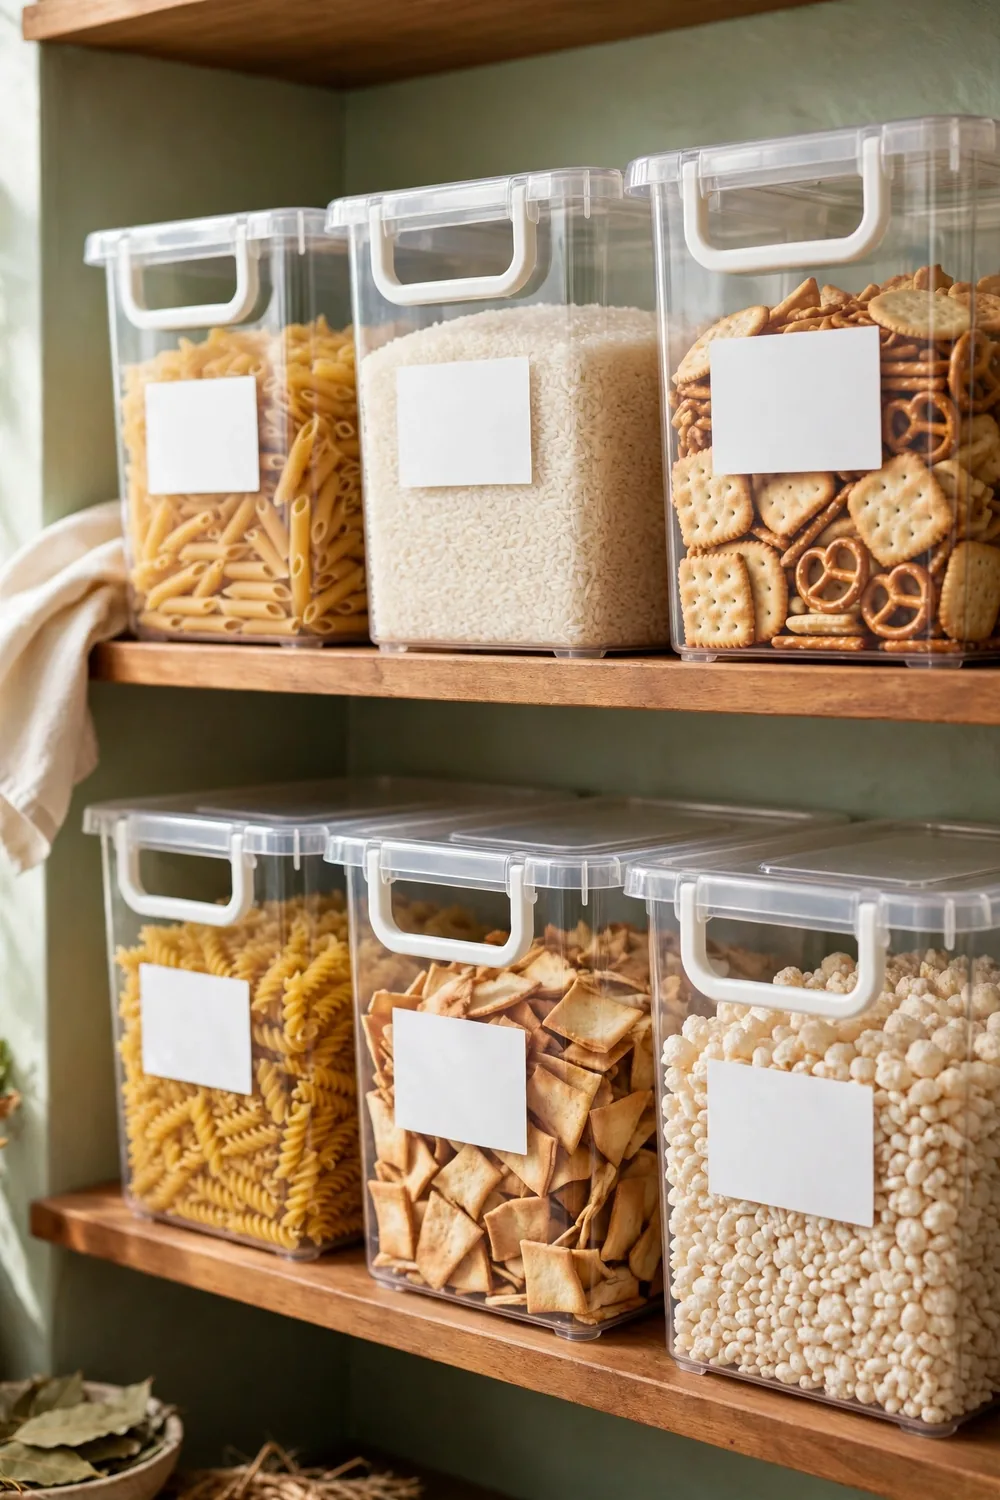
4. Label every bin and every shelf, $8
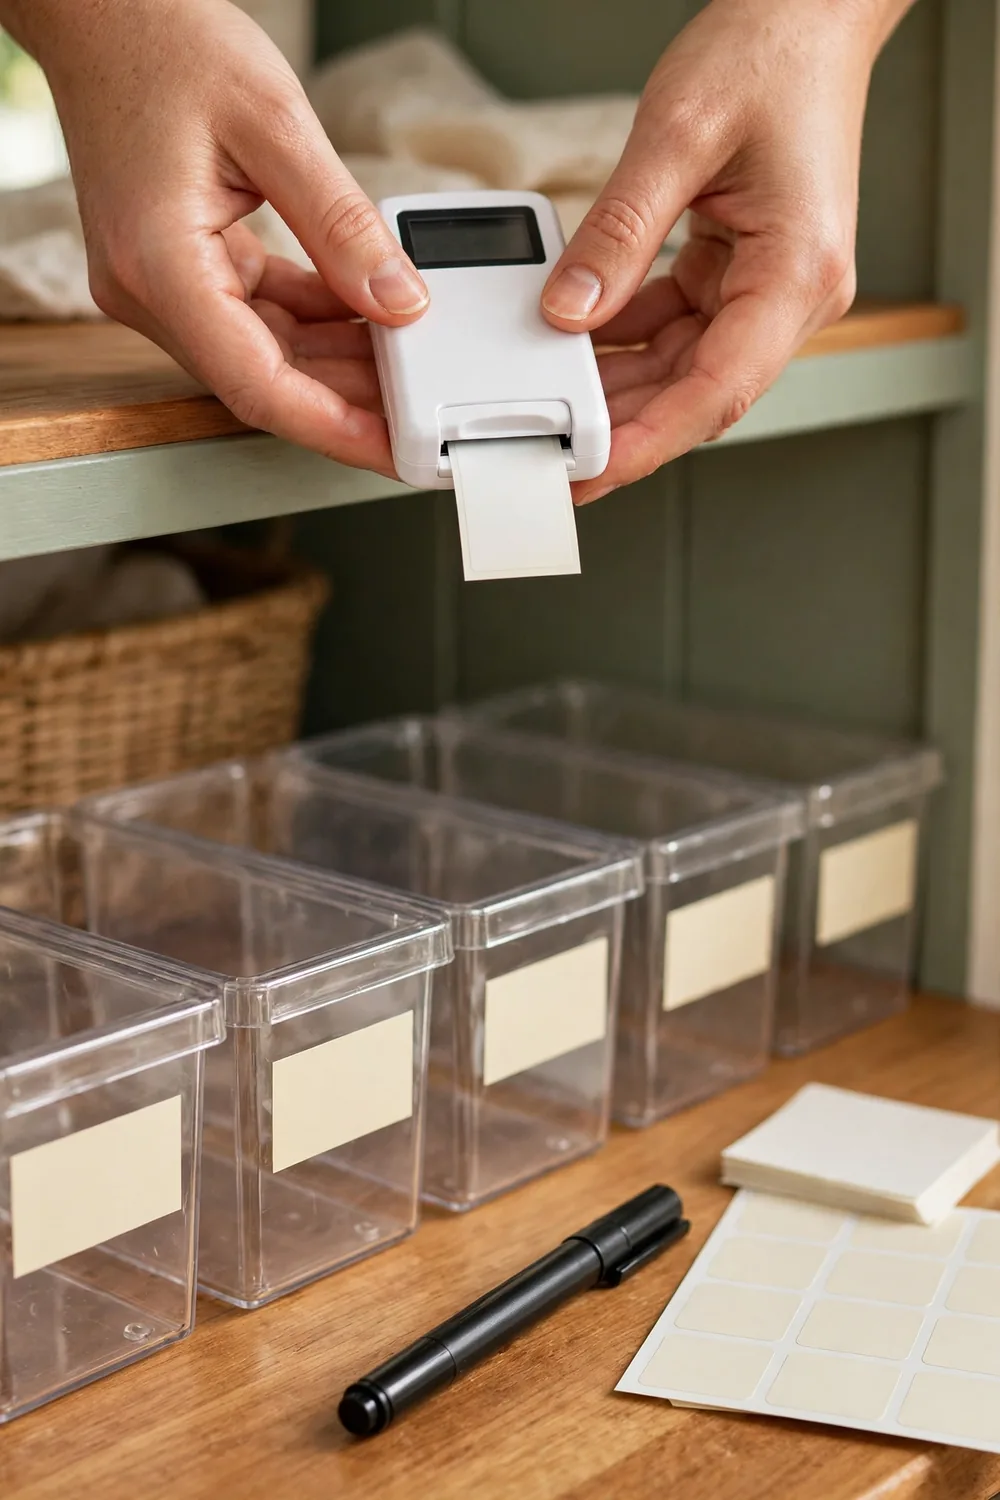
A bin without a label is a bin that drifts. Within two weeks, the snack bin holds batteries and the baking bin holds a bag of chips, Labels fix that, and they cost almost nothing: a pack of chalkboard labels with a white marker runs about $8, and one pack covers every bin in this plan plus the shelf edges.
Label the front of each bin in big plain words: PASTA, SNACKS, BAKING, CANS, BREAKFAST, SAUCES. Label the shelf edge under each zone too. If you decant anything into a jar, label it with the contents and the date: a jar of white powder could be flour, sugar, or cornstarch, and guessing wrong ruins a recipe.
If your household has kids, let them help stick the labels on.
5. Hang a rack on the inside of the door, $20
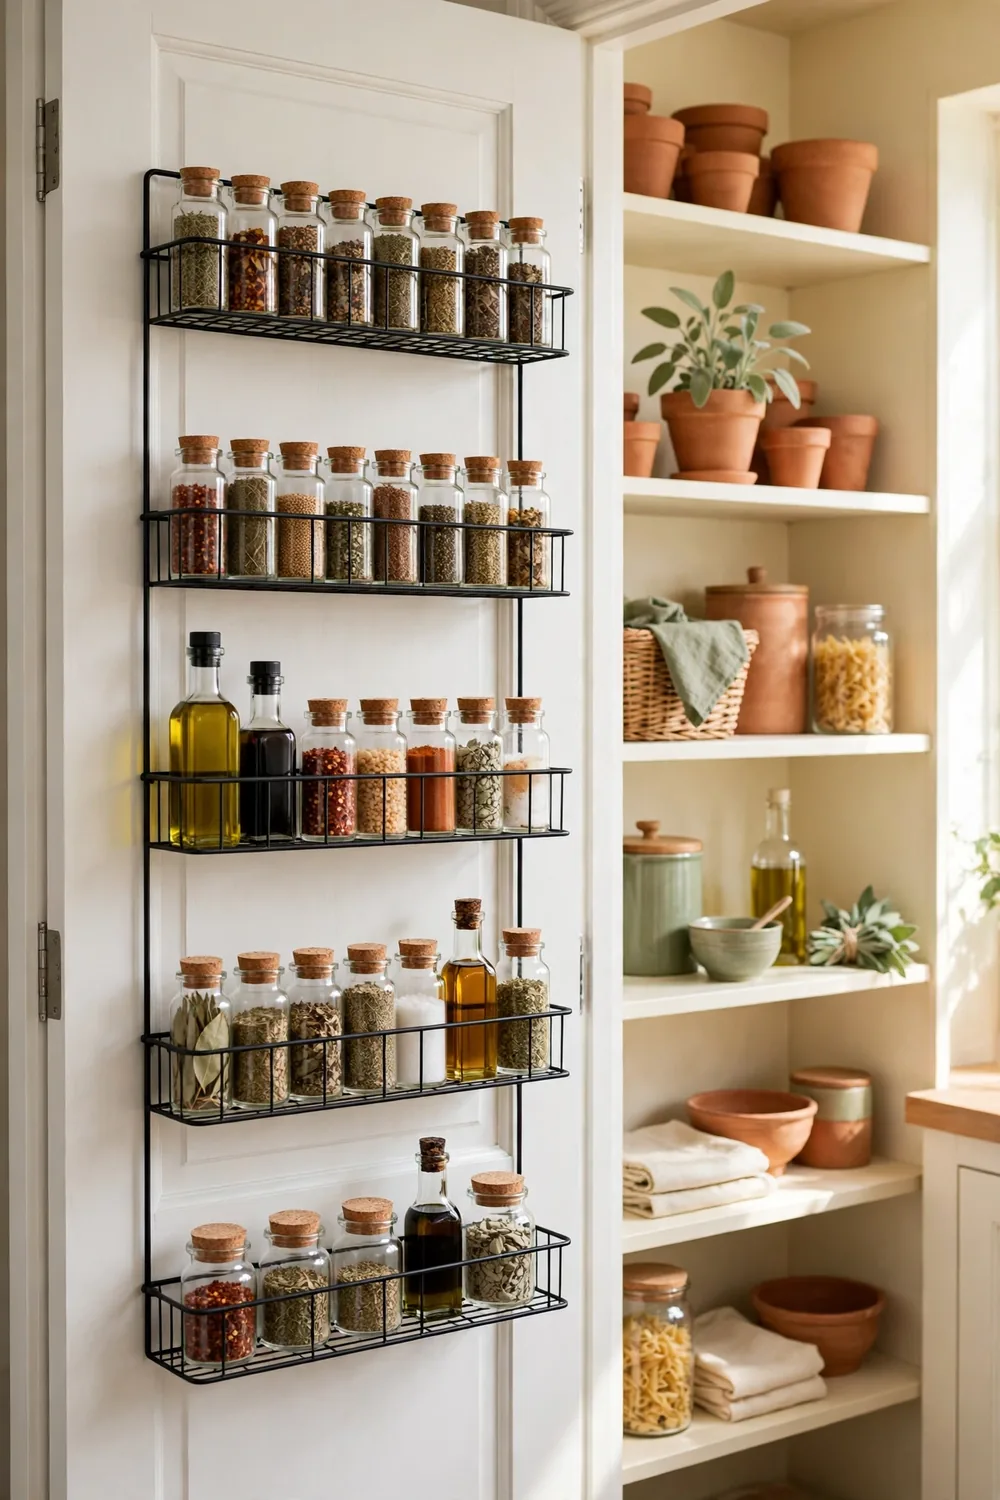
The inside of the pantry door is free storage, and it is the best spot in the pantry for small things. An over the door rack hangs on the door with hooks, no screws and no holes, and holds the items that otherwise scatter across a shelf: spice jars, sauce packets, tea boxes, the vitamins. The SimpleHouseware 5 tier over the door rack runs about $20, fits standard 1 3/8 inch doors.
Measure the door thickness before you order. Hang it on the inside of the pantry door and load the lightest things on the top tier so the door still swings freely. Pick this step first if your pantry clutter is mostly small things: one rack swallows a whole category.
6. Give small things a turntable, $12
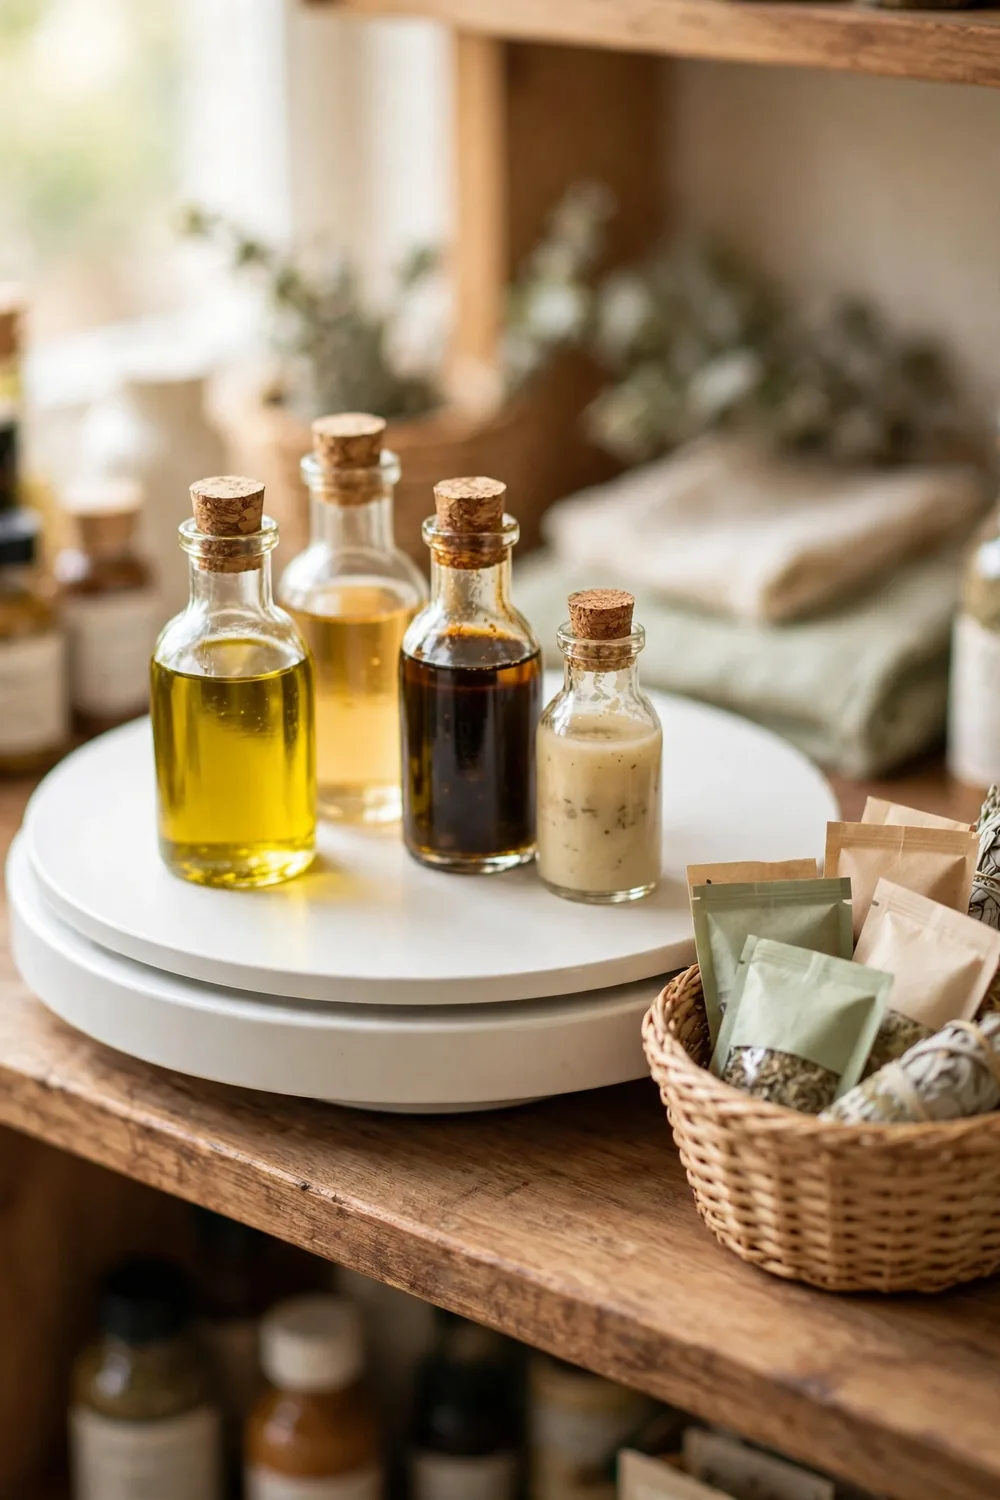
Small bottles are the hardest thing in a pantry to keep in order. Oils, vinegars, soy sauce, hot sauce, and salad dressings are all different heights, and the one you want is always at the back. A turntable, also called a lazy Susan, fixes that for about $12: spin it and the back row comes to you.
Buy one 10 inch turntable for the cooking zone shelf, and put all the bottles on it in a single layer. One layer only: the moment you stack a second layer, you are back to hiding things. If a bottle is too tall, move it to the door rack from step five. Use a small basket beside the turntable for packets: taco seasoning, sauce mixes, gravy packets, tea bags.
7. Decant, lift, and style the top shelf, $45
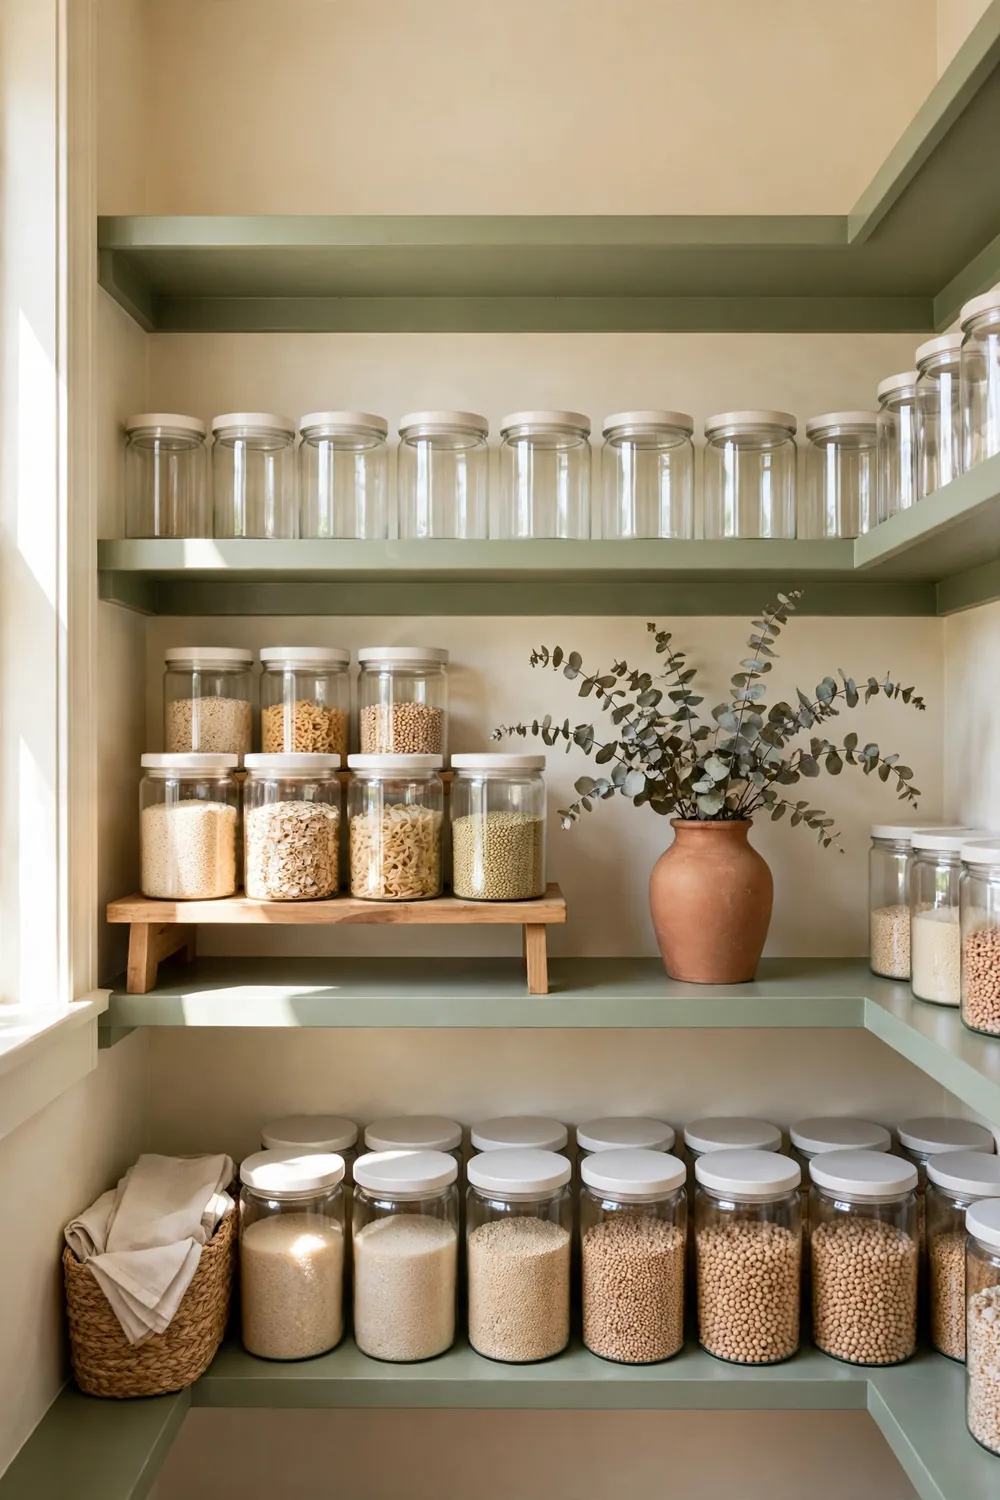
This is the finishing step, and it is the one that makes the pantry look done instead of merely tidy. Decant the three things you use most into matching clear canisters: flour, sugar, and rice. The OXO Good Grips POP Container in the 1.1 quart square size costs about $10 each, so three cost about $30. Square containers sit flush with no gaps, and the airtight lid keeps the contents fresh.
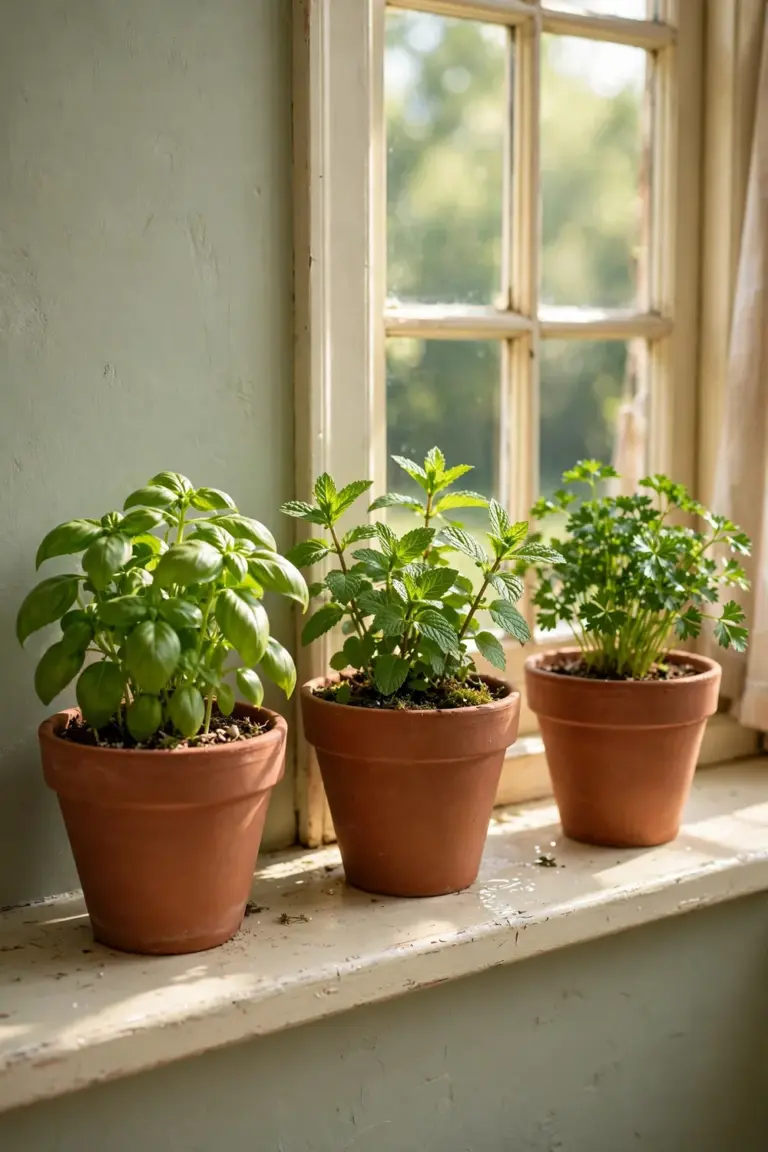
Add one shelf riser to the top shelf for about $15. A riser adds a second level inside a tall shelf. The IKEA VARIERA shelf insert in white, 12 5/8 by 11 by 6 1/4 inches, costs $9.99 at IKEA and does the same job for less. Finish with one small touch: a terracotta pot with dried eucalyptus.
What does the whole pantry cost?
All seven steps together cost about $127.
| Step | Cost |
|---|---|
| Empty and sort | $0 |
| Map three zones | $0 |
| Six matching bins | $42 |
| Labels and marker | $8 |
| Over the door rack | $20 |
| Turntable | $12 |
| Canisters and shelf riser | $45 |
| Total, all 7 steps | About $127 |
Prices are estimates from Amazon and Target listings in November 2026, and prices move, so check before you order. The bins and the labels, about $50 together, change the pantry more than any other two steps. If money is tight this month, do the free steps first: empty, sort, and zone. If the kitchen around the pantry needs the same treatment, our small kitchen organization guide covers the counters too. For the same kind of small win on a tight budget, our dollar store decor hacks guide shows cheap storage that does not look cheap.
The one mistake that wastes the whole weekend
Buy the bins before measuring, and they will not fit. I know because I did it with the first set: I ordered six bins that looked right in the photo, carried them home, and found they were 2 inches too deep for the shelf, so the door would not close. The return took longer than the whole organizing job.
Measure three things before you order anything in this plan: the inside width of the shelf, the depth from front to back, and the clearance between shelves. Five minutes with a tape measure saves a weekend of returns.
A pantry does not need more space. It needs every category to have one home you can see.
FAQ
How much does it cost to organize a pantry? About $127 for all seven steps in this plan, or about $50 for the two steps that matter most, matching bins and labels.
What size bins fit a standard pantry shelf? Bins about 10 inches wide and 14 inches deep fit a standard 24 inch wide shelf two across. Measure your own shelf first, because a bin 2 inches too deep stops the door from closing.
Do I need matching bins, or can I mix what I already own? Mixing works, and it costs nothing. Matching bins look calmer, but the system works the same with any bins you already have.
Will this work in a rental pantry? Yes. Everything here lifts out or hangs without screws: bins, labels, the door rack, the turntable, and the canisters.
How do I keep the pantry organized after this? Put every grocery item into its zone the day it comes home, and keep a one in, one out rule for bins. A five minute reset each week keeps the system alive.
Where do I start if I only have one hour? Empty one shelf, toss what is expired, and put back only what belongs in that zone.